25
SECTION 4: SERVICE PROCEDURES
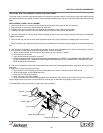
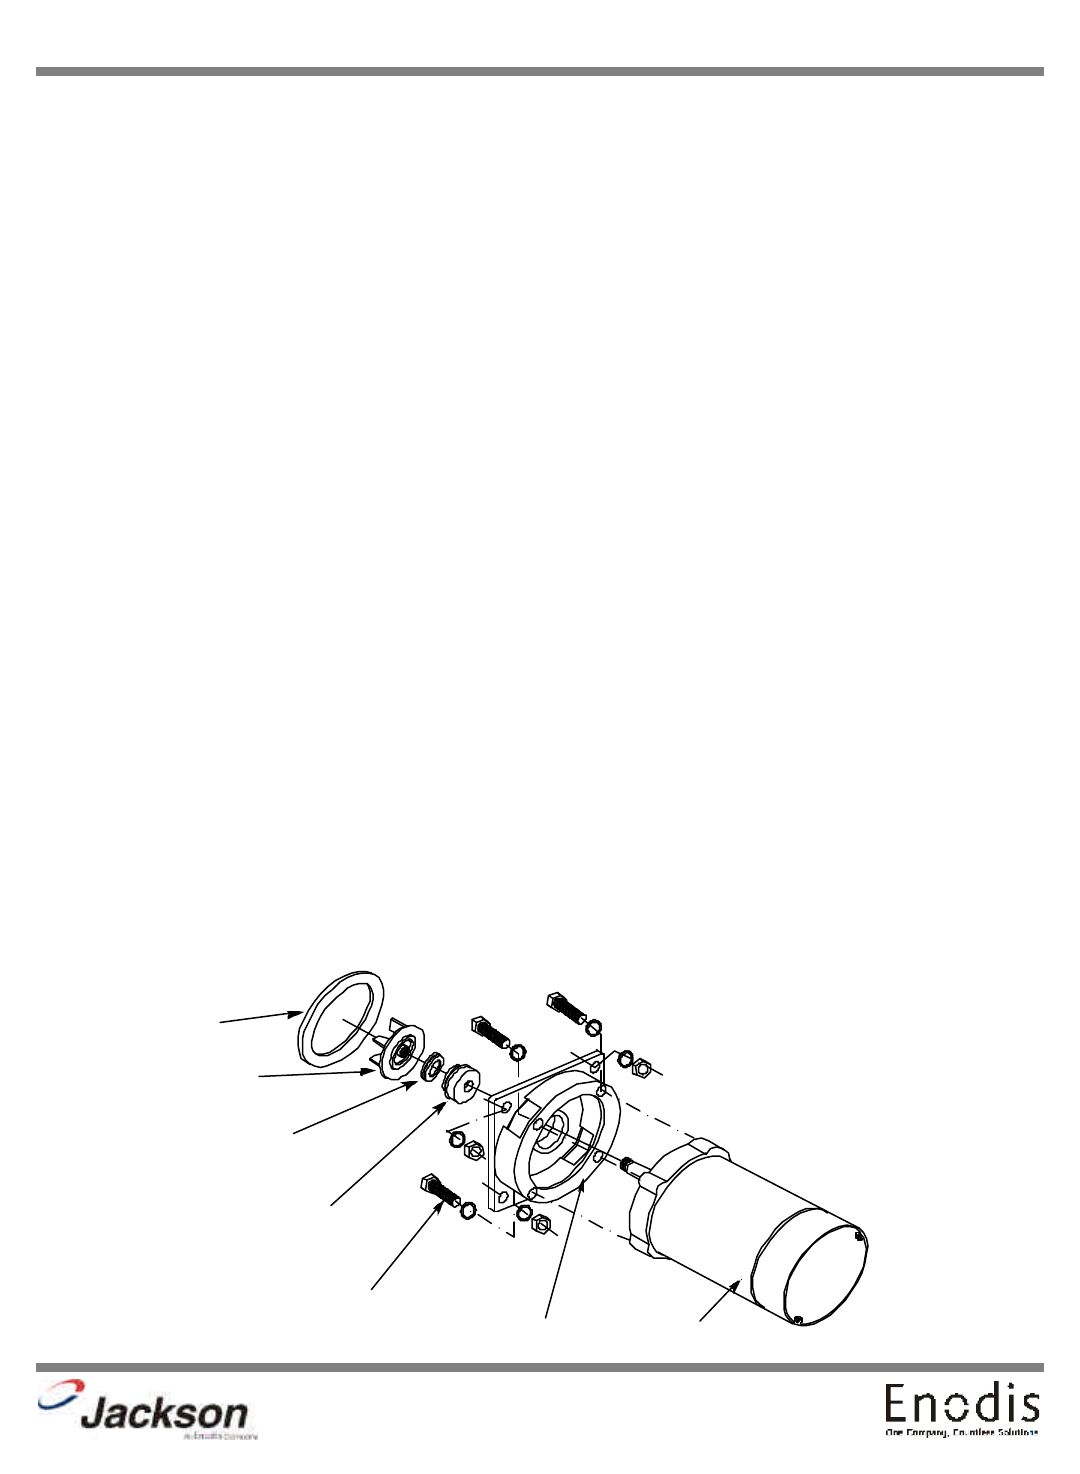
REPLACING SEAL AND CERAMIC ON WASH AND RINSE PUMPS
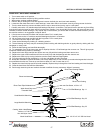
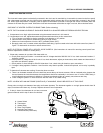
The pump is part of the total motor-pump system and utilizes one seal and ceramic to prevent the pump from leaking around
the impeller and shaft. One gasket is used to prevent leakage in between the pump and mounting plate and the machine pump
plate.
REPLACEMENT of SEAL and/or CERAMIC:
1. Remove power source to machine by turning circuit breaker to its off position on side of control box.
2. Drain machine by removing overflow strainer in wash tank.
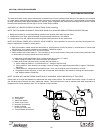
3. Support motor, and remove the four nuts holding the pump/motor to the machine’s pump plate.
4. Carefully pull motor outward, move from side to side as required to remove from the machine.
5. Set motor and pump on a sturdy stand close to machine or remove wires and conduit to allow motor/pump to be moved to
a better work position.
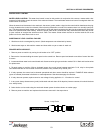
6. Remove dust cap over end of motor shaft (opposite impeller end). This can be done by wedging with a screw driver.
7. Remove impeller. Hold shaft by inserting screw driver in slotted end of shaft and unscrew impeller in counter clockwise direc-
tion.
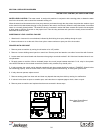
8. The ceramic is embedded in the impeller and normally does not need replacement, but it should be checked for cracks or
a worn out surface. If the ceramic does need replacement, proceed as follows.
a. With a pointed, flat tool, work the ceramic and rubber cap out of groove in impeller.
b. Clean groove of all residue.
c. Apply a small amount of adhesive in groove.
d. Press new ceramic gently into groove with rubber cap leading the way. (NOTE: THE CERAMIC HAS ONE SIDE THAT
IS HAS A GROOVE IN IT. THIS SIDE SHOULD BE FACING DOWN INTO THE RUBBER CAP. THE SMOOTH SUR-
FACE SHOULD BE FACING UP).
9. The seal is embedded in the pump mounting plate and usually will need replacement when water leaks around the motor
shaft area.
If replacement is required proceed as follows.
a. Remove the four bolts holding the pump mounting plate to the motor, must done with an allen wrench.
b. Slide mounting plate up off of shaft and motor.
c. Press seal out of housing carefully.
d. Clean hole where seal was installed.
e. Apply a small amount of non-hardening sealant to the backside of seal. Insert new seal with a seal driver to prevent ruf-
fling the edges of the seal. Never use a screwdriver or similar tool to alternately force edge of seal in place.
10. Reassemble pump and motor by reversing the above procedure.
Gasket
Impeller
Ceramic Seal
Crane Seal
Socket Head Cap Screw
Pump Mounting Plate Motor


