


18
200 Series Technical Manual
7610-100-45-00 Rev. E (02/10/2006)
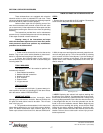
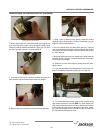
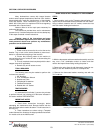
4. When replacing the coil, ensure that when removing the coil
wire cover that care is taken not to damage the wires inside.
Using the medium flathead screwdriver, gently use it to open
the cover enough to where it could be pulled off.
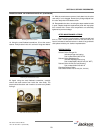
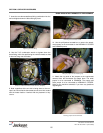
5. Once the coil wire cover has been removed and set to the
side, take the internal wires and pull them out straight.
6. Remove the wire nuts from the wires and separate them.
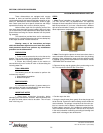
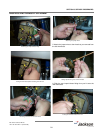
7. Using a pair of channel locks, gently loosen the conduit
retaining ring for the conduit nut. Once it is loosened, use your
fingers to unscrew and remove it.
8. Pull the conduit away and discard the bad coil. Take the
new coil and attach the conduit, reinstall & tighten the conduit
nut, and pull the wires through so that you will be able to wire
the valve back up.
9. Reconnect the wires from the conduit to the wires from the
solenoid as they had been connected previously. Ensure that
the wire nuts are on tight.
10. Slide the coil wire cover back on, taking care not to dam-
age the wires.
11. If you are done performing maintenance on the valve, con-
tinue on to step 23. Otherwise, please go on to step 12.L
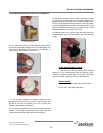
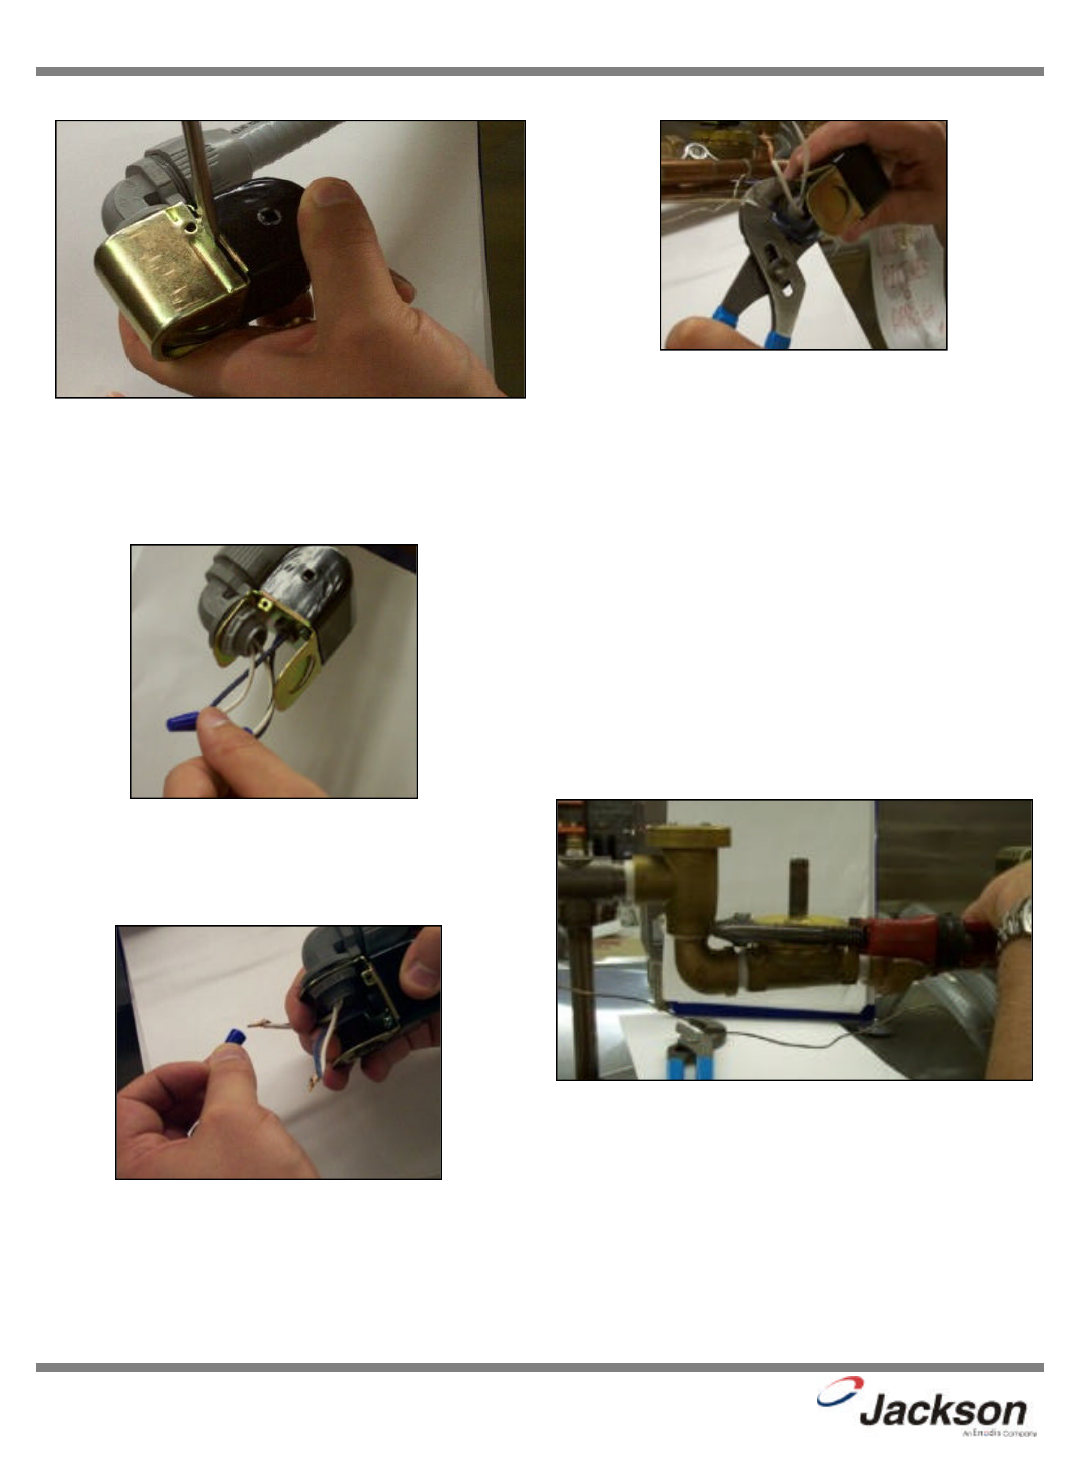
12. To remove the valve bonnet, grasp it with the jaws of the
pipe wrench and turn to the left. Note: on some models you
may have to remove the valve in order to perform this and any
further steps. Be careful not to damage the plumbing assem-
bly. Only use the pipe wrench enough to where you can spin
the valve bonnet off with your hand.
SECTION 5: SERVICE PROCEDURES
RINSE SOLENOID VALVE REPAIR PARTS KIT (CONTINUED)
Prying open the coil wire cover
Straightening the wires
Loosening the conduit nut
Removing the wire nuts
Loosening the valve bonnet