


Jackson rack conveyor machines come equipped with
heaters to ensure proper ware washing results. Occasionally,
some of these components may need replacing to maintain opti-
mum performance.
Jackson offers all of the repair parts necessary for per-
forming this task.
The instructions provided here are for maintenance per-
sonnel only. Unauthorized persons should not attempt any of the
steps contained in these instructions.
Warning: many of the instructions and steps within
this document require the use of tools. Only authorized per-
sonnel should ever perform any maintenance procedure on
the dishmachine!
PREPARATION
1. Power must be secured to the unit at the service break-
er. Tag or lock out the service breaker to prevent accidental or
unauthorized energizing of the machine.
2. Ensure that incoming water to the machine is secured
either by use of a shut-off valve or disconnecting the incoming
water line.
3. The unit must be drained completely.
TOOLS REQUIRED
The following tools will be needed to perform this mainte-
nance evolution:
1. 3/8” Nutdriver
2. Ratchet
3. 1/2” Socket
4. 3/8” Socket
5. Phillipshead Screwdriver
6. Needlenose Pliers
7. Torque Wrench
8. Siliconee Sealant
9. Amp Meter
TIME REQUIRED
It is estimated that it will take (1) person ninety minutes to
perform this task, not including all of the items indicated in the sec-
tion entitled “PREPARATION”.
IMPORTANT NOTES
1. Read these instructions thoroughly before attempting
this maintenance task. Become familiar with the parts and what
actions need to be taken. This will save time in the long run!
STEPS
1. Remove the front dress panel.
2. Remove the heater box cover to expose the heater. Set the
cover and hardware to the side.
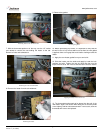
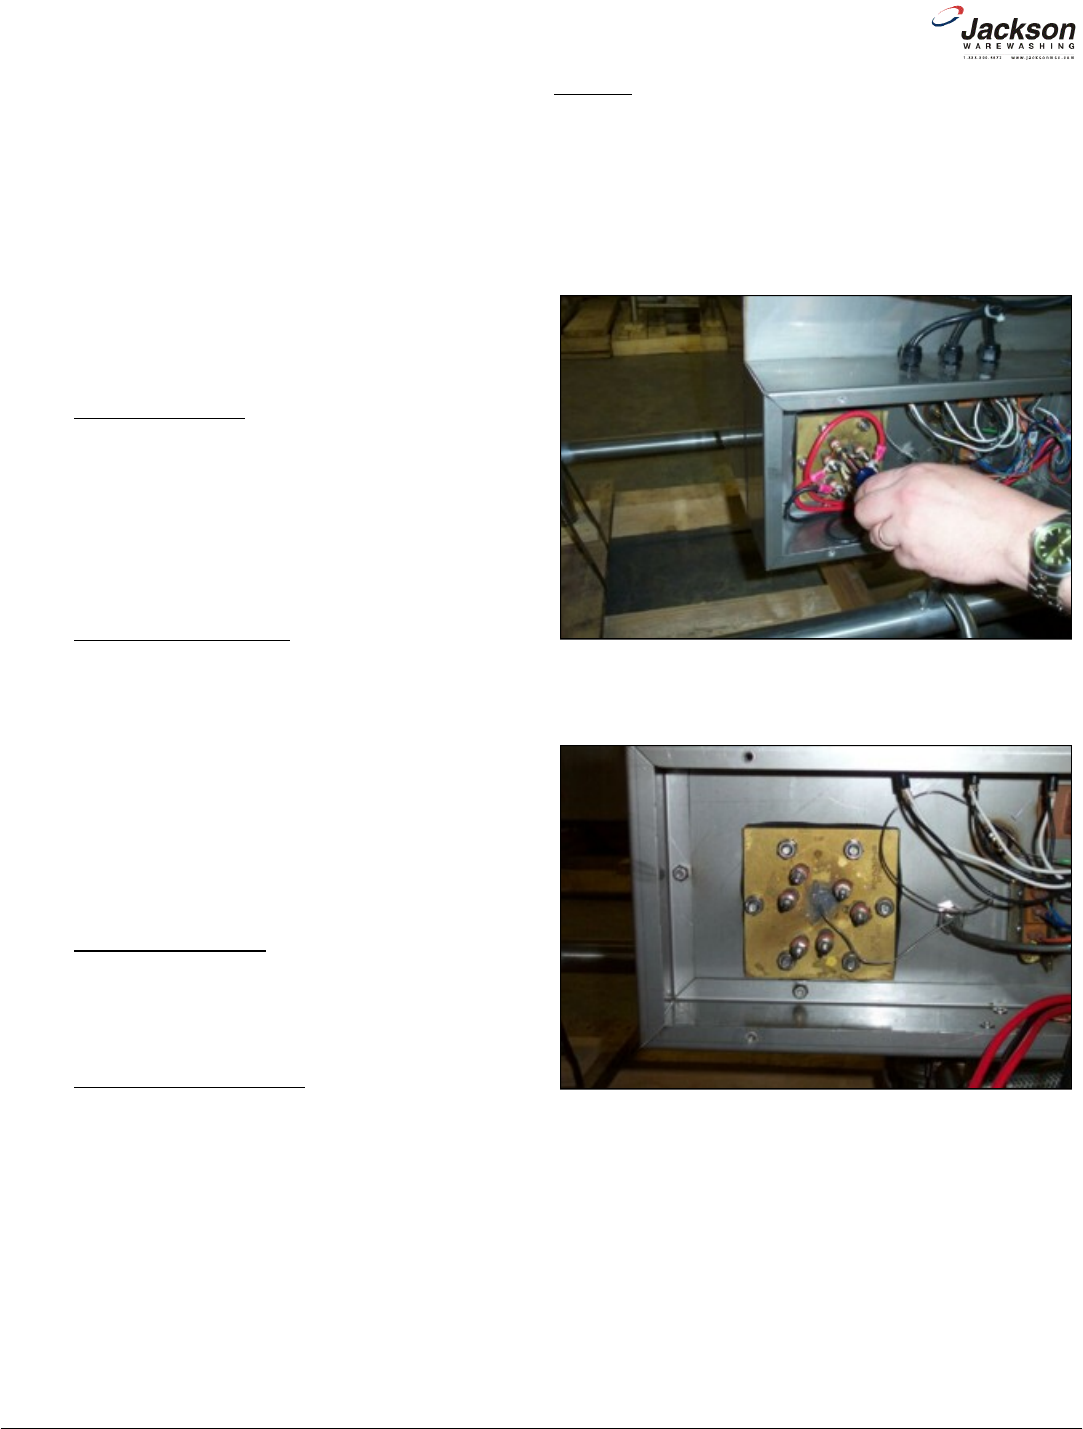
3. Remove the incoming electrical lines from the heater. Set the
hardware to the side.
4. Push the incoming electrical lines out of the way.
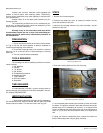
5. The thermostat probe needs to be removed from the well inside
the heater. The probe is secured in place with silicone that must be
peeled away prior to attempting to remove it. It is important that
you do not damage the probe during this part of the maintenance
action. If you do, then the thermostat will have to be replaced as
well.
6. Using your hand or needlenose pliers, remove the silicone so
that the thermostat probe may be gently removed.
www.jacksonmsc.com
Heater Replacement Instructions
Revision A (10/14/2005)
2
Removing the power lines.
Heater without power lines attached.