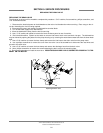
REPLACING THE DRAIN VALVE
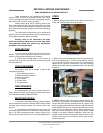
The following list of tools will be needed to complete this procedure. 5/16” nutdriver, flat screwdriver, phillips screwdriver, and
7/16” socket and ratchet.
1. Disconnect the electrical power to the dishwasher at the main circuit breaker box when servicing. Place a tag on the cir-
cuit box indicating the circuit is being repaired.
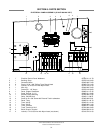
2. Disconnect the power and conduit from dishmachine terminal block.
3. Turn off the water supply to the dishmachine.
4. Move the dishmachine away from the wall for servicing.
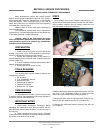
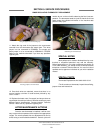
5. Use a 7/16” socket and ratchet to remove the lower enclosure panel at rear of machine.
6. Drain the dishmachine. Siphon out the water or remove inlet hose to drain valve and drain into pan. The dishmachine
may be drained by opening the petcock on the pump housing or by removing the wash thermometer bulb from the lower wash
tank.
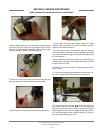
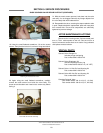
7. Use a 5/16” nutdriver to loosen the hose clamp and remove the inlet hose to the drain valve from the pump motor.
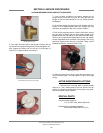
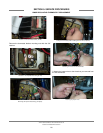
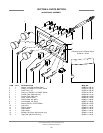
8. Use a phillips screwdriver to remove the cover from the valve. Use a flat screwdriver to disconnect the lead wires and
ground to the drain valve.
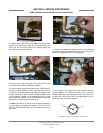
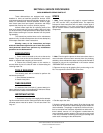
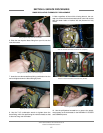
9. Use a 5/16” nutdriver to loosen the hose clamp and remove the discharge hose from the drain valve.
10. Use a phillips screwdriver to remove the screws attaching the drain valve to the mounting plate.
11. Reverse the procedures to install the new valve. INSURE GROUND WIRE LEAD IS CONNECTED PROPERLY TO TER-
MINAL ON THE MOTOR.
JP-24 Technical Manual 7610-002-49-79 Rev. D
Issued: 03-06-2006 Revised: N/A
SECTION 5: SERVICE PROCEDURES
REPLACING THE DRAIN VALVE
24
7
9
108
Replacing the Drain Valve


