21
Keep Warm™ Option
IMPORTANT: Food must be at serving temperature before
placing it in the warmed oven. Food may be held up to 1 hour;
however, breads and casseroles may become too dry if left in the
oven during the Keep Warm™ function.
The Keep Warm™ option allows hot cooked foods to stay at
serving temperature. It can also be used at the end of a timed
cook.
To Use Keep Warm™ Option:
1. Place food in oven.
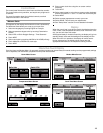
2. Touch MODES to move to the Modes menu.
3. From the Modes menu, touch KEEP WARM.
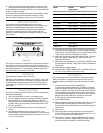
4. Touch the Temperature tab to move to the Temperature
screen.
Use the slider to enter a desired cooking temperature or
touch the -5ºF (-1ºC) or +5ºF (+1ºC) buttons. The temperature
must be between 150ºF (66ºC) and 200ºF (93ºC).
5. Touch START to begin Keep Warm™ cycle.
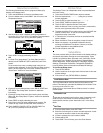
6. If a Cook Time, Keep Warm™ or Delay Start function is
desired, touch TIMER NOT SET to enter the Cook Time
screen or touch the Delay Start button from the Temperature
tab.
Enter a cooking length using the on-screen number keyboard
to set a timer to be alerted when cooking ends. The time
length may not exceed 12:00:00.
7. (Optional) To set delayed start, touch DELAY START and set
desired time. See “Delay Start” section for additional
information.
8. Touch START to begin Keep Warm™ cycle.
9. Touch CANCEL (CANCEL LEFT or CANCEL RIGHT on
48" [121.9 cm] models) to turn off the oven.
To Use Keep Warm™ Option at the End of a Cooking
Cycle:
The Keep Warm™ Option can be set up to come on at the end of
a cooking cycle. Activate Keep Warm while setting up the
cooking cycle.
1. During setup of a cooking cycle, touch the TIMER NOT SET/
COOK TIME screen.
2. Touch KEEP WARM WHEN DONE and toggle to ON.
The oven will automatically go into Keep Warm™ mode when
the cook timer ends.
3. If you want to change the Keep Warm™ temperature during
the Keep Warm™ cycle, touch the programmed temperature
at the top of the screen. Adjust temperature and touch OK.
4. To change the mode, touch the programmed mode at the top
of the screen. Select the new mode and touch OK.
5. Touch CANCEL (CANCEL LEFT or CANCEL RIGHT on
48" [121.9 cm] models) to turn off the oven.
Convect Bake
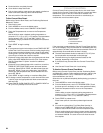
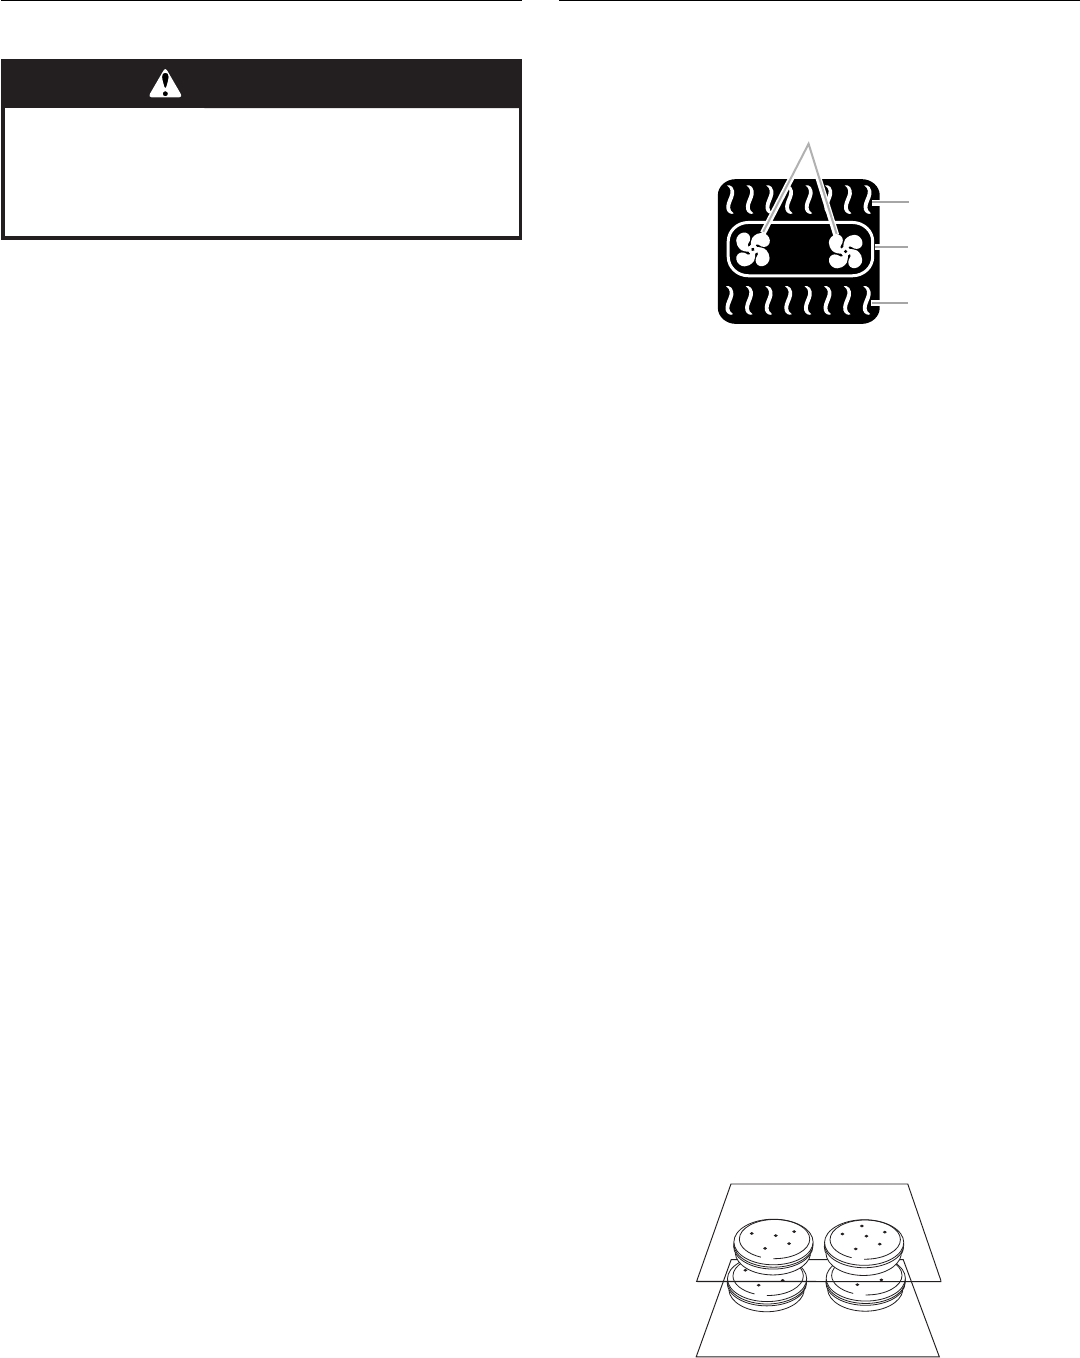
The convection elements are located in the rear of the oven
cavity, and assisted by the convection fans, provide balanced,
efficient heating.
Convection baking can be used for baking cakes, uncovered
casseroles, and frozen or convenience foods, as well as foods on
multiple racks. If the oven is full, extra cooking time may be
needed.
When cooking an oven meal with several different types of foods,
be sure to select recipes that require similar temperatures.
Cookware should sit in the oven with at least 1" (2.5 cm) of space
between the cookware and the sides of the oven.
During convection baking preheat, the convection, bake and broil
elements all heat the oven cavity. After preheat, the convection,
bake and broil elements and the fans will cycle on and off in
intervals to maintain oven temperature.
If the oven door is opened during convection baking, the fans
turn off immediately when the door is opened and turn on
immediately when the door is closed. Convection, Bake, and
Broil elements will turn off approximately 30 seconds after the
door is opened. They will turn on again approximately
30 seconds after the door is closed.
■ Reduce recipe temperature 25°F (14°C). Check food at
shortest recommended package or recipe time.
■ Use cookie sheets with no sides to allow air to move freely
around the food.
Before Using Convect Bake:
Before using Convect Bake, see the “Positioning Racks and
Bakeware” section and the following tips for rack positions.
Rack positions
1-rack baking: 3
2-rack baking: 2 and 4 or 1 and 4
3-rack baking: 1, 3, and 5
4-rack baking: 1, 2, 4, and 5
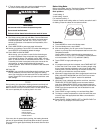
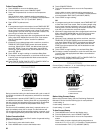
For best results when baking cakes on 2 racks, use racks 4 and 2
for baking. Place the cakes on the racks as shown.
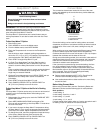
WARNING
Food Poisoning Hazard
Do not let food sit in oven more than one hour before
or after cooking.
Doing so can result in food poisoning or sickness.
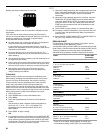
A. Convection fan
B. Broil element
C. Convection element
D. Bake element
A
B
C
D


