10
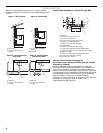
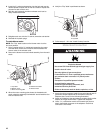
3. Insert the ³⁄₈" socket and extension into the hole and use the
ratchet handle to loosen the nut half of a rotation. Repeat this
process for each of the 4 nuts.
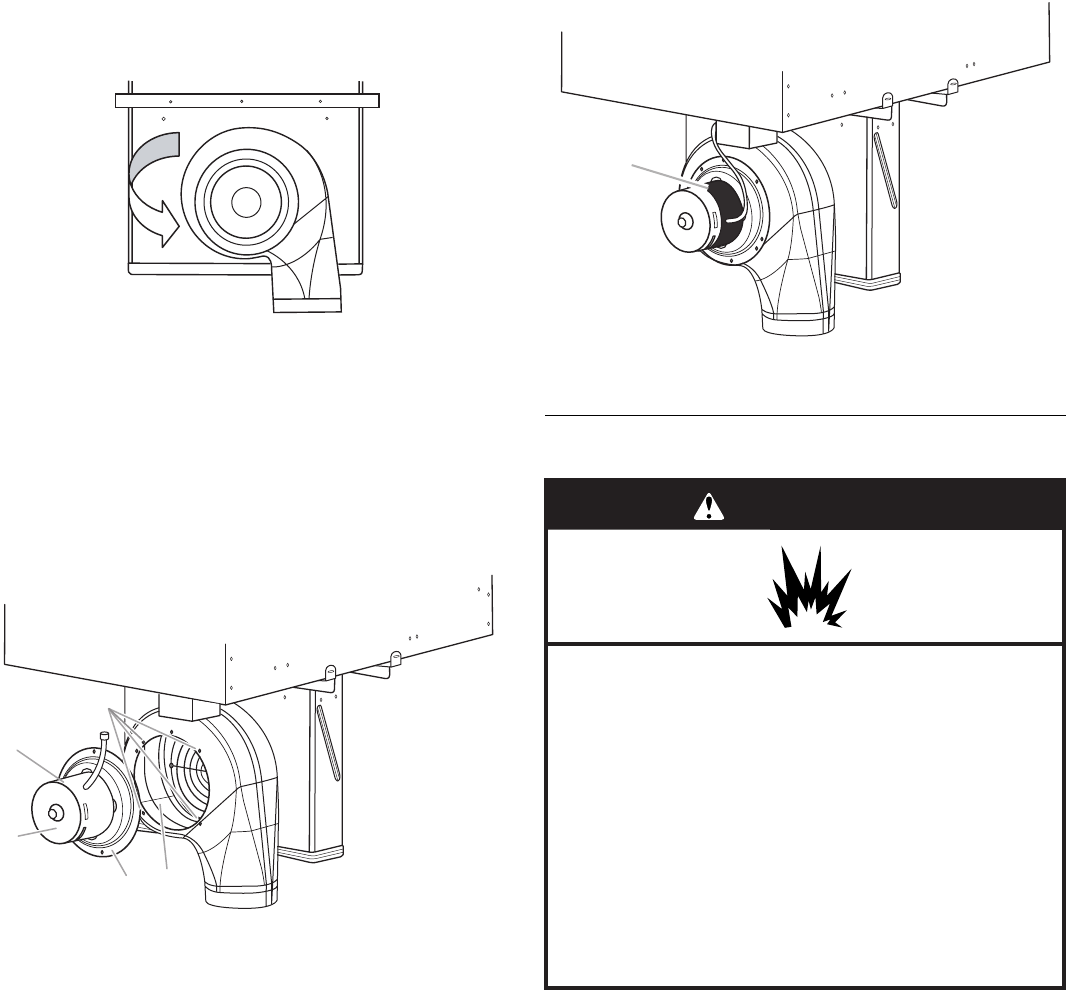
4. With the nuts loosened, the blower exhaust scroll can be
easily rotated downward.
5. Retighten each nut with the ³⁄₈" socket, extension and ratchet.
6. Reinstall the 4 plastic plugs.
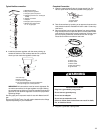
To rotate blower motor:
NOTE: The “Top” label location on the blower motor is at the
9 o’clock position.
1. Using a ratchet with a ³⁄₈" socket and supporting the motor
with one hand, remove the 4 machine nuts that attach the
blower motor to the exhaust scroll.
2. Remove the blower motor and wheel assembly from the weld
studs.
3. When the motor mounting plate clears the threaded weld
studs, rotate the assembly clockwise 90° and reinstall the four
#10-32 machine nuts.
4. Verify the “Top” label is positioned as shown.
5. Follow steps 5 - 10 in the “Install Cooktop” section.
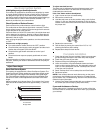
Make Gas Connection
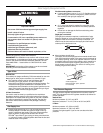
1. Apply pipe-joint compound made for use with Natural and LP
gas to the smaller thread ends of the flexible connector
adapters (see C and G in the following illustration).
2. Attach one adapter to the gas pressure regulator and the other
adapter to the gas shutoff valve. Tighten both adapters.
3. Use a ¹⁵⁄₁₆" combination wrench and channel lock pliers to
attach the flexible connector to the adapters. Check that
connector is not kinked.
A.Top label
B.Blower motor
C.Motor mounting plate
D.Weld stud location
E.Blower wheel
B
A
D
C
E
A. Top label
A
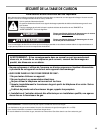
WARNING
Explosion Hazard
Use a new CSA International approved gas supply line.
Install a shut-off valve.
Securely tighten all gas connections.
If connected to LP, have a qualified person make sure
gas pressure does not exceed 14" (36 cm) water
column.
Examples of a qualified person include:
licensed heating personnel,
authorized gas company personnel, and
authorized service personnel.
Failure to do so can result in death, explosion, or fire.


