


16
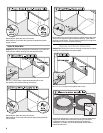
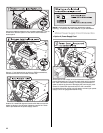
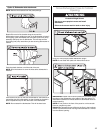
Attach outer panel to back of customer-supplied custom panel
with the four #10-16 x ³⁄₈" hex head screws supplied in the
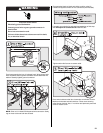
literature package. Attach the handle. The handle should be
centered on the front of the customer-supplied custom panel in
the area shown.
IMPORTANT: Screw heads must be flush with back of customer-
supplied custom panel.
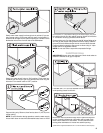
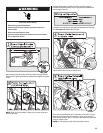
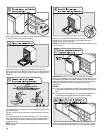
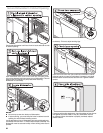
Attach the panel assembly to the door by reinstalling the three
screws on each side; do not tighten completely. This reinstallation
of the three screws will hold the panel assembly in place on the
door frame.
Align the top edge of the customer-supplied custom panel with
the top of the console.
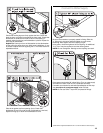
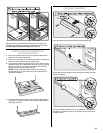
Drill two ³⁄₃₂" (2.4 mm) pilot holes ¹⁄₂" (13 mm) deep, into the
customer-supplied custom panel, through the holes in the top
corners on the inner panel, as shown.
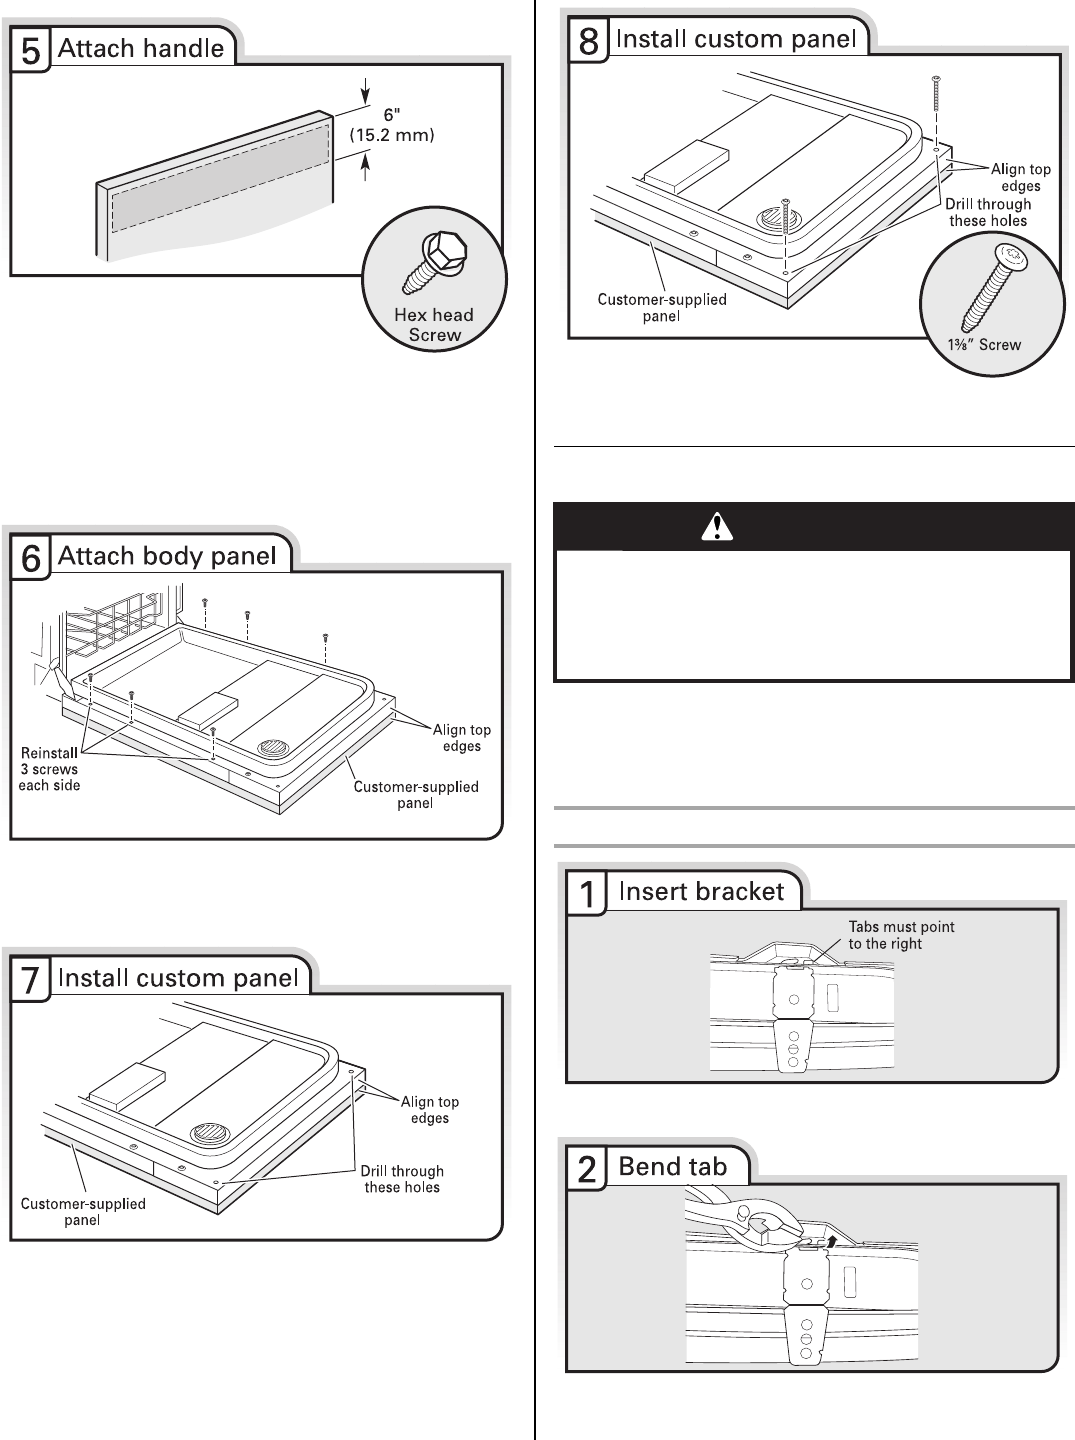
Install the two #8-18 x 1³⁄₈" screws from the literature package in the
top corners of the inner panel. Tighten the six side screws
reinstalled in Step 6.
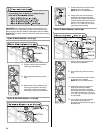
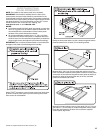
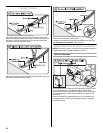
Choose Attachment Option
Use 2 or more people to move and install the dishwasher.
IMPORTANT: The dishwasher must be secured to the cabinet.
There are two brackets found in the parts bag. Attach the brackets
using Option Number 1 if the countertop is wood, laminate or
another similar surface. If your countertop is marble, granite or
another hard surface, install using Option Number 2.
Option 1, Countertop attachment:
Remove the brackets from the package and insert into the open slots
on the left and right-hand top of the dishwasher collar as shown.
Using a pair of pliers, bend the tab down to secure the bracket in
place. Repeat this step for the other side.
NOTE: Do not attach the dishwasher. This will be done later.
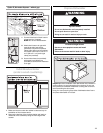
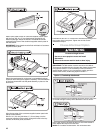
WARNING
Excessive Weight Hazard
Use two or more people to move and install
dishwasher.
Failure to do so can result in back or other injury.