


8
Ⅲ If using acidic decalcifying agents be sure to immediately re-
move any splashes and drops from delicate surfaces, especially
natural stone and wooden surfaces, or take corresponding pre-
cautions.
3. Check before use
3.1 Checking mains voltage
The machine is set for the correct voltage before leaving our
factory. Ensure that your mains voltage corresponds to the details
quoted on the rating plate attached to the bottom of the machine.
3.2 Checking fuse
The machine is designed for a current of 10 amps. Check that an
appropriate fuse is fitted.
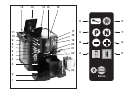
3.3 Adding coffee beans
Ⅲ Lift up cover of the bean container (13) and remove aroma pro-
tection lid.
Ⅲ Clean out any dirt or foreign object from the bean container.
Ⅲ Fill the grinder container with coffee beans, replace aroma pro-
tection lid and close the cover.
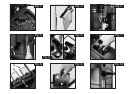
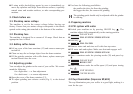
3.4 Adjusting grinder
You can adjust the grinder to the roast of your coffee. We recom-
mend the following:
for a light roast Ǟ a finer adjustment
for a dark roast Ǟ a coarser adjustment
Ⅲ Open the cover of the bean container (13).
Ⅲ To adjust grinding turn selector switch (Fig. 1) to the desired
position.
Ⅲ You have the following possibilities:
the smaller the dots, the finer the grinding
the bigger the dots, the coarser the grinding
The grinding grade should only be adjusted while the grinder
is working.
4. Preparing machine
4.1 Fill system with water
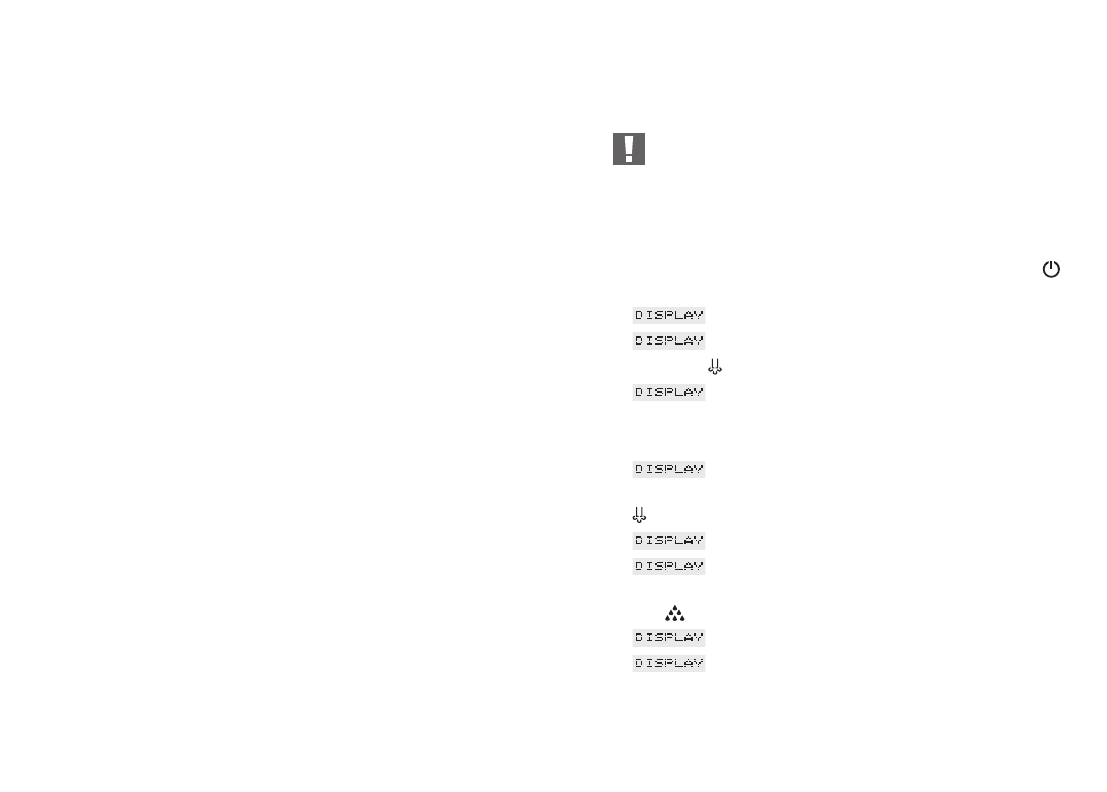
Ⅲ Switch your machine on by pressing ON/OFF key . The
machine adjusts fully-automatically to the starting position.
Ⅲ PLEASE WAIT
Ⅲ FILL SYSTEM / PRESS STEAM
Ⅲ Press key .
Ⅲ FILL WATER
Ⅲ Remove water tank and rinse well with clear tap-water.
Ⅲ Fill water tank and replace. Make sure that tank engages well.
Ⅲ FILL SYSTEM / PRESS STEAM
Ⅲ Place a container under the pivoting nozzle (20) and press key
.
Ⅲ PLEASE WAIT
Ⅲ RINSE UNIT
Ⅲ Place a container under the coffee-spout (15) and press rinsing
key .
Ⅲ UNIT RINSING
Ⅲ COFFEE READY
4.2 Cup illumination (Impressa S9/601)
The cup illumination puts your coffee in a good light, making it a
treat for the eyes.