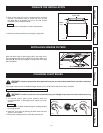
12
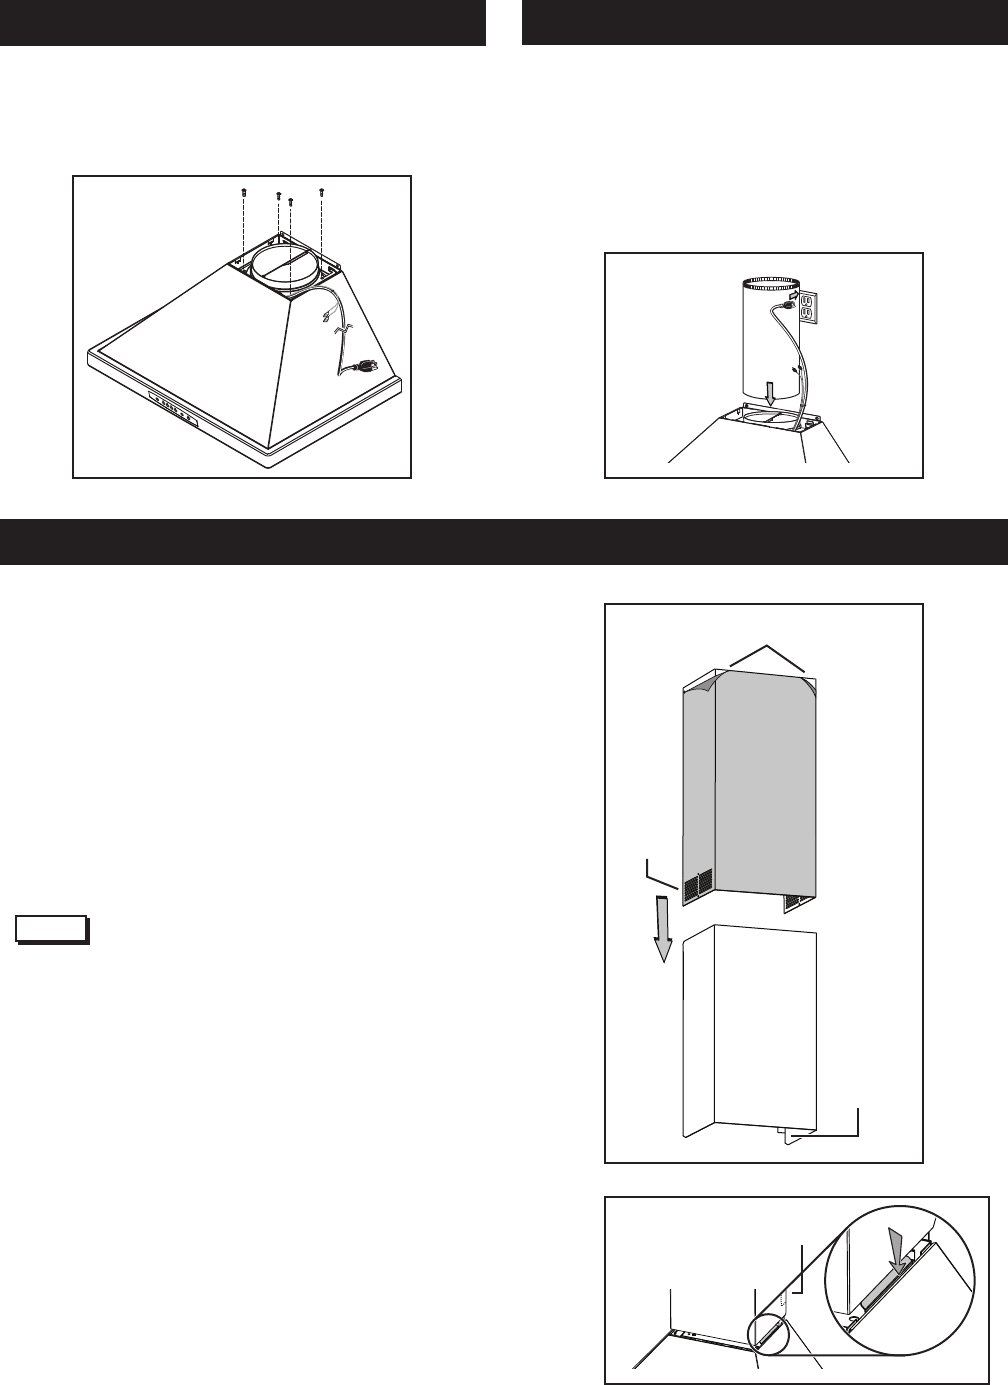
VERTICAL DISCHARGE ONLY:
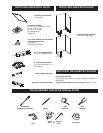
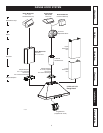
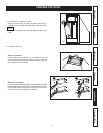
6. Mount the 8” round adapter/damper (included in a separate
box) to the hood using 4 no. 8 x 3/8” sheet metal screws
(included).
FINALIZE THE INSTALLATION
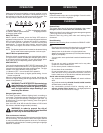
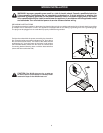
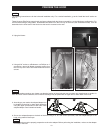
1. Remove protective plastic film covering the lower flue
only.
Peel off both corners at the top of the upper fl ue.
Position the lower fl ue rear notches down (the ones with the
45° angle).
Gently slide upper fl ue inside lower fl ue, louvers end fi rst
(so that louvers are hidden inside lower fl ue, as they are not
needed).
HO0144
Both lower and upper fl ues are included with the hood, but
for a 10 foot ceiling, discard the provided upper fl ue and
use the optional extension fl ue, part no. 31131 (purchase
separately).
NOTE
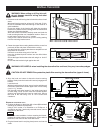
2. Carefully slide in place decorative fl ue base (notches end
fi rst) between the shaded part and the exterior wall of the
top of the hood.
HO0143
LOWER FLUE
REAR NOTCH
LOWER FLUE
REAR NOTCH
LOUVERS
UPPER FLUE
TOP CORNERS
HJ0041
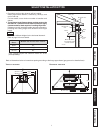
VERTICAL DISCHARGE ONLY:
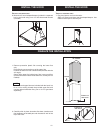
7. Plug hood power cord into the outlet.
Slide a 8” metal round duct over the adapter/damper. Use
metal foil duct tape to seal the joint.
HJ0037
INSTALL THE HOOD
INSTALL THE HOOD


