


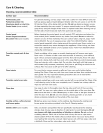
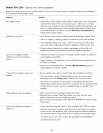
Care & Cleaning
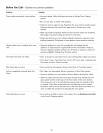
General cleaning
Refer to the Cleaning recommendation table in the Care &
Cleaning section for more detailed information about
cleaning specific parts of the range.
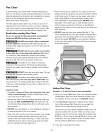
Before manually cleaning any part of the
range, be sure all controls are turned OFF and the range is
COOL. The range may be hat and can cause burns.
Ammonia must be rinsed before operating the
oven. Provide adequate ventilation.
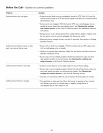
Aluminum foil and utensils
NEVER cover any slots, holes or passages in
the oven bottom or cover an entire oven rack with materials
such as aluminum foil. Doing so blocks air flow through the
oven and may cause CARBON MONOXIDE poisoning.
Aluminum foil linings may trap heat, causing a fire hazard.
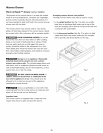
• Aluminum foil - Use of aluminum foil on a hot cooktop
can damage the cooktop. Do not use thin aluminum
cooking utensils or allow aluminum foil to touch the
surface burners under ANY circumstances.
• Aluminum utensils - The melting point of aluminum is
much lower than that of other metals. Care must be
taken when aluminum pots or pans are used on the
cooktop. If aluminum pans are allowed to boil dry when
using the cooktop, the utensil may be damaged or
destroyed.
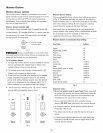
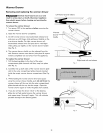
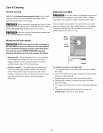
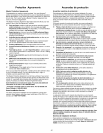
Replacing oven lights
Be sure the range is unplugged and all parts
are COOL before replacing oven light. Wear a leather-
faced glove for protection against possible broken glass.
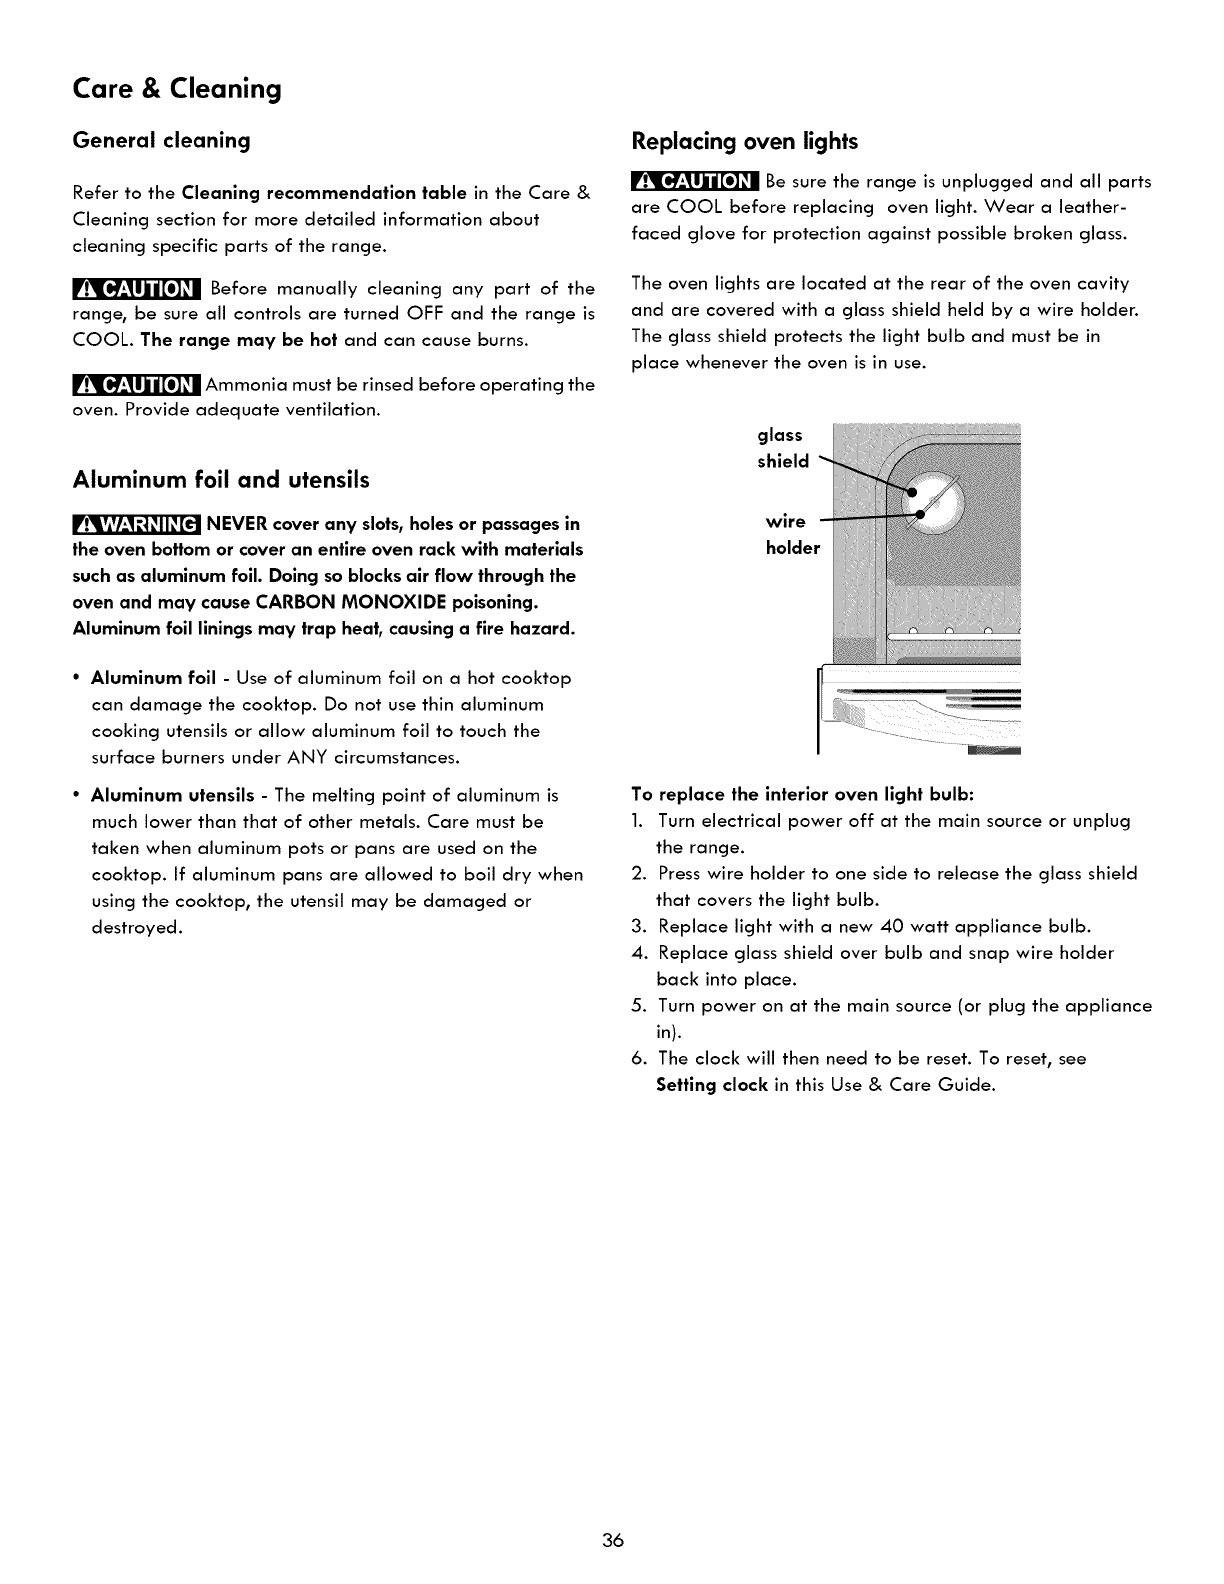
The oven lights are located at the rear of the oven cavity
and are covered with a glass shield held by a wire holder.
The glass shield protects the light bulb and must be in
place whenever the oven is in use.
glass
shield
wire
holder
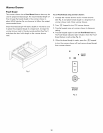
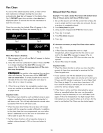
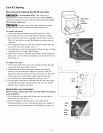
To replace the interior oven light bulb:
1. Turn electrical power off at the main source or unplug
the range.
2. Press wire holder to one side to release the glass shield
that covers the light bulb.
3. Replace light with a new 40 watt appliance bulb.
4. Replace glass shield over bulb and snap wire holder
back into place.
5. Turn power on at the main source (or plug the appliance
in).
6. The clock will then need to be reset. To reset, see
Setting clock in this Use & Care Guide.
36