Top Burners
Your gas range is equipped with “state of the art” “Sealed
Gas Burners” and an “Auto-Reignition System”. The
sealed gas burners spread the heat evenly across the
bottom of the cooking utensil and provide infinite heat
control. The auto-reignition system senses when a burner
flame has gone out and will automatically reignite that
burner. There are no standing pilots to light or adjust.
See “Gas Burner Cleaning” for maintenance of top
burners.
T
O
L
I
T
E
9
8
7
6
5
4
3
2
LO
HI
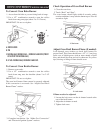
Figure 10
Operating Range During a Power Failure
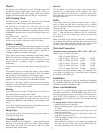
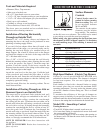
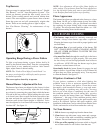
To light a top burner during a power failure, hold a lit
match to the desired burner head. Turn the corresponding
control knob to any numbered position. After burner
lights, adjust flame to desired setting.
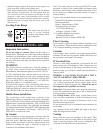
NOTE: The “Push to Turn Safety Control Knobs” on
the range are designed for child safety and to prevent
accidental operation.
The oven requires electricity to operate.
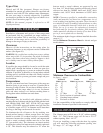
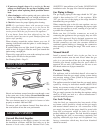
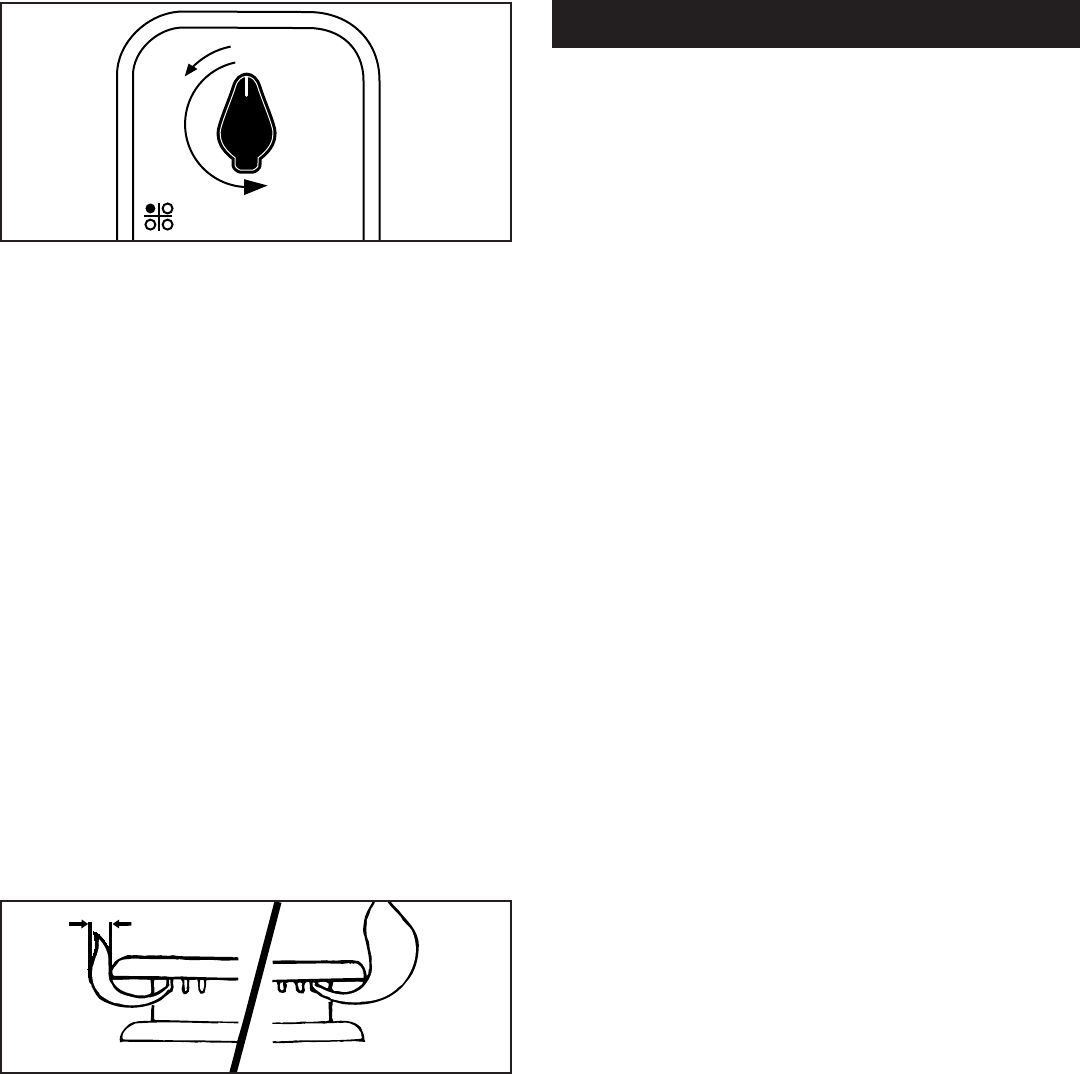
Manual Burner Adjustment On Low
The burners have been pre-adjusted at the factory for best
performance. You may manually adjust the low settings
up or down by removing the control knob while the burner
is lit and in the low position. While holding the valve stem
so it doesn’t turn, insert a small flat blade screwdriver into
the stem and turn the small brass screw slightly in either
direction until desired flame height is obtained. Valve
must be adjusted so low flame licks around burner cap no
less than 1/8”. See figure 11.
1/8"
Figure 11 Figure 12
NOTE: Low adjustment will not effect flame heights at
other settings. If a top burner flame has been adjusted too
low, the electronic ignitor may start to spark while burner
is on. Readjust flame until ignitor stops sparking.
Flame Appearance
The burners have been pre-adjusted at the factory to a clean
blue flame. On LP gas, a slight orange tip may be visible.
If flame is not as above, your gas servicemen can check
the regulator for proper setting with a water manometer
(U-gauge). The stove pressure should be within + or - 10%
of the pressure setting shown in this manual.
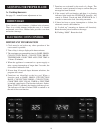
GAS BURNER CLEANING
•The burner caps should be routinely removed and
cleaned. Always clean burner caps after a spillover.
Keeping the burner caps clean aids in proper ignition and
an even flame.
•For proper flow of gas and ignition of the burner, DO
NOT ALLOW SPILLS, FOOD, CLEANING AGENTS
OR ANY OTHER MATERIAL TO ENTER THE GAS
ORIFICE OPENING.
•Gas must flow freely through the small hole in the brass
orifice for the burner to light properly. This area must
be free of any soil and be kept protected from boilovers
or spillovers. ALWAYS keep the burner caps in place
whenever a surface burner is in use.
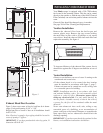
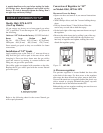
Occasionally check the burner flames for proper size and
shape as shown. A good flame is blue in color. If flames lift
off ports they are yellow and usually noisy. You may need
to clean the burners. See figure 12.
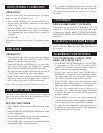
If Ignitors Continue to Click
If your ignitors continue to click after lighting, the
probable cause is dirt or moisture around the burner,
or between the burner and ignitor. Clean these areas
thoroughly with household cleaner or soap and water.
Dry thoroughly or sparking may still occur. (You may
have to use a hair dryer to completely dry the area.) If
the condition persists, but on low setting only, you may
need to increase the burner flame (see “Manual Burner
Adjustment” – this page). If the condition persists, check
for damaged ignitors. Very rarely, the spark module may
need to be replaced. Ignitors and spark modules, with
installation instructions, can be ordered from Elmira Stove
Works, and must be serviced from under the cook top.
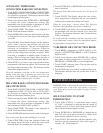
To Clean Burners:
1. Lift the burner cap straight up from the burner base.
2. Clean burner cap with warm, soapy water and a sponge.
You can also clean with a nonabrasive scrubbing pad or
cleanser. Do not clean burner cap in dishwasher.
3. If the gas orifice opening has become soiled or clogged,
use a cotton swab or a soft cloth to clean the area.
13


