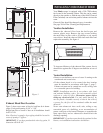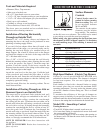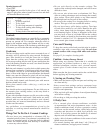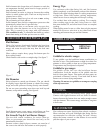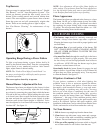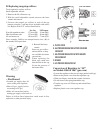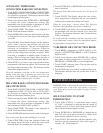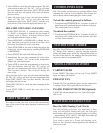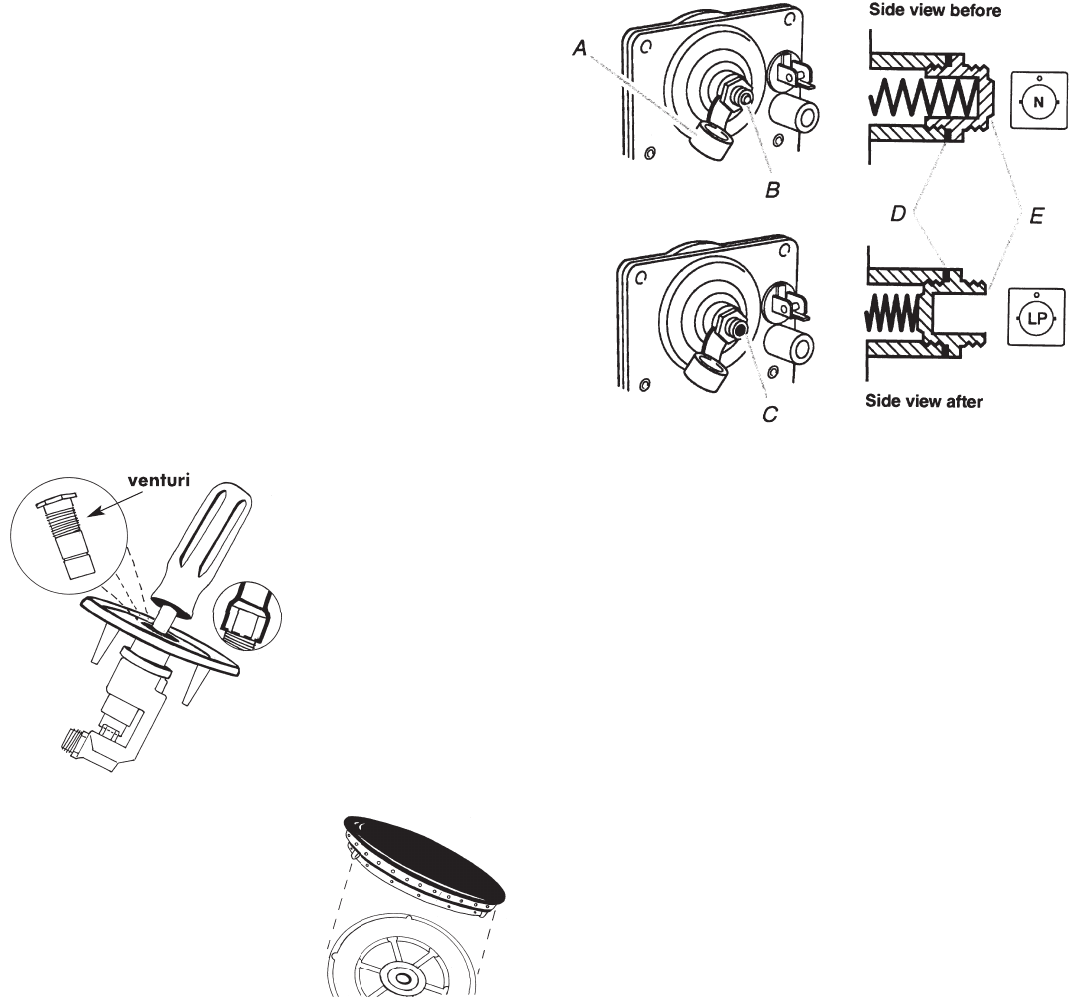
B. Replacing rangetop orifices:
Tools required to replace orifices.
Small adjustable wrench.
1. Remove the lift off burner cap.
2. With the small adjustable wrench, unscrew the brass
venturi and remove.
3. Unscrew the natural gas orifices in each of the top
burners using the 7 mm nut driver included with orifice
kit. Replace with “LP” orifices listed below.
Nat. Gas LP/Propane
Front left superburner takes 1.75 mm (#50) .91 mm (#64)
Other front burners take 1.32 mm (#55) .89 mm (#65)
All rear burners use 1.09 mm (#57) .71 mm (#70)
Note: example. Orifices are stamped metric sizes. (00) is
the number drill equivalent.
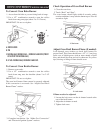
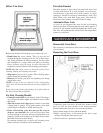
4. Reinstall the brass
venturi.
Store nat. gas orifices
and nut driver so they
are available for future
conversions.
When replacing the
black caps, make sure
that the tabs in the cap
fit into the grooves of
the burner base.
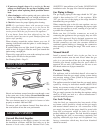
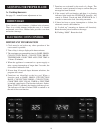
Warning
– Fire Hazard
•Located gas supply shut off
valve on the press regulator.
•Shut off gas supply before
converting to LP gas.
•Makeallconversionsbefore
turning gas supply valve back on.
Failure to follow these instructions could result in fire,
explosion or other personal injury.
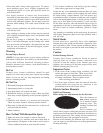
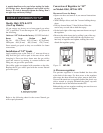
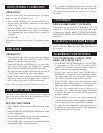
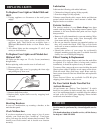
A. PlAstic cover
B. GAs Pressure reGulAtor cAP with solid end
fAcinG out
c. GAs Pressure reGulAtor cAP with hollow
end fAcinG out
d. wAsher
e. GAs Pressure reGulAtor cAP
Conversion of Regulator to “LP”
on Models 1860 & 1867 (gas oven)
•Locatetheregulatorattherearofrange(underbacklegs).
•Removetheplasticcoverfromtheregulatorcap.
•Withyourfingers,turnthenutcounterclockwise.
•Donotremovethespringbeneaththecap.
•TurnthecapoversoLPfacesupandreinstallinto
regulator.
•Replaceplasticcoveroverregulatorcap.
16


