9
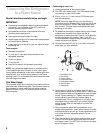
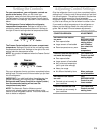
Connecting to refrigerator:
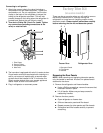
1. Attach the copper tube to the valve inlet using a
compression nut and sleeve as shown. Tighten the
compression nut. Do not overtighten. Use the tube
clamp on the back of the refrigerator to secure the
tubing to the refrigerator as shown. This will help
prevent damage to the tubing when the refrigerator is
pushed back against the wall. Move to step 2.
2. Turn shut-off valve ON. Check For Leaks. Tighten
any connections (including connections at the
valve) or nuts that leak.
1. Tube Clamp
2. Copper Tubing
3. Compression Nut
4. Valve Inlet
3. The ice maker is equipped with a built-in water strainer.
If local water conditions require periodic cleaning or a
well is your source of water supply, a second water
strainer should be installed in the ¹⁄₄-inch water line.
Obtain a water strainer from your nearest appliance
dealer. Install at either tube connection.
4. Plug in refrigerator or reconnect power.
Factory Trim Kit
(on some models)
There may be an occasion when you will need to remove
the factory-installed trim kit, such as moving the
refrigerator to a new home or installing custom-made
decorator panels. Please read all instructions carefully
before removing the trim kit and decorator panels.
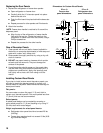
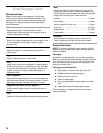
1. Decorator Panels
2. Filler Panels
3. Handles
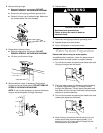
Removing the Door Panels
NOTE: When removing and replacing decorator panels,
only the handle is removed. All other trim pieces remain
attached to the doors.
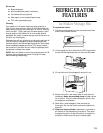
1. Remove the refrigerator and freezer handles:
■ Using a Phillips screwdriver, remove the screws that
hold each handle in place.
■ Lift off handle. Make sure you keep screws for
reattaching handles.
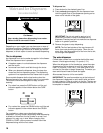
2. Remove the door panels:
■ Open refrigerator or freezer door.
■ Slide out decorator panel and filler board.
■ Repeat process for other panels and filler boards.
■ Store panel and filler boards carefully to prevent
scratching.
Freezer Door Refrigerator Door
2 1
2 1
3
1
2


