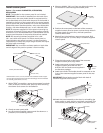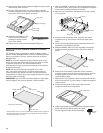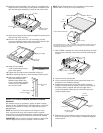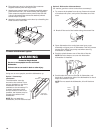
9
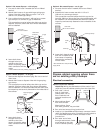
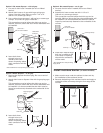
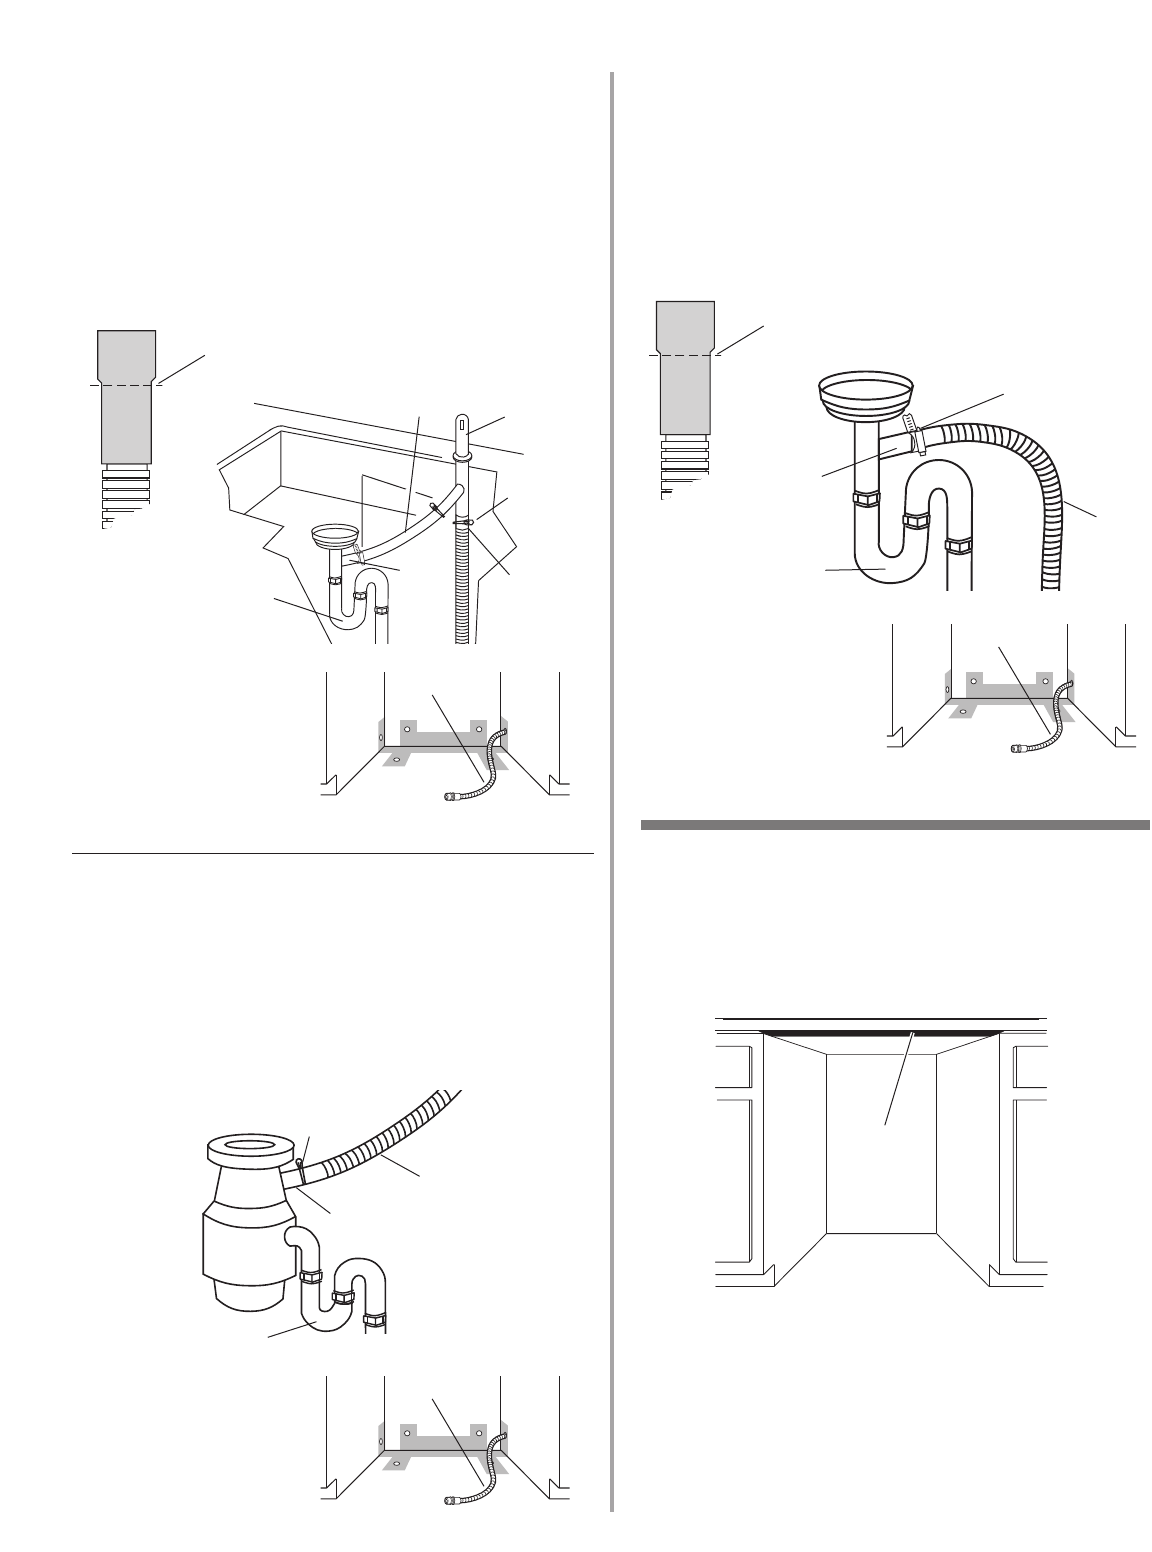
Option 4: No waste disposer – no air gap:
1. Cut end of drain hose if needed (do not cut ribbed
section).
2. Attach drain hose to waste tee with 1-1/2" to 2"
(3.8 to 5 cm) screw-type clamp*.
This connection must be before the drain trap and at
least 20" (50.8 cm) above the floor where dishwasher will
be installed. It is recommended that the drain hose be
looped up and securely fastened to the underside of the
counter.
3. Insert drain hose through
hole cut in cabinet to the
front center of opening
where drain connection
will be made.
* Parts available from local plumbing
supply stores
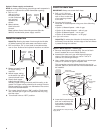
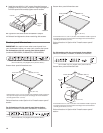
Install moisture barrier (on some models)
drain
hose
waste
tee
drain trap
screw-type clamp
drain hose –
cut here if needed
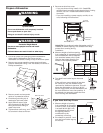
Option 2: No waste disposer – with air gap:
1. Cut end of drain hose if needed (do not cut ribbed
section).
2. Attach drain hose to air gap with large spring-type
clamp. If the drain hose was cut, use a 1-1/2" to 2"
(3.8 to 5 cm) screw-type clamp*.
3. Use a rubber hose connector* with spring or screw-type
clamps* to connect air gap to waste tee.
This connection must be before the drain trap and at
least 20" (50.8 cm) above the floor where dishwasher will
be installed.
4. Insert drain hose
through hole cut in
cabinet to the front
center of opening where
drain connection will be
made.
* Parts available from local plumbing supply stores
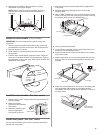
Option 3: Waste disposer – no air gap:
1. Remove the disposer knockout plug. Do not cut end of
drain hose.
2. Attach drain hose to disposer inlet with large spring-type
clamp.
This connection must be before the drain trap and at
least 20" (50.8 cm) above the floor where dishwasher will
be installed. It is recommended that the drain hose be
looped up and securely fastened to the underside of the
counter.
3. Insert drain hose
through hole cut in
cabinet to the front
center of opening where
drain connection will be
made.
drain hose –
cut here if needed
drain
hose
large
spring-type
clamp
air gap
rubber hose
connector
spring or
screw-type
clamps
waste
tee
drain trap
drain hose
large spring-type
clamp
disposer
inlet
drain trap
drain hose
drain hose
drain hose
1. Make sure the area under the cabinet is clean and dry
for installation of the moisture barrier.
2. Remove the backing of the moisture barrier and apply to
underside of the countertop along the front edge of the
counter.
moisture
barrier


