


21
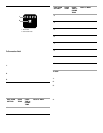
5. Press START.
The start time is automatically calculated and displayed.
The door will automatically lock and “DOOR LOCKED,”
“DELAY,” and the stop time will also appear on the display.
The door will not unlock until the oven cools.
When the start time is reached, the oven will automatically
turn on.
When the cycle is complete and the oven cools, “End” will
appear on the oven display and “DOOR LOCKED” will
disappear.
6. Press any pad or open the oven door to clear the oven
display.
To Stop Self-Clean any time:
Press CANCEL OFF, UPPER OVEN CANCEL / OFF or LOWER
OVEN CANCEL / OFF. If the oven temperature is too high, the
door will remain locked. It will not unlock until the oven cools.
General Cleaning
IMPORTANT: Before cleaning, make sure all controls are off and
the oven is cool. Always follow label instructions on cleaning
products.
Soap, water and a soft cloth or sponge are suggested first unless
otherwise noted.
STAINLESS STEEL (on ARCHITECT™ Series models only)
Do not use soap-filled scouring pads, abrasive cleaners, Cooktop
Polishing Creme, steel-wool pads, gritty washcloths or some
paper towels. Damage may occur.
Rub in direction of grain to avoid damaging.
■ Stainless Steel Cleaner & Polish (not included):
See “Assistance or Service” section to order.
■ Liquid detergent or all-purpose cleaner:
Rinse with clean water and dry with soft, lint-free cloth.
■ Vinegar for hard water spots
OVEN DOOR EXTERIOR
■ Glass cleaner and paper towels or non-abrasive plastic
scrubbing pad:
Apply glass cleaner to soft cloth or sponge, not directly on
panel.
CONTROL PANEL
Do not use abrasive cleaners, steel-wool pads, gritty washcloths
or some paper towels. Damage may occur.
■ Glass cleaner and soft cloth or sponge:
Apply glass cleaner to soft cloth or sponge, not directly on
panel.
OVEN CAVITY
Do not use oven cleaners.
Food spills should be cleaned when oven cools. At high
temperatures, foods react with porcelain and staining, etching,
pitting or faint white spots can result.
■ Self-Cleaning cycle:
See “Self-Cleaning Cycle” first.
OVEN AND ROASTING RACKS
■ Self-Cleaning cycle:
See “Self-Cleaning Cycle” first. Remove racks or they will
discolor and become harder to slide. If this happens, a light
coating of vegetable oil applied to the rack guides will help
them slide.
■ Steel wool pad
BROILER PAN AND GRID
Do not clean in the Self-Cleaning cycle.
■ Mildly abrasive cleanser:
Scrub with wet scouring pad.
■ Solution of ¹₂ cup (125 mL) ammonia to 1 gal. (3.75 L) water:
Soak for 20 minutes, then scrub with scouring or steel wool
pad.
■ Oven cleaner:
Follow product label instructions.
Porcelain enamel only, not chrome
■ Dishwasher
TEMPERATURE PROBE (on some models)
■ Plastic scouring pad
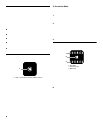
Oven Lights
The oven lights are 12-volt, 5-watt maximum halogen bulbs. They
will come on when the oven door is opened. On double oven
models, both upper and lower lights will come on when either
door is opened. The oven lights will not work during the Self-
Cleaning cycle. When the oven door is closed, press OVEN
LIGHT to turn them on or off.
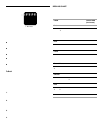
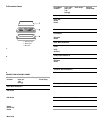
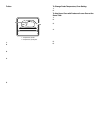
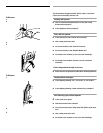
To Replace:
Before replacing, make sure the oven is off and cool.
1. Disconnect power.
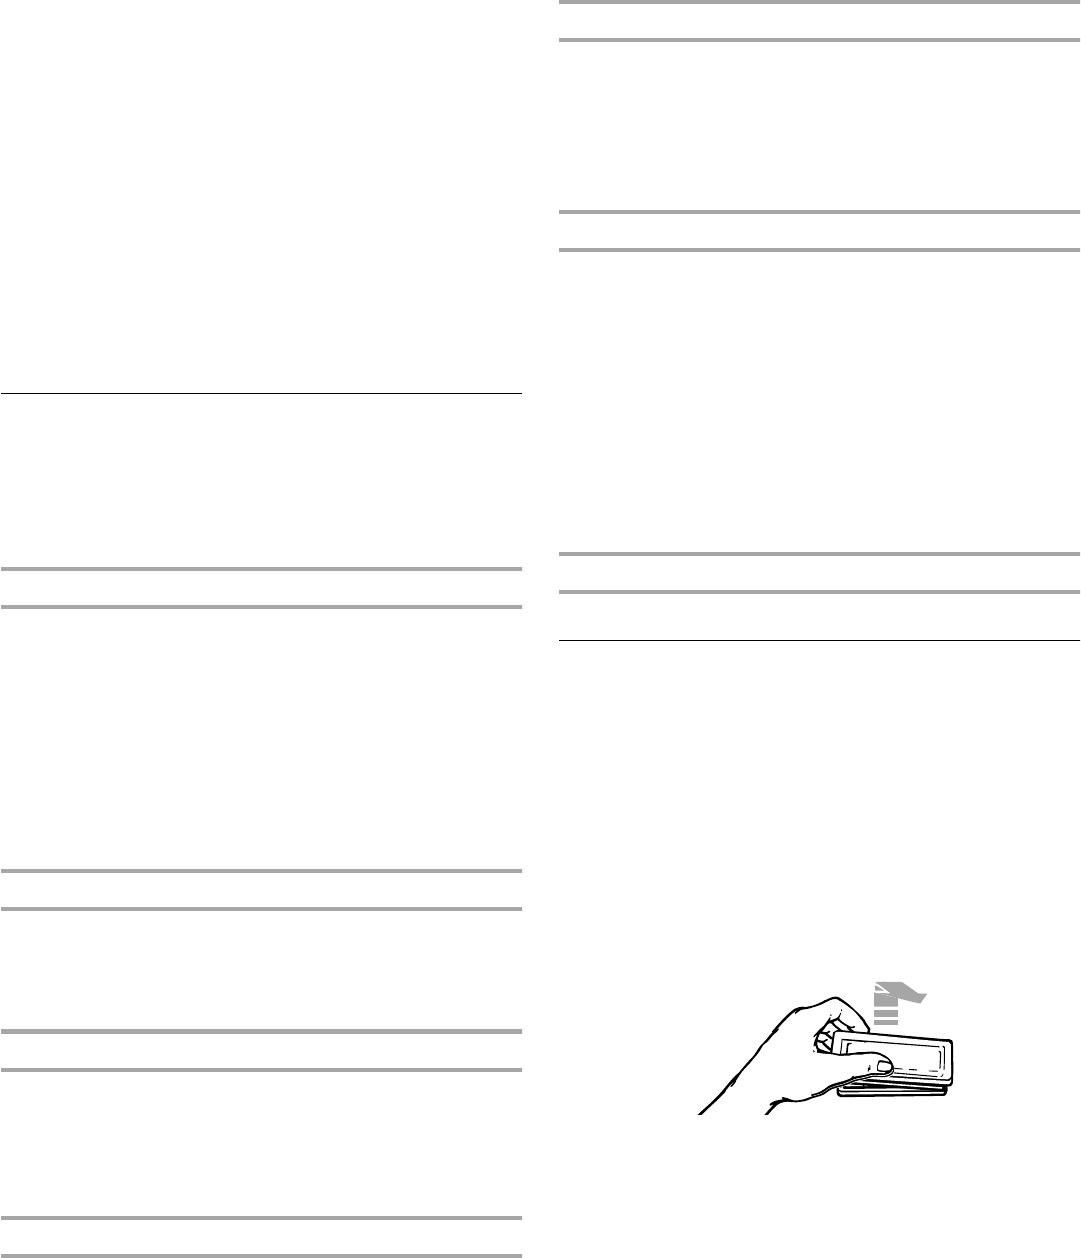
2. Remove glass light cover by grasping the front edge and
pulling away from oven.
3. Remove bulb from socket.
4. Replace bulb, replace bulb cover by snapping back into wall.
5. Reconnect power.