2. Fill the hopper with grain.
3. Once the grain is added, start the
mixer at Speed 10.
NOTE: If the grind is too fine, turn
the adjustment knob
counterclockwise, one notch at a
time, until desired coarseness is
obtained.
4. Continue to replenish grain in the
hopper until the desired amount of
grain is ground.
NOTE: Do not grind more than 10
cups of flour at one time; damage to
mixer may result. After grinding 10
cups of flour, allow the mixer to cool at
least 45 minutes before using it again.
TO USE:
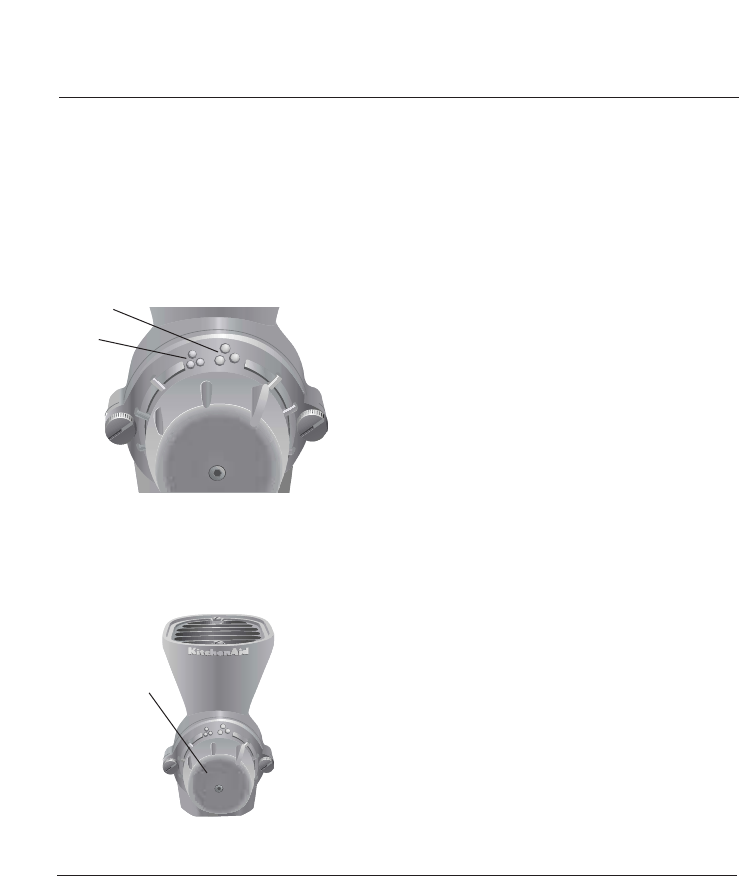
Note the grind symbols at the top of
the dial. The Fine Grind Symbol (A)
indicates the finest grind setting. The
Coarse Grind Symbol (B) indicates the
setting for the grind that is most
coarse. Each notch on the dial
represents a grind setting.
1. Select the finest grind setting by
turning the adjustment knob (C)
clockwise to the Fine Grind
Symbol (A).
8
Using Your Grain Mill
Care and Cleaning
TO CLEAN:
Clean burrs and other mill parts with
the provided brush. The Mill does not
necessarily need to be cleaned after
every use, but should be brushed
when changing types of grains. If
needed, a toothpick may be used to
clean the burr grooves.
IMPORTANT: Do not wash Grain
Mill or any of its parts in an
automatic dishwasher.
If the Grain Mill must be washed,
wash it by hand with mild detergent
and warm water. Dry thoroughly with
a towel. Allow to air dry. Do not
reassemble until next use. If burrs are
not completely dry, grain may clog
the mill.
If the unit is to be stored for a long
period of time, lightly coat the burrs
with mineral oil. Before next use,
hand wash as directed above to
remove the mineral oil.
B
A
C


