


Now start...
4
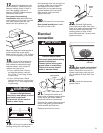
1.
Put a thick protective
covering over cooktop, set-in
range or countertop to protect
from damage or dirt.
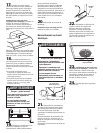
If installing over a freestanding
range, disconnect and move the
range to provide easier access to
the upper cabinet and rear wall.
Slide range onto cardboard or
hardboard before moving to
prevent damaging floor covering.
2.
Place hood on a protective
cover with filters facing down.
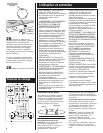
3.
Determine which venting
method (roof, wall or non-vented)
will be used.
• The hood is factory-set for roof
venting.
• For non-vented installations, go
to Step 4.
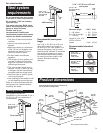
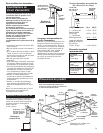
vent
connection
seal plate
top
knockout
If venting through the wall,
remove seal plate from back of
hood and vent connector from top
of hood. Reinstall vent connector
onback of hood and seal plate on
top of hood.
4.
Remove knockout from the
wiring opening (top or back) to be
used.
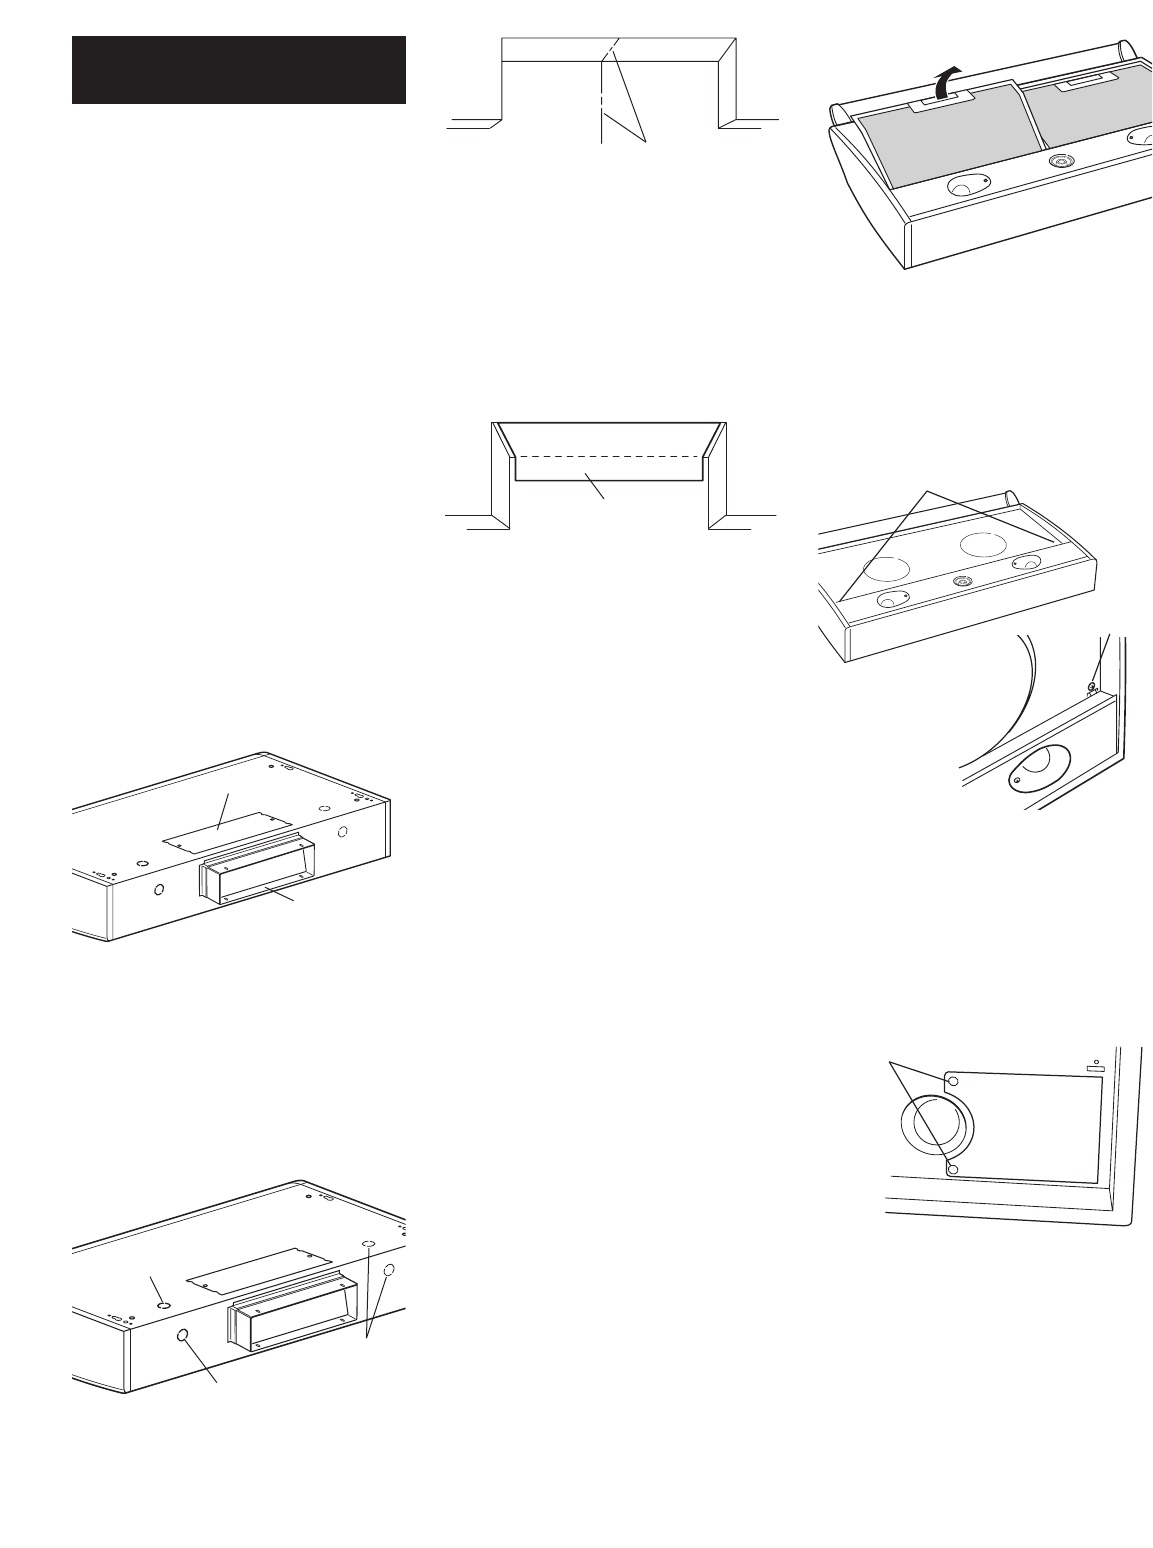
6.
Align centerlines of template
with centerlines marked on rear
wall and upper cabinet bottom.
Tape template in place. Mark
location of the four holes used to
secure hood to upper cabinet.
7.
Depending on your
installation, mark location of the
wiring hole or vent cutout in
upper cabinet or back wall needed
as shown on template.
8.
Remove template.
9.
Drill four 3/16" (5.0 mm)
diameter holes through upper
cabinet for the hood mounting
screws.
10.
Drill the 1-1/2" (4.0 cm)
wiring hole.
11.
Make the vent cutout for
3-1/4" x 10" (8.3 x 25.4 cm)
rectangular vent system. Note: It
is recommended that vent system
be installed before installing
hood.
12.
Turn the hood over so
filters face up.
template
5.
Mark centerlines on rear wall
and upper cabinet bottom.
For non-vented installations:
Extend centerline up onto soffit
above hood.
centerlines
13.
Rotate deflector away
from filters. Pull grease filter
handles toward back of hood to
release locking tabs. Lift filters up,
remove from hood and set aside.
14.
Remove 2 screws from
light panel tabs. On light panel
surface directly behind tabs, push
toward back of the hood to move
tabs out through the slots.
Remove panel and set aside with
screws.
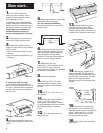
15.
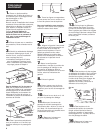
Remove 2 screws from
wiring box cover located in the
right hand rear corner and remove
cover. Attach the U.L.- or CSA-
listed strain relief to the hood
wiring hole being used.
16.
Turn hood over so filters
face down.
remove
screws
wiring
box cover
back knockout
do not use
these
knockouts
screw locations
screw