


15
ENGLISH
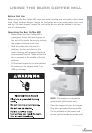
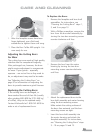
After the faceplate screws have been
finger-tightened, use a flat-head
screwdriver to tighten them until snug.
Place the Burr Coffee Mill upright. It is
now ready for use.
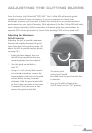
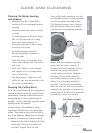
Adjusting the Cutting Burrs
For Wear
The cutting burrs are made of high-quality
stainless steel for exceptional longevity.
After prolonged use, however, the burrs
might require adjustment to compensate
for wear. If your grinds – especially
espresso – are not as fine as they used to
be, an adjustment may need to be made.
See “Adjusting the Cutting Burrs” on
page 9 for information on adjusting the
burrs to provide maximum grind fineness.
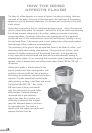
Replacing the Cutting Burrs
If the cutting burrs are damaged, or
have reached the end of their life (usually
after grinding 600–800 lbs [270–360 kg]
of coffee), they can be replaced easily.
Contact KitchenAid at 1-800-541-6390 to
order a set of replacement burrs.
9.
10.
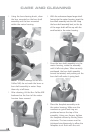
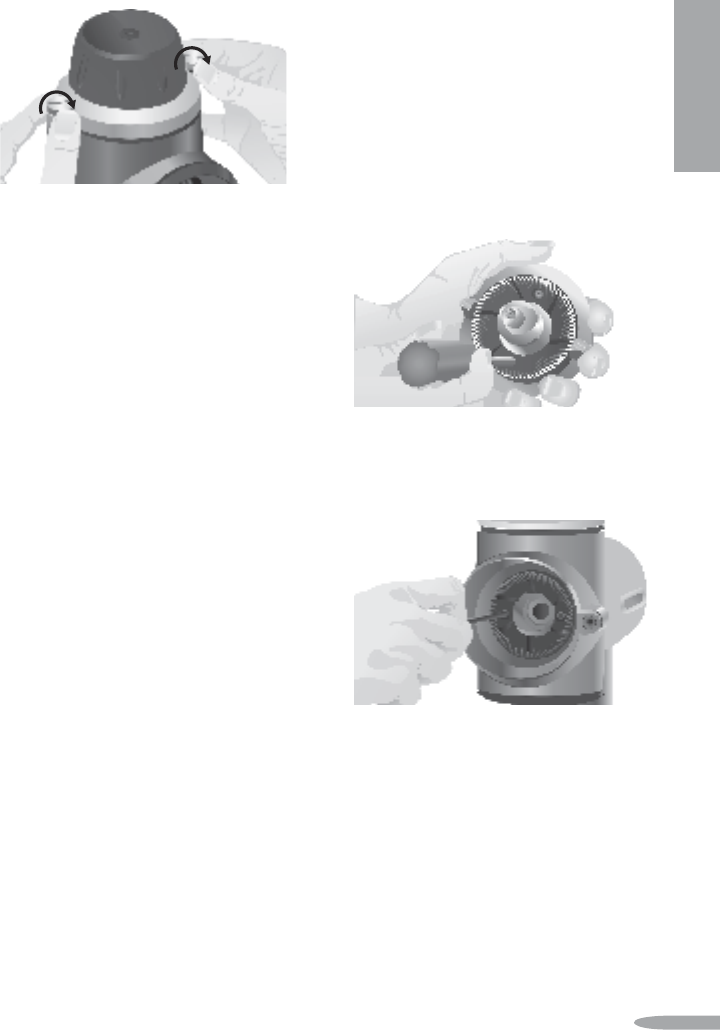
To Replace the Burrs:
Remove the faceplate and burr-shaft
assemblies. For instructions, see
“Cleaning the Cutting Burrs” steps 1,
2, and 3 on page 13.
With a Phillips screwdriver, remove the
burr from the burr-shaft assembly by
turning the two burr-mounting screws
counter-clockwise until free.
Remove the burr from the motor
housing by turning the two burr-
mounting screws counter-clockwise
until free.
Attach the replacement burrs to the
burr-shaft assembly and motor housing
using the burr-mounting screws.
Make certain the cutting surfaces of
the burrs face outward, and the burr-
mounting screws are tight.
Insert the burr-shaft assembly into
the motor housing and attach the
faceplate assembly. For instructions,
see “Cleaning the Cutting Burrs” steps
5 – 10 on pages 14 and 15.
1.
2.
3.
4.
5.
CaRE anD CLEanInG