


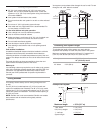
8
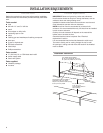
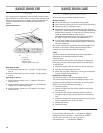
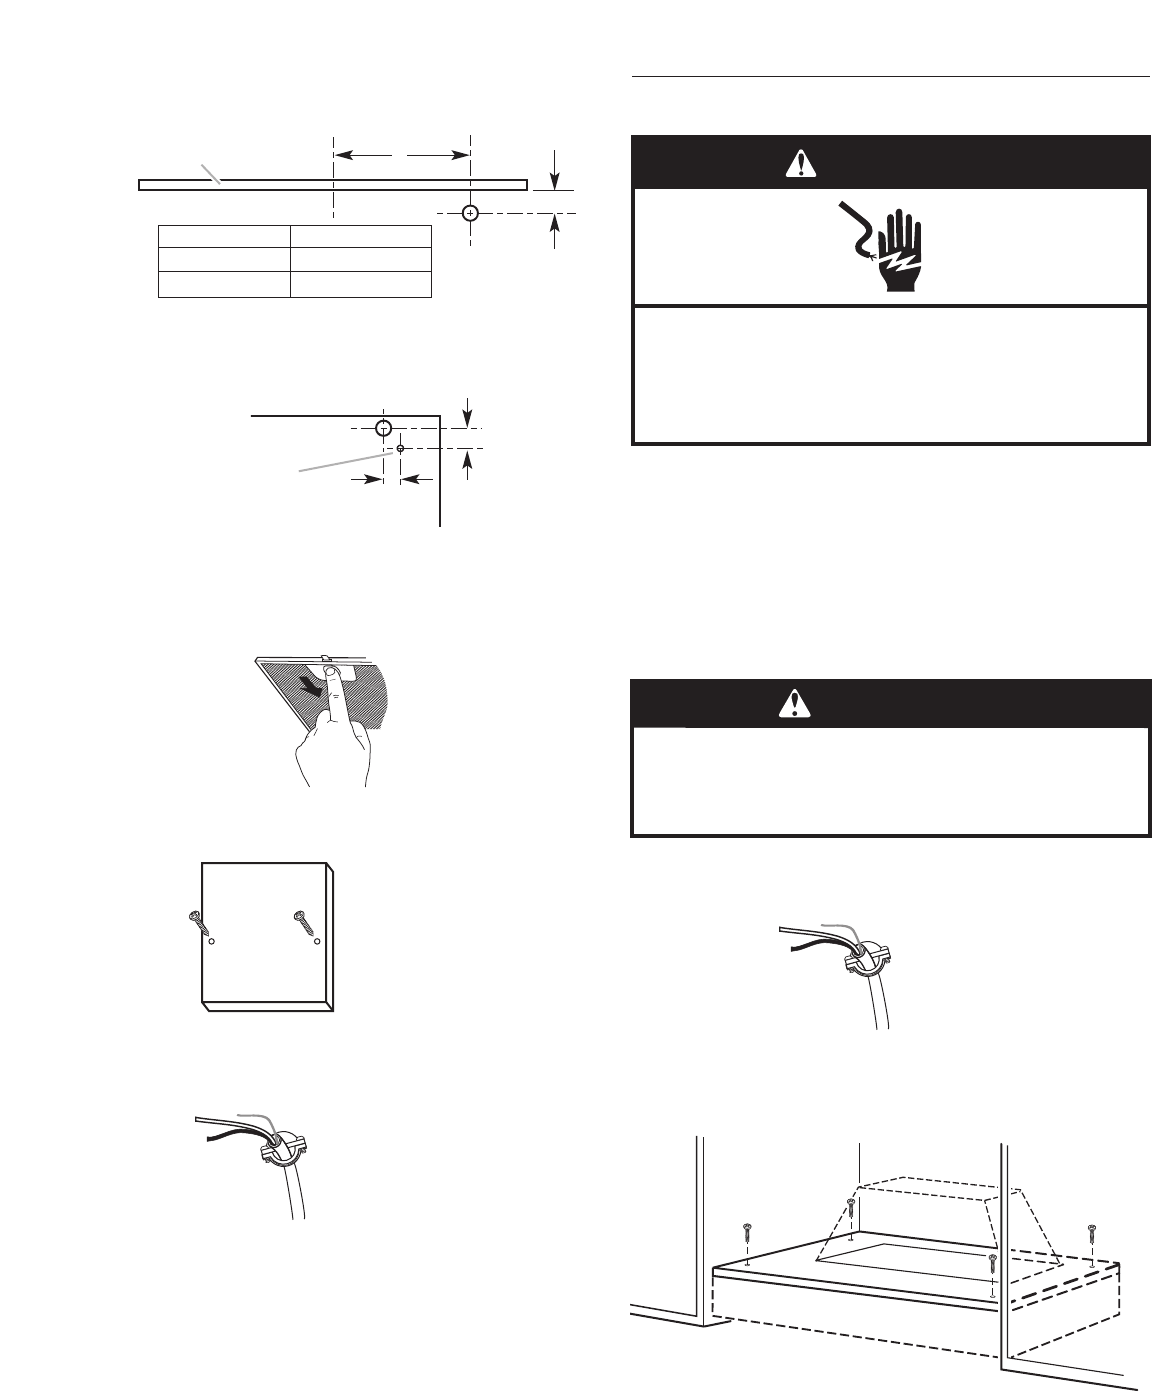
4. ■ If using the rear electrical knockout, drill a 1¹⁄₄" (3.0 cm)
dia. hole through the wall at the location shown.
■ If using the top electrical knockout, drill a 1¹⁄₄" (3.0 cm)
dia. hole through the hood support at the location shown.
5. Remove the filters. Use two hands to remove filter. Push tab
back to release the locking pin, pull down and forward. Set
filter aside. Repeat with other filter(s).
6. Remove the terminal box cover located behind the right hand
filter.
7. Install UL- or CSA-listed strain relief in hood liner so that
screws can be tightened.
Make Electrical Connection
1. Disconnect power.
2. Run power supply cable to the hood electrical hole according
to the National Electrical Code or CSA Standards and local
codes and ordinances. There must be enough power supply
cable from the fused disconnect (or circuit breaker) box to
make the connection in the hood’s electrical terminal box.
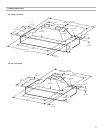
3. Remove the four mounting screws from the parts bag. It is
recommended they be placed by the holes in the hood liner
support for quick access.
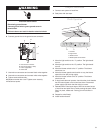
4. Using 2 or more people, feed the wiring through the strain
relief while lifting the hood liner into place.
5. Insert the screws through the support and thread into the
hood liner holes. Tighten screws securely.
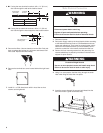
WARNING
Excessive Weight Hazard
Use two or more people to move and install range hood.
Failure to do so can result in back or other injury.
WARNING
Electrical Shock Hazard
Disconnect power before servicing.
Replace all parts and panels before operating.
Failure to do so can result in death or electrical shock.
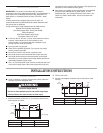
centerline
of hood
hood support
(front view)
2" (5.1 cm)
Hood size A
36" (91.4 cm) 14³⁄₁₆" (36.0 cm)
A
right rear hood
mounting hole
hood support
(top view)
2" (5.1 cm)
1
¹⁄₂"
(3.8 cm)