


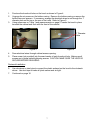


11
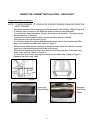
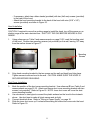
- If necessary, attach two rubber stands (provided) with two (4x8 mm) screws (provided)
to the back of the hood.
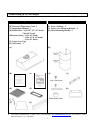
- Attach the hood-mounting bracket to the back of the hood with nine (3/16" x 3/8")
screws (provided) as shown in Figure 16.
Hood Installation
CAUTION: If required to move the cooking range to install the hood, turn off the power on an
electric range at the main electrical box. SHUT OFF THE GAS BEFORE MOVING A GAS
RANGE.
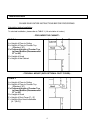
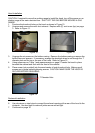
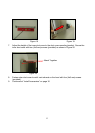
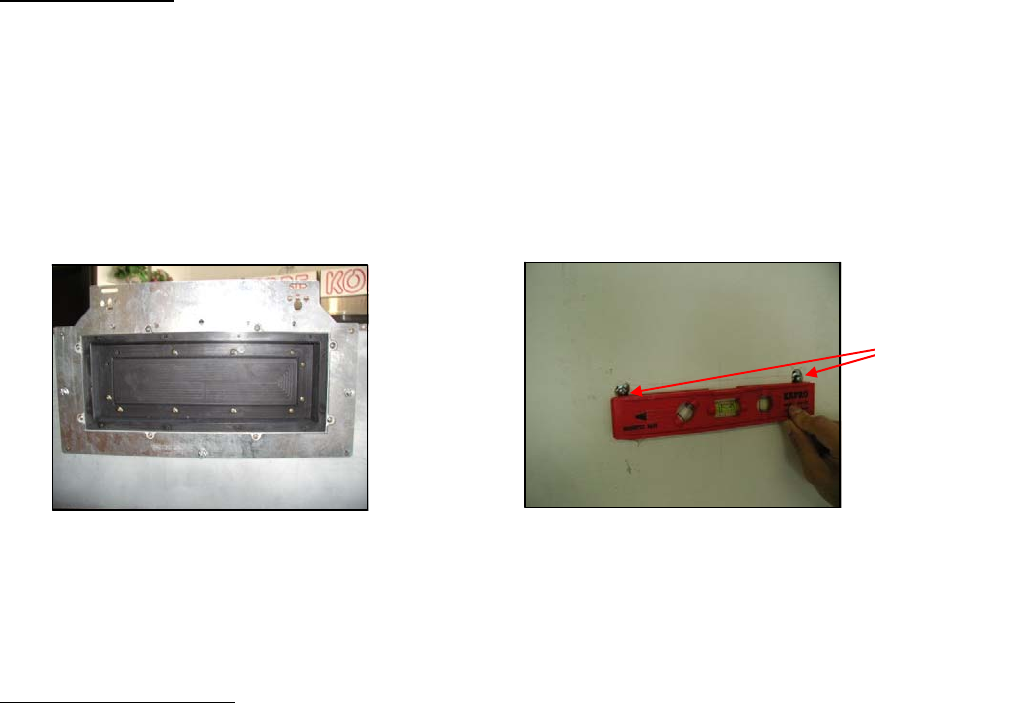
1. Using references on Table 2 and measurements on page 21-22, mark the leveling point
of the hood. Position two mounting screws (not provided) on the wall, leaving 1/8” away
from the wall as shown in Figure 17.
Figure 16 Figure 17
2. Align hood-mounting bracket to the two screws on the wall and hook hood into place.
Tighten screws to secure hood to the wall. CAUTION: MAKE SURE THE HOOD IS
SECURE BEFORE RELEASING.
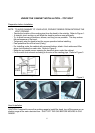
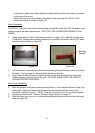
Duct Cover Installation
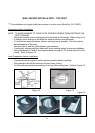
3. Mark the position of the duct cover-mounting bracket. Use reference E from Table 2 and
measurements on page 21-22. Attach and secure duct cover-mounting bracket with two
screws (not provided). Refer to Figure 18. NOTE: Inner duct cover will cover the duct
cover-mounting bracket.
4. Use aluminum or steel pipe to connect the plastic exhaust on the hood to the ductwork
above. Use duct tape to make all joints secure and air tight.
5. Connect electrical wires. Refer to “Wiring to Power Supply” on page 16.
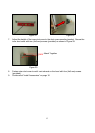
6. Slide the inner duct cover up 2 inches before sliding the entire duct cover onto the hood.
Refer to Figure 19.
Mounting
Screws