8
UNDER THE CABINET INSTALLATION – REAR VENT
Preparation before Installation
NOTE: TO AVOID DAMAGE TO YOUR HOOD, PREVENT DEBRIS FROM ENTERING THE
VENT OPENING.
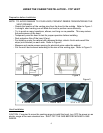
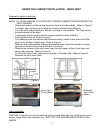
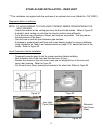
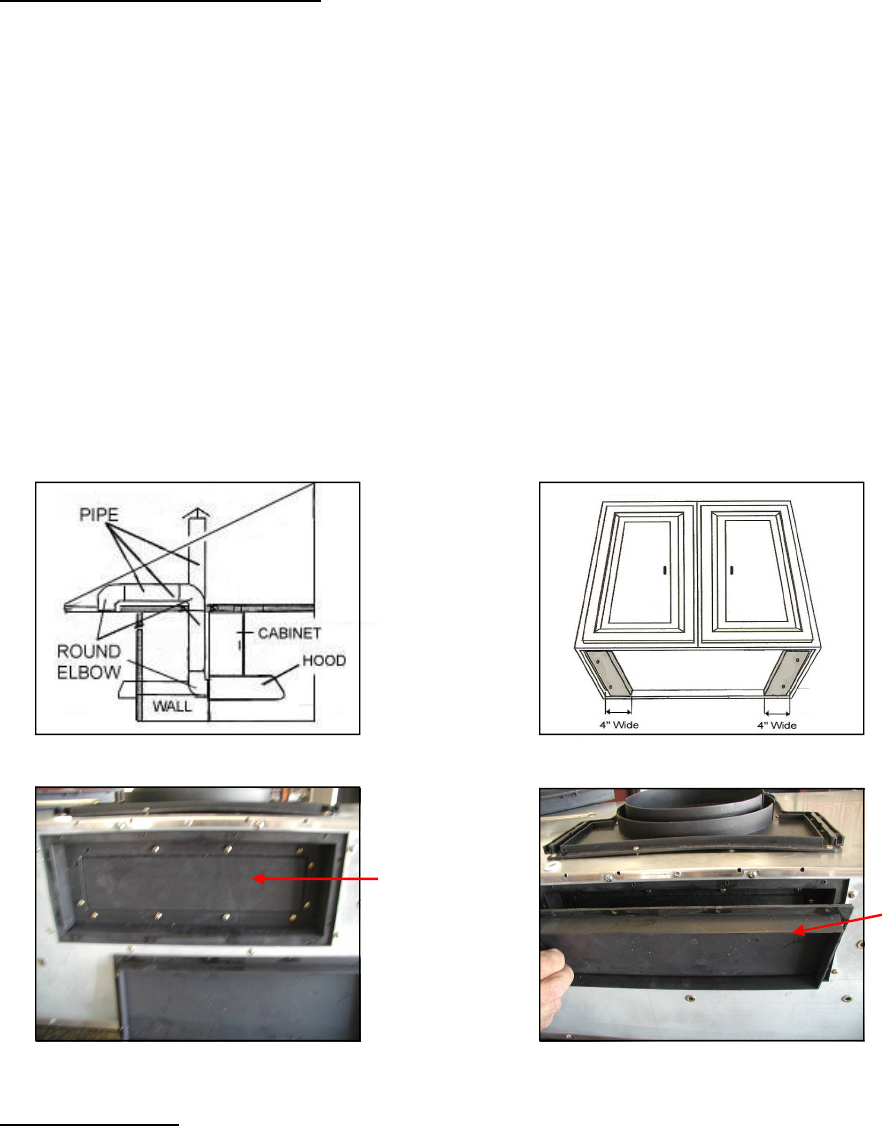
- Decide the location of the venting pipe from the hood to the outside. Refer to Figure 6.
- A straight, short venting run will allow the hood to perform more efficiently.
- Try to avoid as many transitions, elbows, and long run as possible. This may reduce
the performance of the hood.
- Temporarily wire the hood to test for proper operation before installing.
- Peel protective film off the hood (if any).
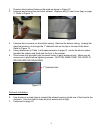
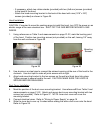
- For installing under the cabinet with recessed bottom, attach 4-inch wide wood filler
strips (not included) on each side. Refer to Figure 7.
- Measure and create access opening for electrical wires under the cabinet or access
opening for the electrical wires at the rear of the hood.
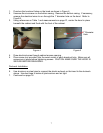
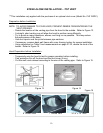
- Remove the screws on the vent cover (rear) and cut along the line of the inner vent
cover (rear) opening. Refer to Figure 8.
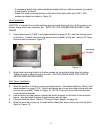
- Cut the vent cover (rear) opening and reverse to the other side. Refer to Figure 9.
Reattach the vent cover (rear).
Figure 6 Figure 7
Inner Vent Reversed
Cover (Rear) Vent Cover
(Rear)
Figure 8 Figure 9
Hood Installation
CAUTION: If required to move the cooking range to install the hood, turn off the power on an
electric range at the main electrical box. SHUT OFF THE GAS BEFORE MOVING A GAS
RANGE.


