


6
Preparation before Installation
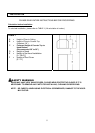
NOTE: TO AVOID DAMAGE TO YOUR HOOD,
PREVENT DEBRIS FROM ENTERING THE
VENT OPENING.
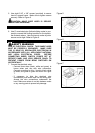
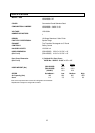
Decide the location of the venting pipe from the
hood to the outside. Refer to Figure 1.
A straight, short venting run will allow the hood to
perform more efficiently.
Try to avoid as many transitions, elbows, and
long run as possible. This may reduce the
performance of the hood.
Temporary wire the hood to test for proper
operation before installing.
Important: Peel any protective film off the hood.
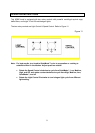
Use duct tape to seal the joints between pipe
sections.
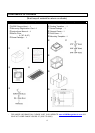
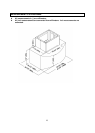
Attach ducting transition to hood exhaust with six
(3/16” x 1/2”) screws (included). Refer to Figure
2.
Hood Installation
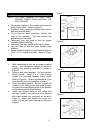
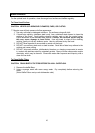
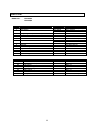
1.
Mark centerlines of cook top or range on ceiling
above. Use centerlines marked on ceiling to
position the mounting template as shown in
Figure 3.
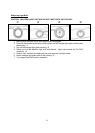
2. Remove and save template. Cut and remove
ceiling drywall. Install 2” x 4” cross framing
lumber (not provided) between ceiling joists.
Refer to Figure 4. Consult a professional if you
have difficulty or your installation is unique.
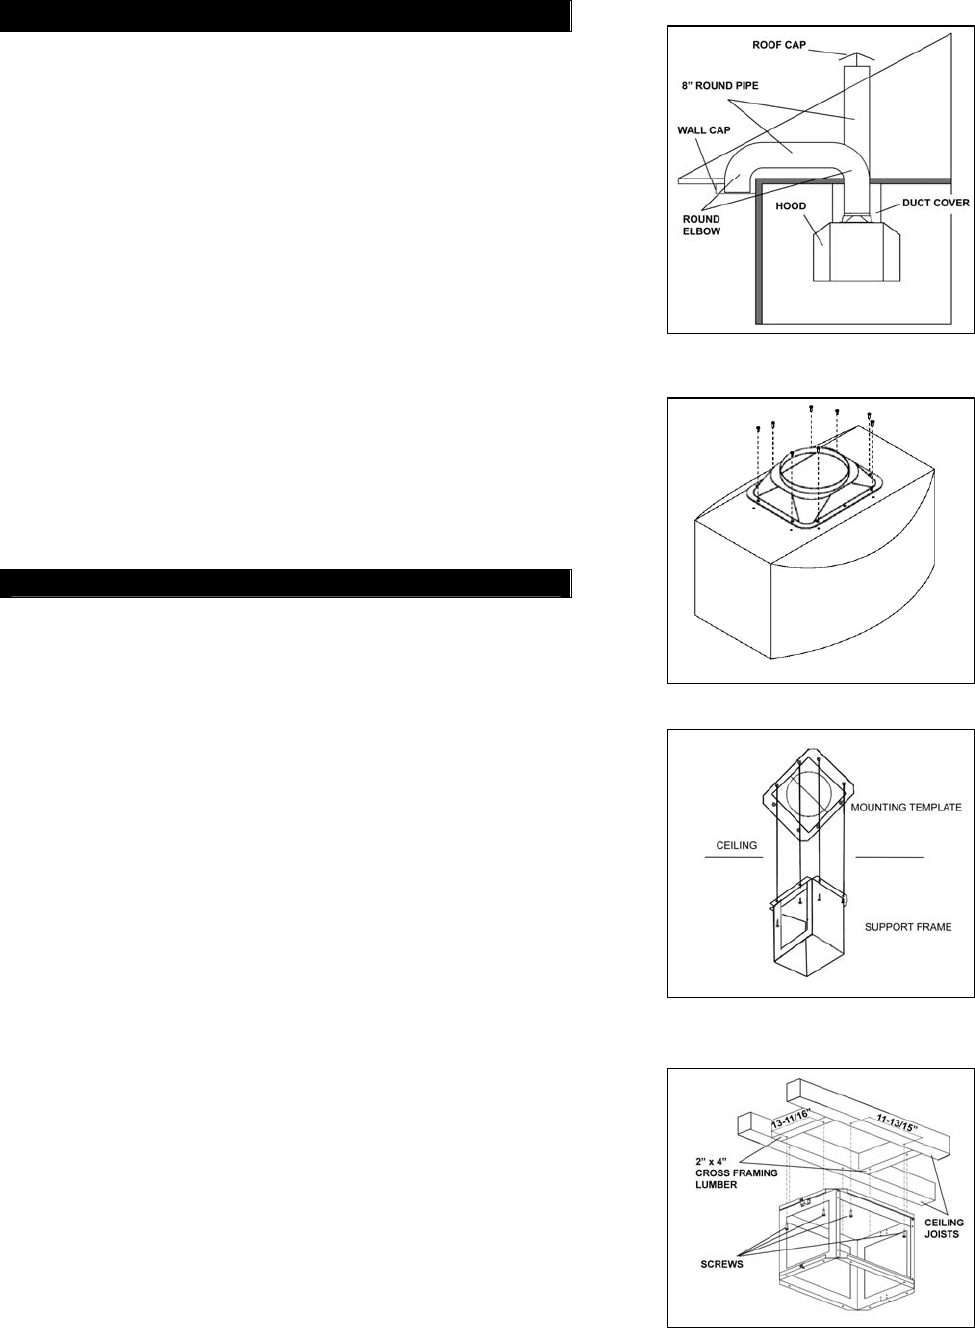
3. Finish the ceiling surface. Be sure to mark the
location of the ceiling joists and cross framing,
or replace the mounting template in the position
of the ceiling joists & cross framing.
4. Attach the support frame to the ceiling and
securely fasten to the joists and cross framing
with eight screws (not provided) as shown in
Figure 4. Make sure screws are driven into
center of joists and cross framing for maximum
support.
Figure 1
Figure 2
Figure 3
Figure 4