- 4 -
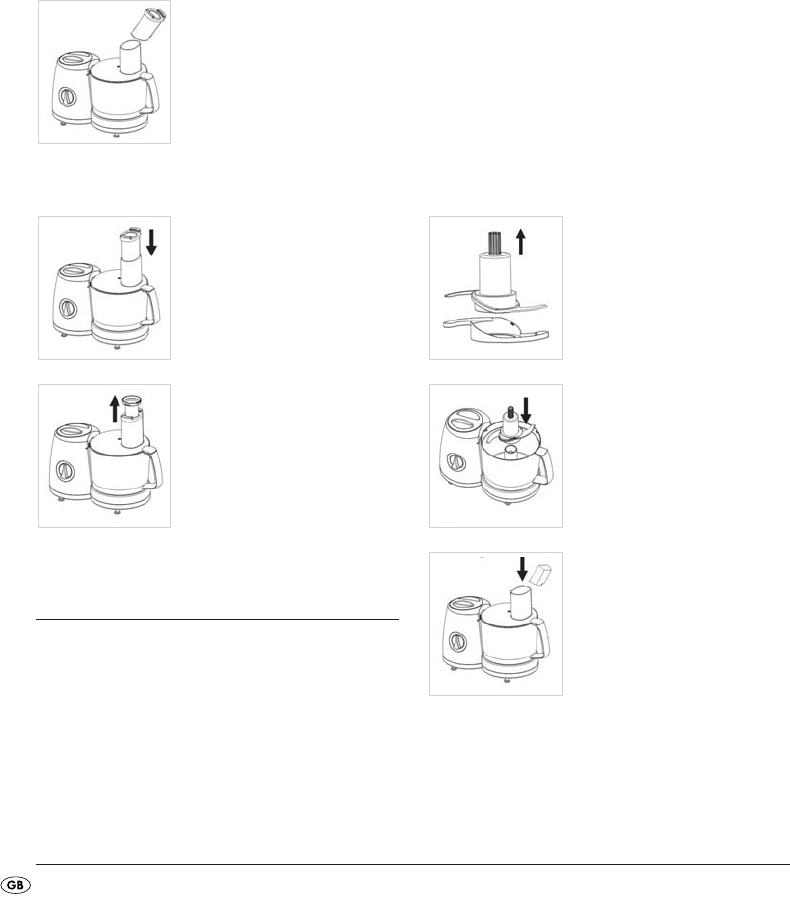
6.3 Insert the ingredient by
filling shaft and pusher
ƽ
Caution:
Never use your fingers, spatula, spoon handles or
similar objects for pushing foodstuff through the
filling shaft q! Risk of injury!
• You can add liquid and solid
foodstuffs to the mixing bowl
9 through the filling shaft q.
You can close the filling shaft
q with the pusher w while
the appliance is in use, in or-
der to avoid splashing or
flour (e.g. while kneading
flour) from coming out.
• Use the pusher w to force
food stuffs through the filling
shaft q.
• The pusher w is equipped
with a measuring cup e. If
you remove it you can reduce
size of the filling shaft q. This
can be useful when cutting or
grating foodstuffs.
7. Working with the mixing
bowl
The supplied accessories for the mixing bowl 9
consist of 6 grating and cutting discs (I-VI), a
kneading blade t and a chopping blade z. The
mixing bowl 9 is very versatile to use: grating or
cutting, mixing or cutting, kneading or stirring.
7.1 Working with the cutting blade
ƽ
Caution! Risk of injury!
• The cutting edges are very sharp! Exercise speci-
al care when inserting and removing or cleaning
the cutting blade z!
• The bowl 9 must first be properly locked in posi-
tion before inserting the cutting blade z. Risk of
injury!
• Never use your fingers, spatula, spoon handles
or similar objects for pushing foodstuff through
the filling shaft q!
The cutting blade z can be used to mix, chop or
knead dough. Use the cutting blade z, for instan-
ce, for chopping meat, cheese, onions, herbs and
nuts.
• Remove the cutting blade z
from the protective case u.
• Fit the mixing bowl 9 to the
food processor.
• Fit the cutting blade z on the
retainer r and place the lat-
ter on the drive shaft 8.
• Place the lid 0 on the mixing
bowl 9.
• Insert the ingredients into the
mixing bowl 9 through the
loading shaft q.
• Place the stodger w in the lo-
ading shaft q.
• Now switch on the appliance by setting the
speed controller 7 to the level recommended in
the table.
If you are uncertain about the speed, use the fastest
level (3).
IB_KH700_E41968_LB6 17.11.2008 14:33 Uhr Seite 4


