5 - ELECTRICAL CONNECTION
Caution! Before proceeding with electric connection, you need to
ensure that voltage meets the specifications shown in the CE plate.
Ensure that the power supply line and the electric system cable sec-
tions are adequate for the coffee dosing grinder power intake (see
chapter 4 – technical specifications table).
Provide for an earth connection in compliance with the regulations in
force.
In this regard, ensure that the supply cable is efficient, and that it
meets the national and European safety standards.
The user is to arrange the appliance power supply and protect the
line by means of a safety switch (cut-out box) meeting the regulations
in force in the country in question.
Connect the supply cable to the electric line by means of a plug; on
the other hand, in the event of a fixed installation, a multipolas switch
will have to be arranged for network separation, with a distance bet-
ween contacts of at least 3 mm.
For voltage change, please refer to the diagram shown on the main
switch box.
The yellow/green coloured cable should be COMPULSORILY con-
nected to the premises earthing system.
6 - HOPPER INSTALLATION AND CONNECTIONS
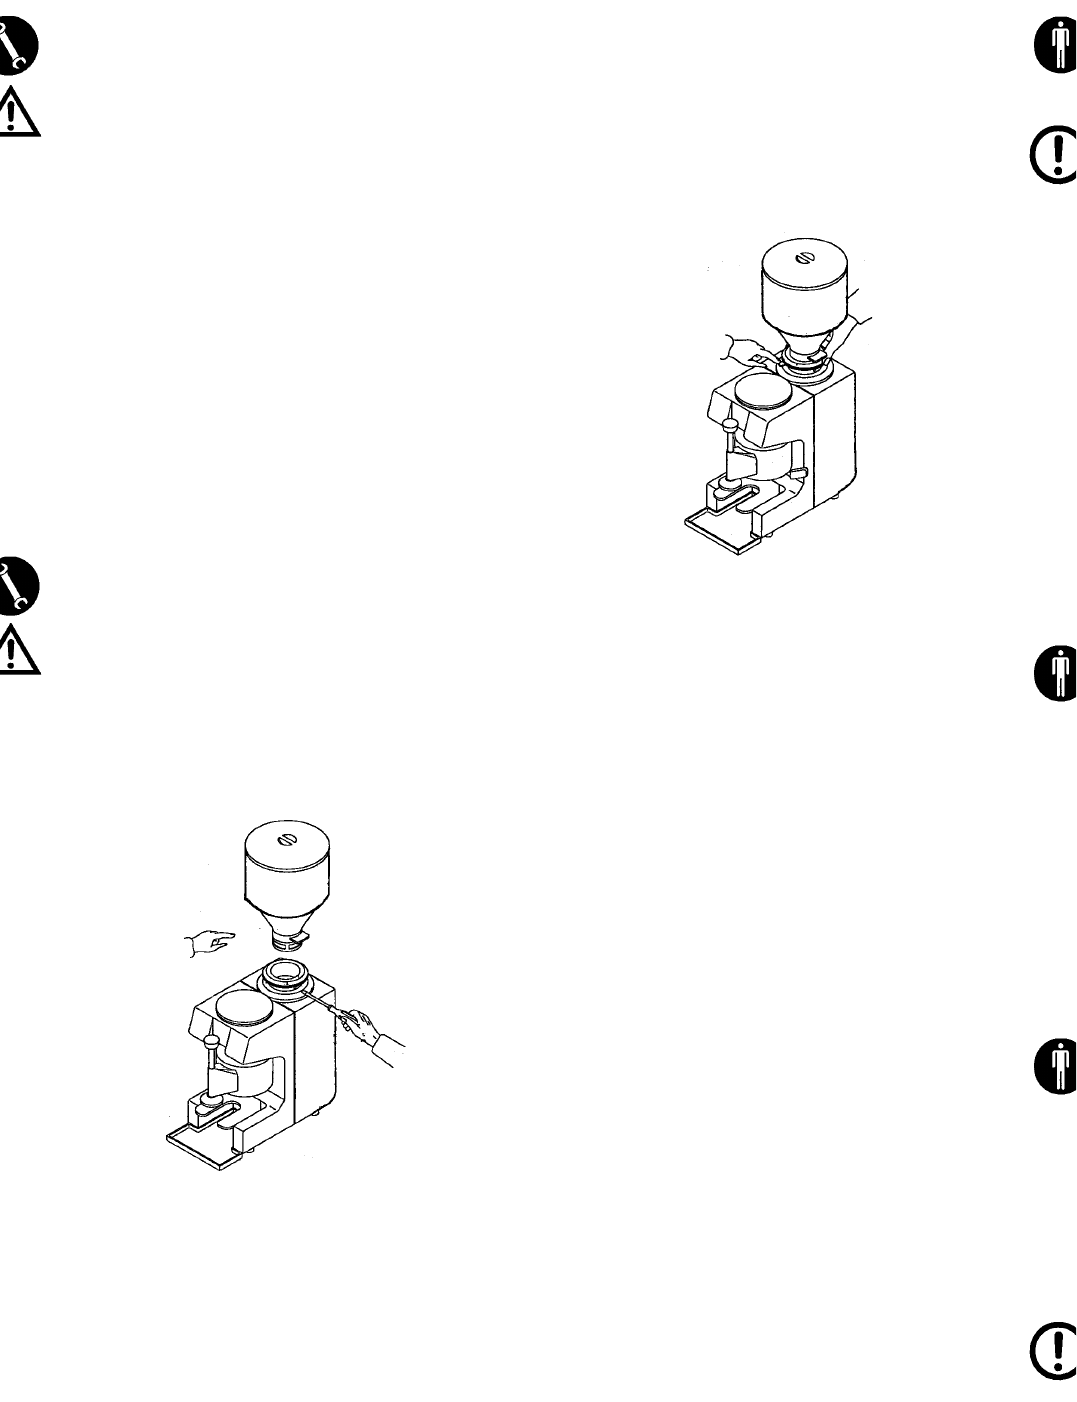
Fit the hopper (4) into the regulation ring nut (8) and fasten it with
the screw provided (6). Ensure that the power socket is adequately
grounded and that the switch (1) is on the 0 “off” position; then
insert the supply cable plug into the socket. Press the switch (1) so as
to place it on the I position, as well as pressing the operation button
(2) and check no-load operation of the equipment.
7 – STARTING THE EQUIPMENT
- Remove the hopper lid (5) and introduce the whole coffee in the
hopper (4).
- Press the lock pin (9).
- Turn the regulation ring nut (8) clockwise to tighten the grinding
parts (fine coffee) and anticlockwise to loosen them (coarse coffee),
in order to obtain the desired coffee grinding regulation.
8 – STARTING AND RUNNING THE WORKING CYCLE
By placing the luminous switch (1) on the I position, the equipment
will start and the inbuilt warning light signalling that the equipment
is live will switch on. Once you have ground the desired amount of
coffee, place the switch on the 0 position to stop the grinding pro-
cess.
8.1 AUTOMATIC MODEL
By placing the luminous switch (1) on the I position, the inbuilt war-
ning light signalling that the equipment is live will switch on, and by
subsequently pressing the operation button (2), the equipment will
start. The grinding process will automatically stop thanks to an inbuilt
level measuring device, which is located in the ground coffee contai-
ner. The grounding process will be reset after 6 doses have been
obtained by operating the dosing lever (12).
To interrupt the grinding process during an intermediate stage, press
the “Off” button (3).
9 – COFFEE DOSING
The ground coffee is delivered into the container provided (10). In
order to fill the coffee machine filter-holder you need to follow the
steps listed below:
- Once you have fitted the filter into the filter-holder, place the latter
in the coffee dosing grinder fork (15) provided.
- Slowly pull the dosing lever (12) up to the point in which it stays in
place, so as to enable that the amount of ground coffee scheduled
for one cup of Espresso coffee is released into the filter (7 gr.).
- Repeat the same steps if you need to prepare two coffee servings.
Level the powder and press it by means of the telescopic coffee-pres-
ser (13), manually clean the filter edge from any coffee residues and
fit the filter-holder into the unit body for coffee delivery.


