13
DEFROSTING/CLEANING
Keep your stainless steel looking new by cleaning
with a good quality stainless steel cleaner or polish
monthly. High quality stainless steel cleaners and
conditioners are commercially available.
DO NOT CLEAN WITH STEEL WOOL PADS or
ABRASIVE PADS. DO NOT use cleaners that
are not for use on stainless steel, such as glass
cleaners, tile cleaners or cleaners used to clean
counter tops. These types of cleaners can dam-
age the surface permanently.
Stainless steel that is exposed to chlorine gas and
moisture may have some discoloration. This discol-
oration is normal. If your unit is used in this environ-
ment, clean and polish your stainless steel more
often.
If the surface discolors or rusting appears, clean
it quickly with a non-abrasive cloth and protect it.
Always clean and polish in the direction of the grain
and finish.
IMPORTANT
Mold can form on the bottles and labels
depending on the type of adhesive used on
the labels. This can be prevented by care-
fully cleaning any adhesive residues off the
bottles.
Defrosting
The beverage compartment defrosts automatically.
The water that forms on the rear wall drains into a
reservoir at the back of the appliance and evapo-
rates automatically through the compressor heat.
Cleaning
• To prevent possible injury due to an
electrical shock, be sure to disconnect
the power cord or turn OFF the circuit
breaker before replacing the interior
light tube or cleaning the appliance.
• To avoid injury or damage, DO NOT
use steam cleaning equipment to
clean the appliance.
Clean the appliance by hand with lukewarm water
and a little detergent.
DO NOT use abrasive or scouring sponges. DO
NOT use concentrated cleaning agents. NEVER
use abrasive or acid cleaners or chemical solvents
or steam cleaners.
• Ensure no cleaning water penetrates into the
electrical components or ventilation grille.
• Dry all parts well with a cloth.
• DO NOT damage or remove the model plate on
the inside of the appliance. It is very important for
servicing your appliance.
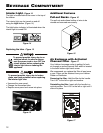
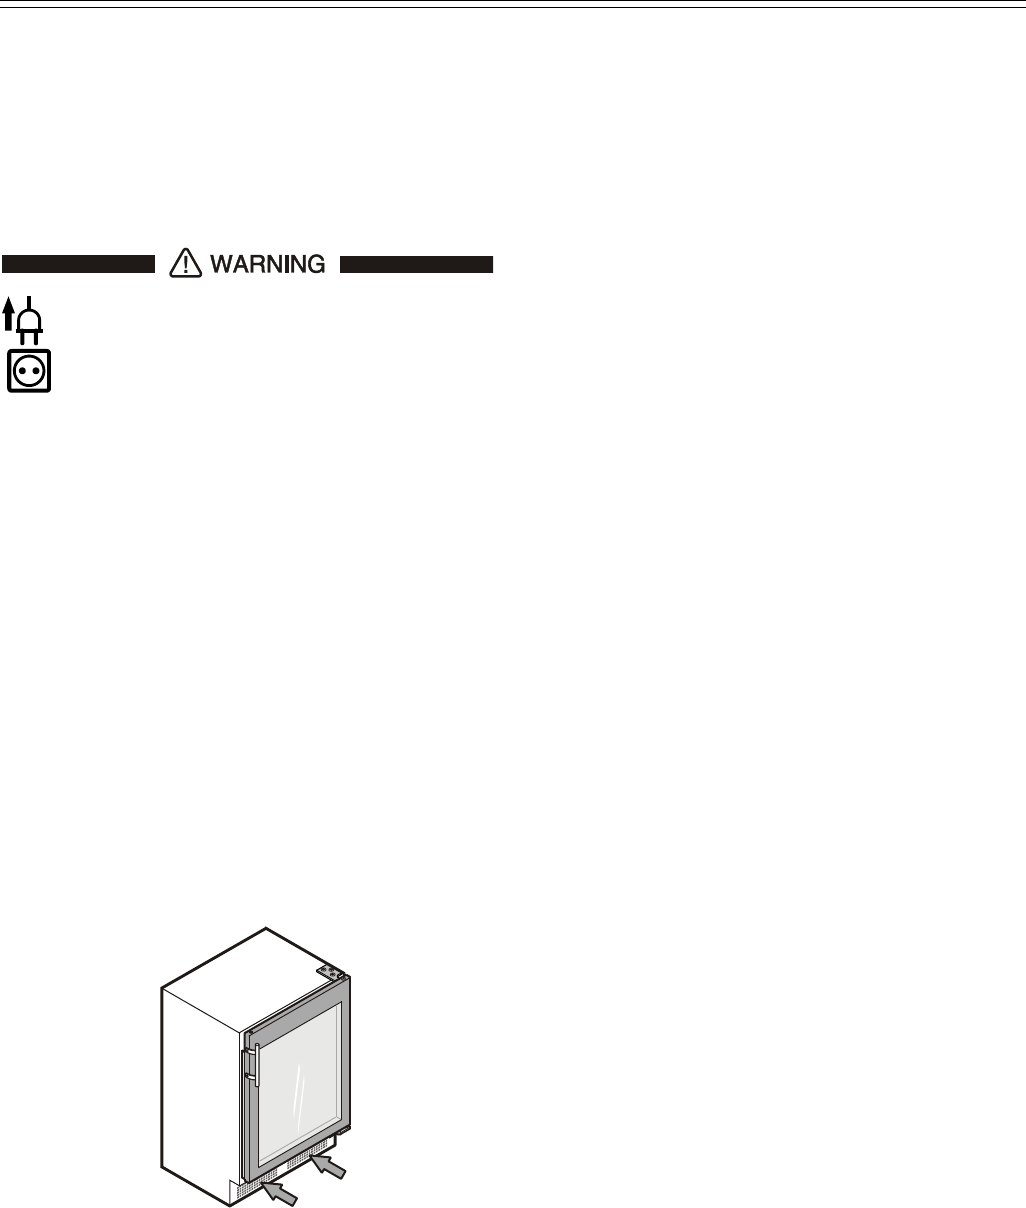
Remove any dust from the outside of the ventilation
grille (Figure 18) with a vacuum cleaner.
Figure 18


