4
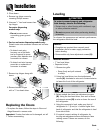
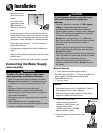
6. For ice and water dispensing models only:
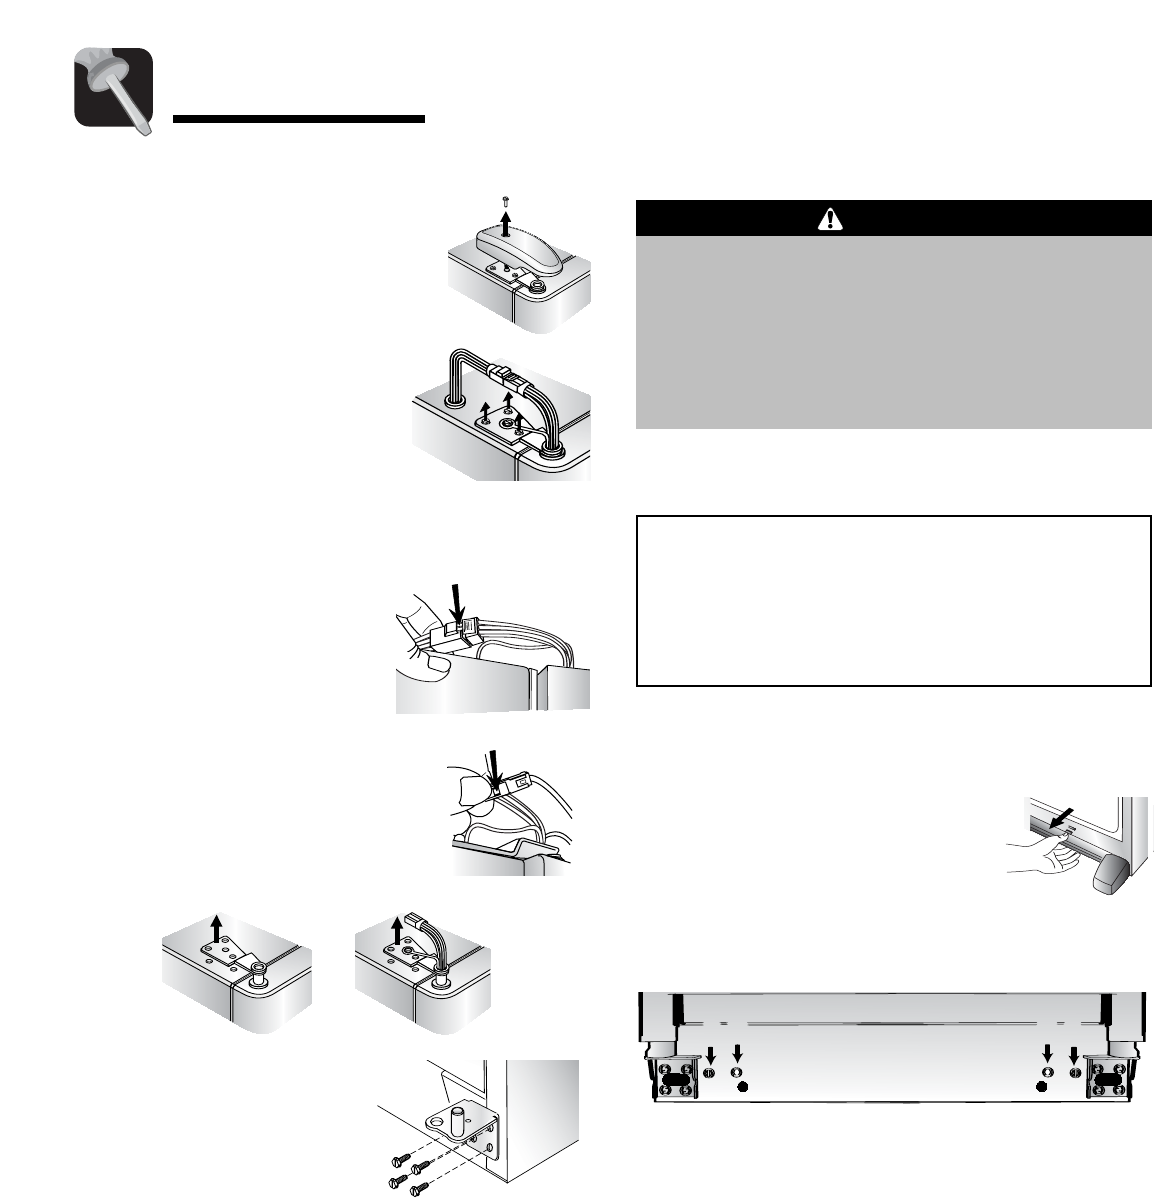
Detach main wire connector harness and red wire
harness.
• To detach main wire
harness, use a flat blade
tool or fingernail to press
junction point between two
connectors to release.
• To detach red wire harness,
press tab on underside of
connector to release.
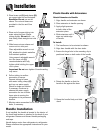
7. Remove top hinges along with
doors.
Installation
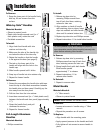
8. Remove bottom hinges
with a
3
⁄8” hex head driver.
Replacing the Doors
• To replace the doors, follow the steps in Door and
Hinge Removal in reverse order.
Important: If water line tube end is damaged, cut off
5
⁄8” before reconnecting.
3. Close doors.
4. Remove top hinge covers by
removing Phillips screws.
5. Unscrew
5
⁄16” hex head screws from
top hinges.
For water dispensing
models only:
• Do not remove screw
connecting green ground
wire.
Leveling
To protect personal property and refrigerator
from damage, observe the following:
• Protect vinyl or other flooring with cardboard, rugs,
or other protective material.
• Do not use power tools when performing leveling
procedure.
CAUTION
To enhance the appearance and maintain performance,
the refrigerator should be level.
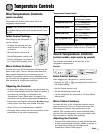
3. Select models also have rear adjustment screws
(B). Using the hex head driver, turn each of these
adjustment screws (B) to raise or lower the rear of
the refrigerator.
4. Using the carpenter’s level, make sure front of
refrigerator is
1
⁄4” (6 mm) or
1
⁄2 bubble higher than
back of refrigerator and that the refrigerator is level
from side to side.
5. If required, correct rocking of refrigerator by
turning rear adjustment screw clockwise to raise
rocking corner. If doors are uneven, do the
following:
A
B
A
B
Materials Needed:
•
3
⁄8” hex head driver
• Carpenter’s level
1. Remove toe grille.
• Grasp firmly and pull outward
to unclip.
2. Using hex head driver, turn front adjustment
screws (A) clockwise to raise and counterclockwise
to lower the front of the refrigerator.
Notes:
• Complete any required door reversal, panel
installation and/or a water supply connection
before leveling.
• Some models only have adjustment screws (A).
Cont.


