10
Surface Cooking
Surface Controls
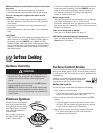
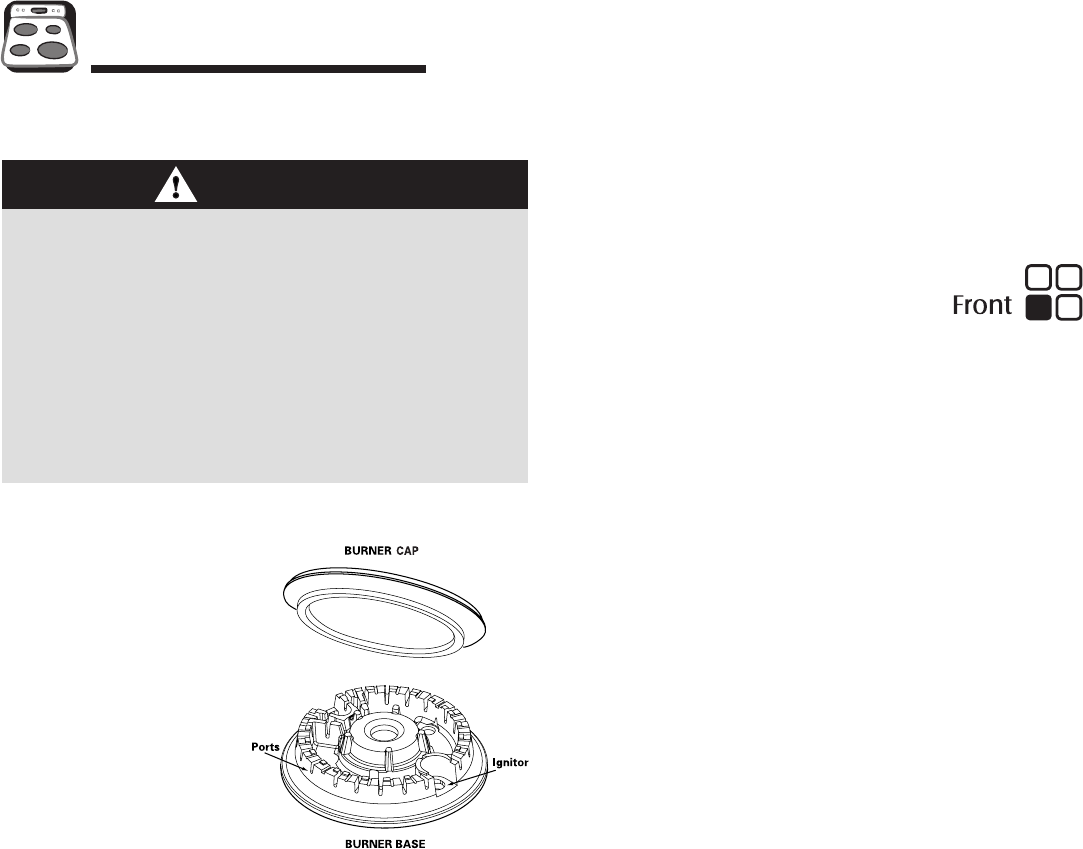
Pilotless Ignition
Pilotless ignition eliminates the
need for a constant standing
pilot light. Each surface burner
has a spark ignitor. Use care
when cleaning around the
surface burner.
If the surface burner does
not light, check if ignitor is
broken, soiled or wet.
Surface Control Knobs
Use to turn on the surface burners. An infinite choice of heat
settings is available from LO to HI. At the HI setting a detent
or notch may be felt. The knobs can be set on or between any
of the settings.
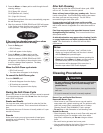
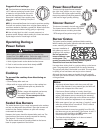
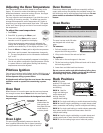
Graphics next to the knob identify which burner
the knob controls. For example, the graphic at
right shows the left front burner location.
Setting the controls:
The size and type of cookware will affect the heat setting.
1. Place a pan on the burner grate.
• The burner flame may lift off or appear separated from
the port if a pan is not placed on the grate.
2. Push in and turn the knob counterclockwise to the LITE
setting.
• A clicking (spark) sound will be heard and the burner
will light. (All four ignitors will spark when any surface
burner knob is turned to the LITE position.)
3. After the burner lights, turn knob to desired flame size.
• The ignitor will continue to spark until the knob is
turned past the LITE position.
CAUTION
• If flame should go out during a cooking operation, turn
the burner off. If a strong gas odor is detected, open a
window and wait five minutes before relighting the
burner.
• Be sure all surface controls are set in the OFF position
before supplying gas to the range.
• NEVER touch cooktop until it has cooled. Expect some
parts of the cooktop, especially around the burners, to
become warm or hot during cooking. Use potholders to
protect hands.
Moisture collects on oven window or steam comes from
oven vent.
• This is normal when cooking foods high in moisture.
• Excessive moisture was used when cleaning the window.
There is a strong odor or light smoke when oven is
turned on.
• This is normal for a new range and will disappear after a
few uses. Initiating a clean cycle will “burn off” the odors
more quickly.
• Turning on a ventilation fan will help remove the smoke
and/or odor.
• Excessive food soils on the oven bottom. Use a self-clean
cycle.
Fault Codes
• BAKE or LOCK may flash rapidly in the display to alert you if
there is an error or a problem. If BAKE or LOCK appear in
the display, press the CANCEL pad. If BAKE or LOCK
continue to flash, disconnect power to the appliance. Wait a
few minutes, and then reconnect power. If the flashing still
continues, disconnect power to the appliance and call an
authorized servicer.
• If the oven is heavily soiled, excessive flareups may result in
a fault code during cleaning. Press the CANCEL pad and
allow the oven to cool completely, wipe out excess soil,
then reset the clean cycle. If the fault code reappears,
contact an authorized servicer.
Noises may be heard.
• The oven makes several low level noises. You may hear the
oven relays as they go on and off. This is normal.
• As the oven heats and cools, you may hear sounds of metal
parts expanding and contracting. This is normal and will not
damage your appliance.
There are no beeps and no display.
• Oven may be in Sabbath Mode. See page 16.
SAb flashing and then displayed continuously.
• Oven is in Sabbath Mode. To cancel, press and hold the
Clock pad for five seconds.


