


8
OVEN CARE
General Cleaning
IMPORTANT: Before cleaning, make sure all controls are off and
the oven is cool. Always follow label instructions on cleaning
products.
Soap, water and a soft cloth or sponge are suggested first unless
otherwise noted.
OVEN DOOR EXTERIOR
Cleaning Method:
■ Glass cleaner and a soft cloth or sponge:
Apply glass cleaner to soft cloth or sponge, not directly on
panel.
■ All-Purpose Appliance Cleaner Part Number 31682 (not
included):
See “Assistance or Service” section to order.
CLOCK PANEL
To avoid damage to the control panel, do not use abrasive
cleaners, steel-wool pads, gritty washcloths or abrasive paper
towels.
Cleaning Method:
■ Glass cleaner and soft cloth or sponge:
Apply glass cleaner to soft cloth or sponge, not directly on
panel.
■ All-Purpose Appliance Cleaner Part Number 31682 (not
included):
See “Assistance or Service” section to order.
OVEN CAVITY
Food spills should be cleaned when oven cools. At high
temperatures, foods react with porcelain and staining, etching,
pitting or faint white spots can result.
Nonabrasive plastic scrubbing pad and mildly abrasive cleanser
can be used on a cool cavity.
If using commercial oven cleaners, follow package directions.
OVEN RACKS
Cleaning Method:
■ Steel-wool pad
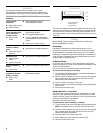
Oven Light
The oven light is a standard 40-watt appliance bulb. Press the
oven light switch to turn the light on or off.
To Replace:
Before replacing, make sure the oven is off and cool.
1. Disconnect power.
2. Turn bulb counterclockwise to remove from socket.
3. Replace bulb by turning clockwise.
4. Reconnect power.
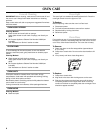
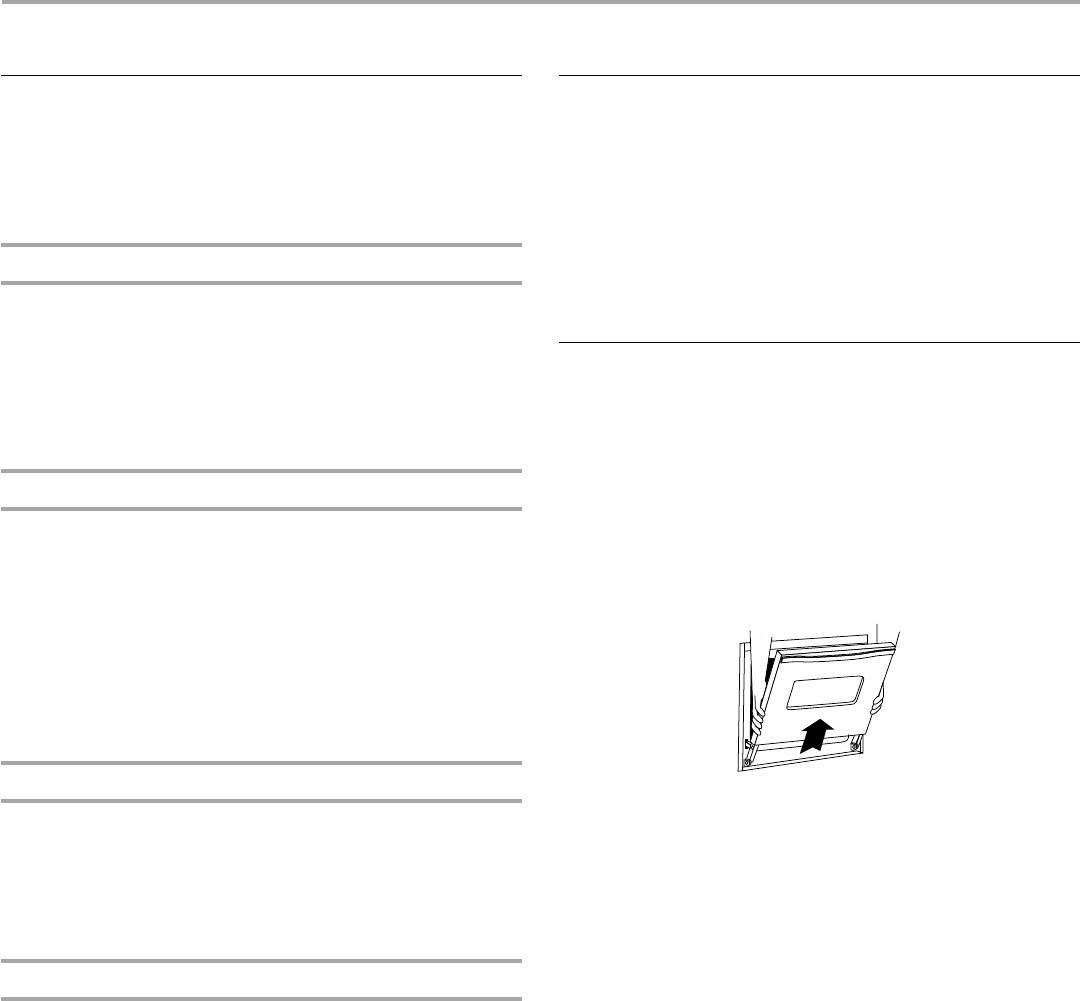
Oven Door
For normal oven use, it is not suggested to remove the oven door.
However, if removal is necessary, make sure the oven is off and
cool. Then, follow these instructions. The oven door is heavy.
To Remove:
1. Open oven door to the first stop position (opened about
6" [15.2 cm]).
2. Grasp door at each side. Do not use the door handle to lift
door.
3. Lift up evenly until door clears hinge arms.
To Replace:
1. Grasp door at each side.
2. Align slots in the door with the hinge arms on the oven.
3. Slide the door down onto the hinge arms until the door is
completely seated on the hinges. Push down on the top
corners of the door to completely seat door on hinges. Door
should not appear crooked.