


5
Installation
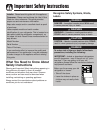
3. Locate handle trim in literature pack and
install over top and bottom of handle, as
illustrated.
• Secure top handle trim with remaining
screw removed in step 1.
• Snap bottom trim over bottom portion
of handle.
To Remove:
1. Remove top handle trim by removing top
handle screw.
• Retain trim and screw for later
replacement.
2. Pry bottom handle trim from handle with
screwdriver flat blade wrapped in
masking tape.
• Retain trim for later replacement.
3. Remove two hex head screws.
• Retain screws for later replacement.
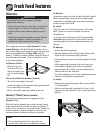
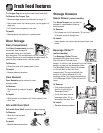
Side Mount Handle
Materials Needed
• Phillips screwdriver
To Install:
1. Remove screws from the side of the door.
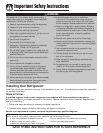
2. Align the side mount handle with the predrilled
holes in the door panel.
3. Insert the screws in the sequence as
shown.
4. Ensure the door handle is snug to the
door panel.
To Remove:
Reverse installation procedure.
Upper
Handle
Lower
Handle
1
3
2
4
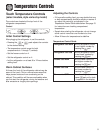
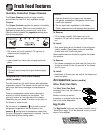
Freezer Handles
Partial-Width Handle
Materials Needed
• Phillips screwdriver
To Install:
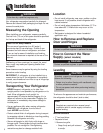
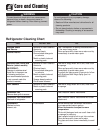
1. Install handle by fastening with
screws removed from edge of door.
• If reversing freezer door, remove
door plugs from top edge of door
and insert into screw holes.
To Remove:
1. Remove handle screws with Phillips
screwdriver and retain screws for
later use.
Front Mount Handle - style 2
Materials Needed
• Gloves to protect hands
• Phillips screwdriver
• Plastic door removal card (or 0.1 cm thick plastic
card), retain the card
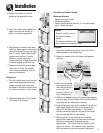
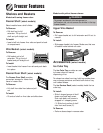
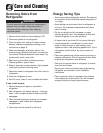
Attach Extensions to
Handle: (select models)
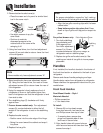
1. Align handle and
extension as shown.
2. Place extension in handle opening.
3. Apply slight pressure to both sides of the
extension piece.
4. Slide extension until it stops on
inside edge of handle.
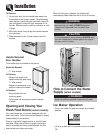
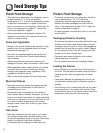
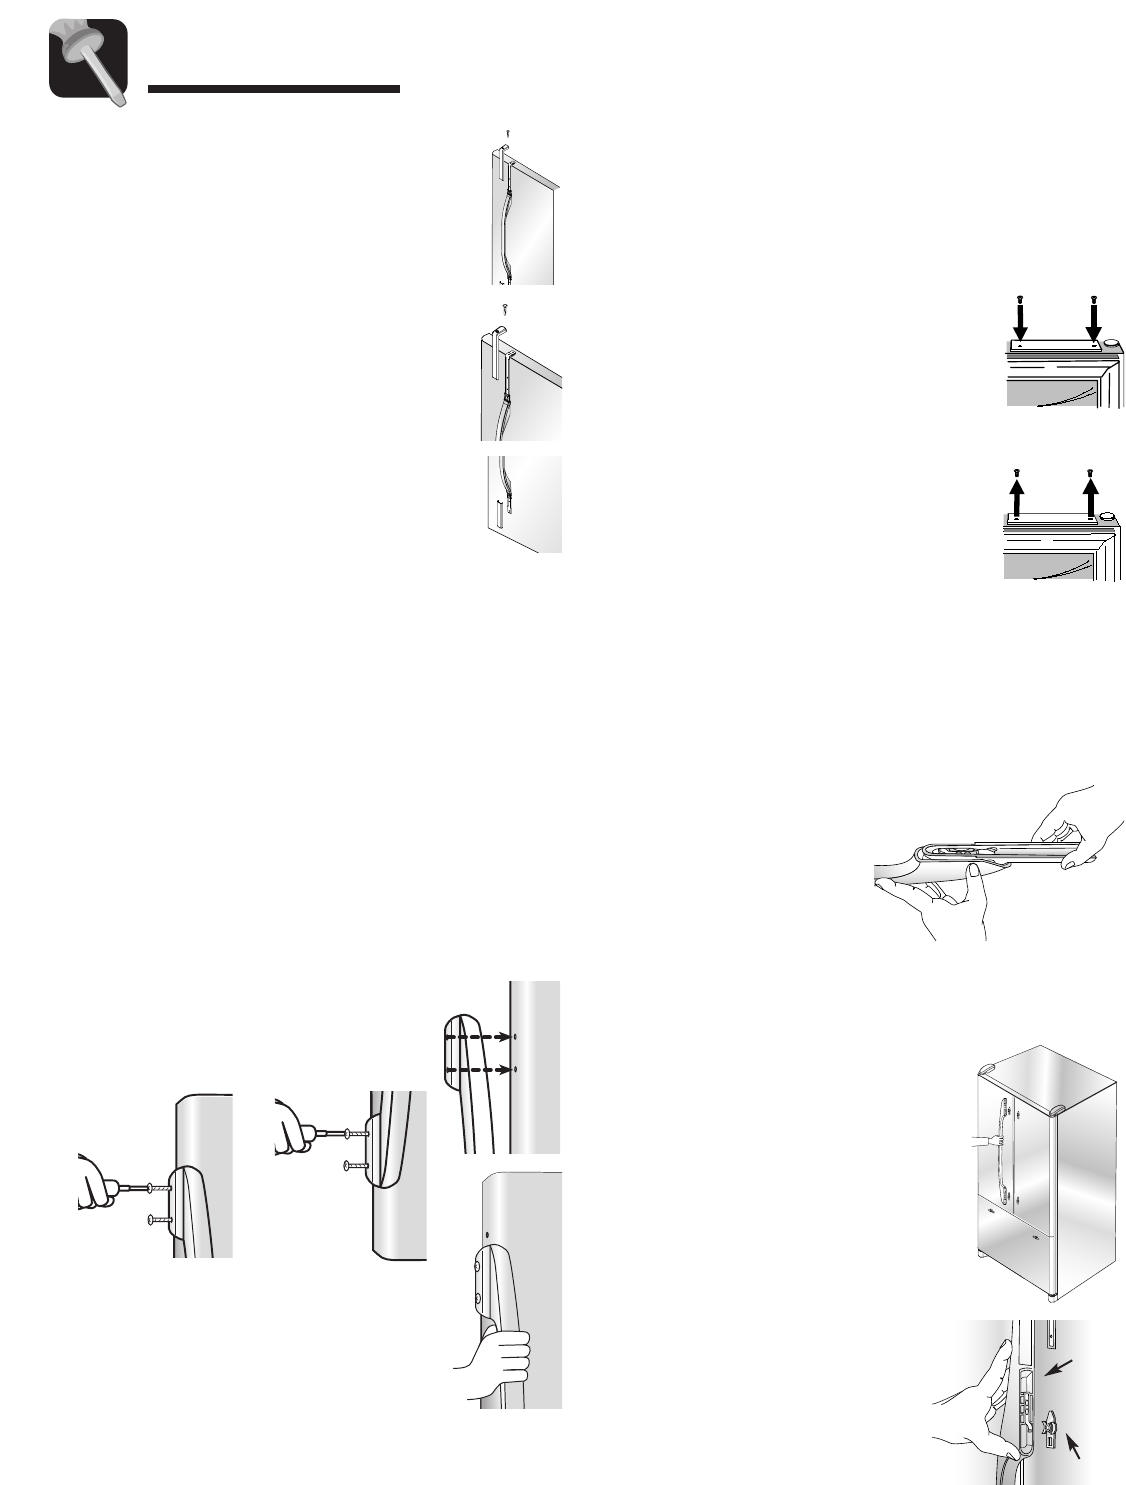
To Install:
1. The handles are to be oriented
as shown.
2. Align front mount door handle
clip with the door tabs.
3. Ensure the handle clips are
positioned slightly above the
door tabs.
Handle
Clip
Door
Tab