


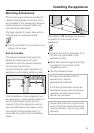
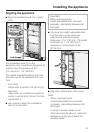
Mounting Accessories
The mounting accessories needed for
installing the appliance into the niche
are included in the packaging. Several
plastic bags are included which are
numbered alphabetically.
The bag needed for each step will be
marked with its respective letter.
^
Use the included Torx screwdriver to
tighten the screws.
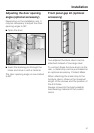
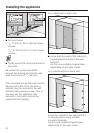
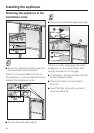
Anti-tip brackets
The anti-tip brackets help keep the
appliance safely secured to the
installation niche to prevent tipping.
Two anti-tip brackets are
recommended for each appliance or
appliance combination (side-by-side).
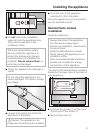
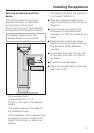
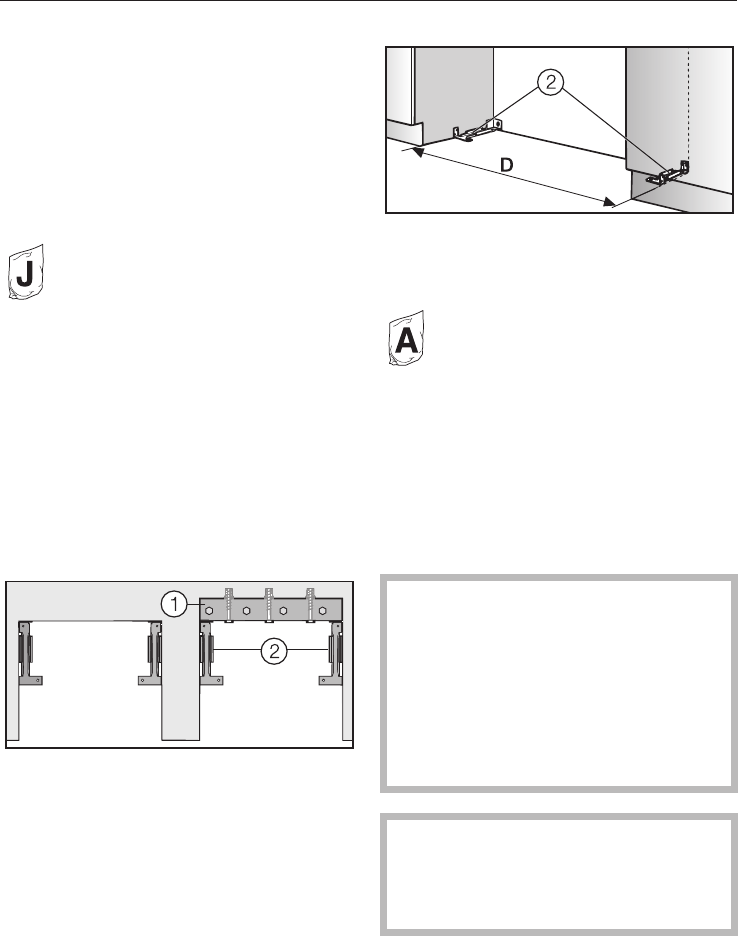
If the installation niche is deeper than
the appliance, a solid wooden beam a
can be placed behind the anti-tip
brackets b so the appliance can be
securely attached to the base or wall.
The length of the wooden beam a
should be the width of the installation
space.
The distance "D" between the anti-tip
brackets b is the width of the
appliance.
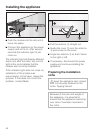
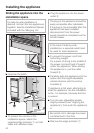
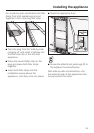
^ Position the anti-tip brackets b on
the left and right walls of the
appliance niche.
^ Mark the holes through the anti-tip
brackets b on the floor of the
installation niche.
^ Set the brackets aside.
Screws are supplied with the
appliance for various
applications/materials.
If the anti-tip brackets cannot be
attached securely with the screws
supplied, an alternative anti-tip
device can be used.
Assure that there are no electrical
wires in the area which the screws
could penetrate - risk of injury and
damage.
Installing the appliance
49