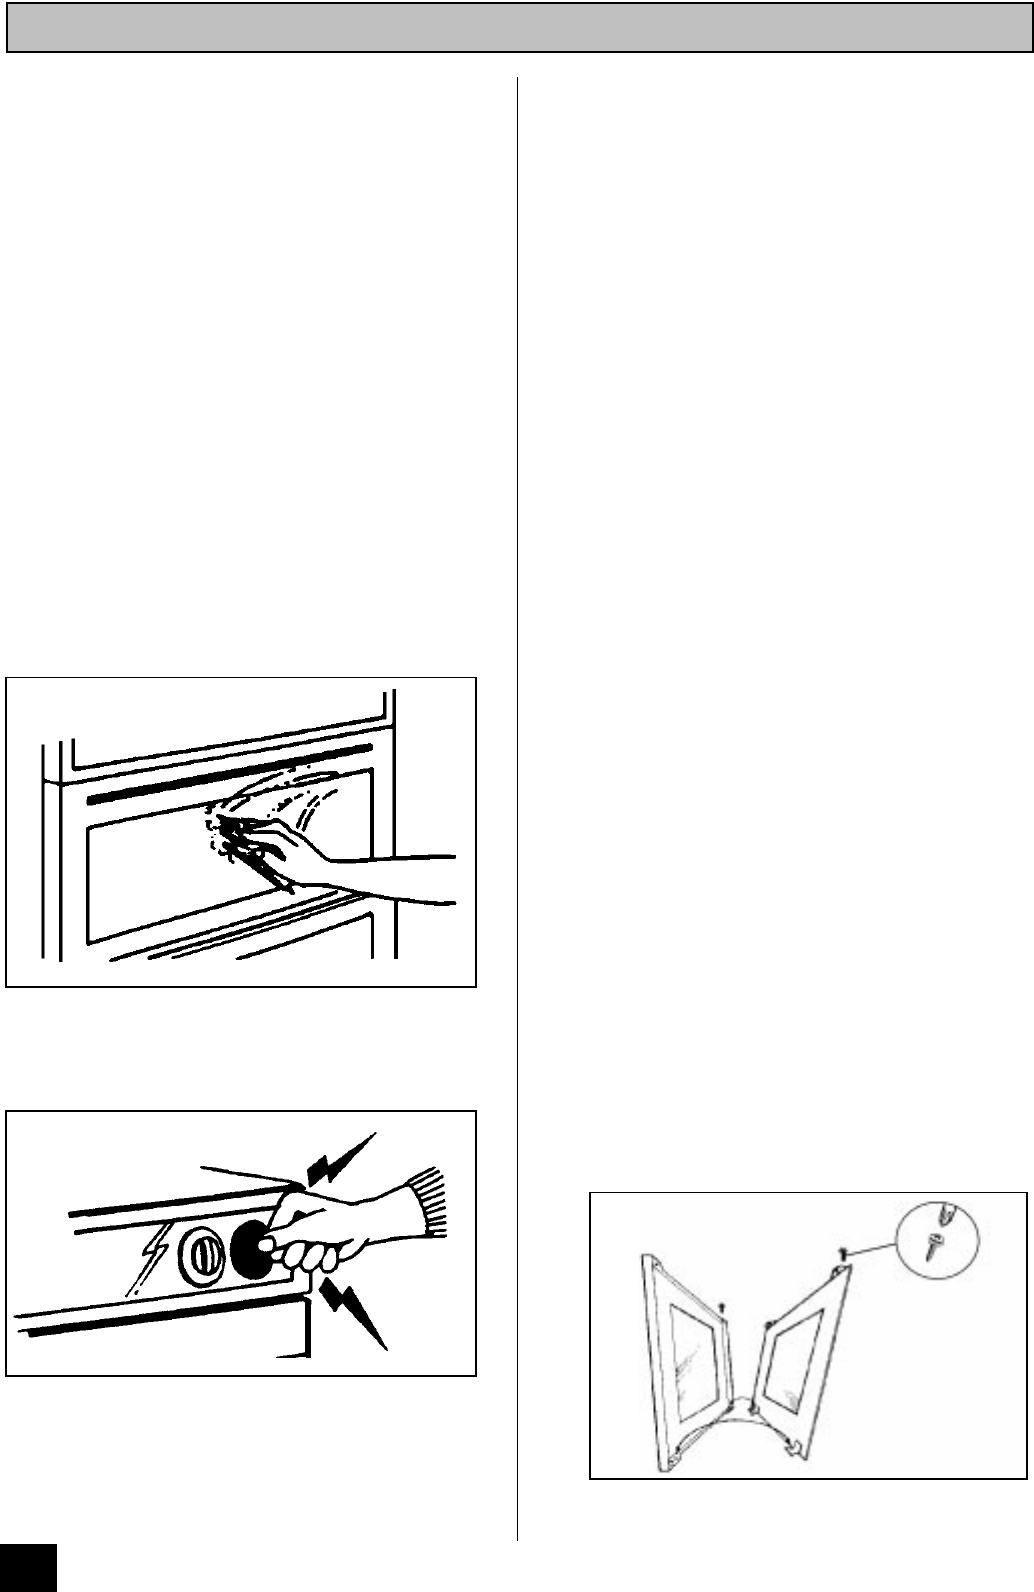
BEFORE CLEANING ALWAYS ALLOW
THE COOLING FAN TO COOL THE
COOKER DOWN BEFORE SWITCHING
OFF AT THE ELECTRICITY SUPPLY
CLEANING MATERIALS
Before using any cleaning materials on your cooker,
check that they are suitable and that their use is
recommended by the manufacturer.
Cleaners that contain bleach should NOT be used as
they may dull the surface finishes. Harsh abrasives
should also be avoided.
CLEANING THE OUTSIDE OF
THE COOKER
DO NOT use abrasive cleaning materials or scourers
on the outside of the cooker, as some of the finishes
are painted and damage may occur. Regularly wipe
over the control panel, oven doors and cooker sides
using a soft cloth and liquid detergent.
DO NOT ATTEMPT TO REMOVE ANY OF THE
CONTROL KNOBS FROM THE PANEL AS THIS
MAY CAUSE DAMAGE AND IS A SAFETY
HAZARD.
CLEANING INSIDE THE OVEN AND
GRILL COMPARTMENT
The vitreous enamel coating in the oven cavity on
the oven base can be cleaned using normal oven
cleaners or aerosol oven cleaners with care. Ensure
that the manufacturers instructions are followed and
that all parts are well rinsed afterwards.
CLEANING THE GRILL DEFLECTOR,
GRILL PAN, GRILL PAN GRID AND OVEN
SHELVES
All removable parts, except the grill pan handle can
be washed in the dishwasher. Alternatively soak
them in hot soapy water if heavily soiled. They will
then clean more easily.
The grill pan and grill deflector may be cleaned using
a soap impregnated steel wool pad. The grill pan grid
and oven shelves should be cleaned using hot soapy
water. Soaking first in soapy water will make cleaning
easier.
CLEANING BETWEEN THE OUTER AND
INNER DOOR GLASS
The outer door glass is removable for cleaning.
TO REMOVE THE OUTER GLASS
1. Open the oven door slightly to gain access to the
two cross head screws on the top of the oven
door.
2. Loosen the two screws using a Pozidrive
screwdriver.
3. Hold the door glass securely with one hand,
before removing the screws completely with the
other hand.
4. Using both hands, gently tilt the top of the door
glass towards you. Lift slightly to disengage the
locators from the two bottom brackets. As you do
this the door will close.
28
CARE AND CLEANING


