5
FRONT PANEL CONTROLS & CONNECTIONS
FRONT PANEL
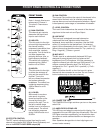
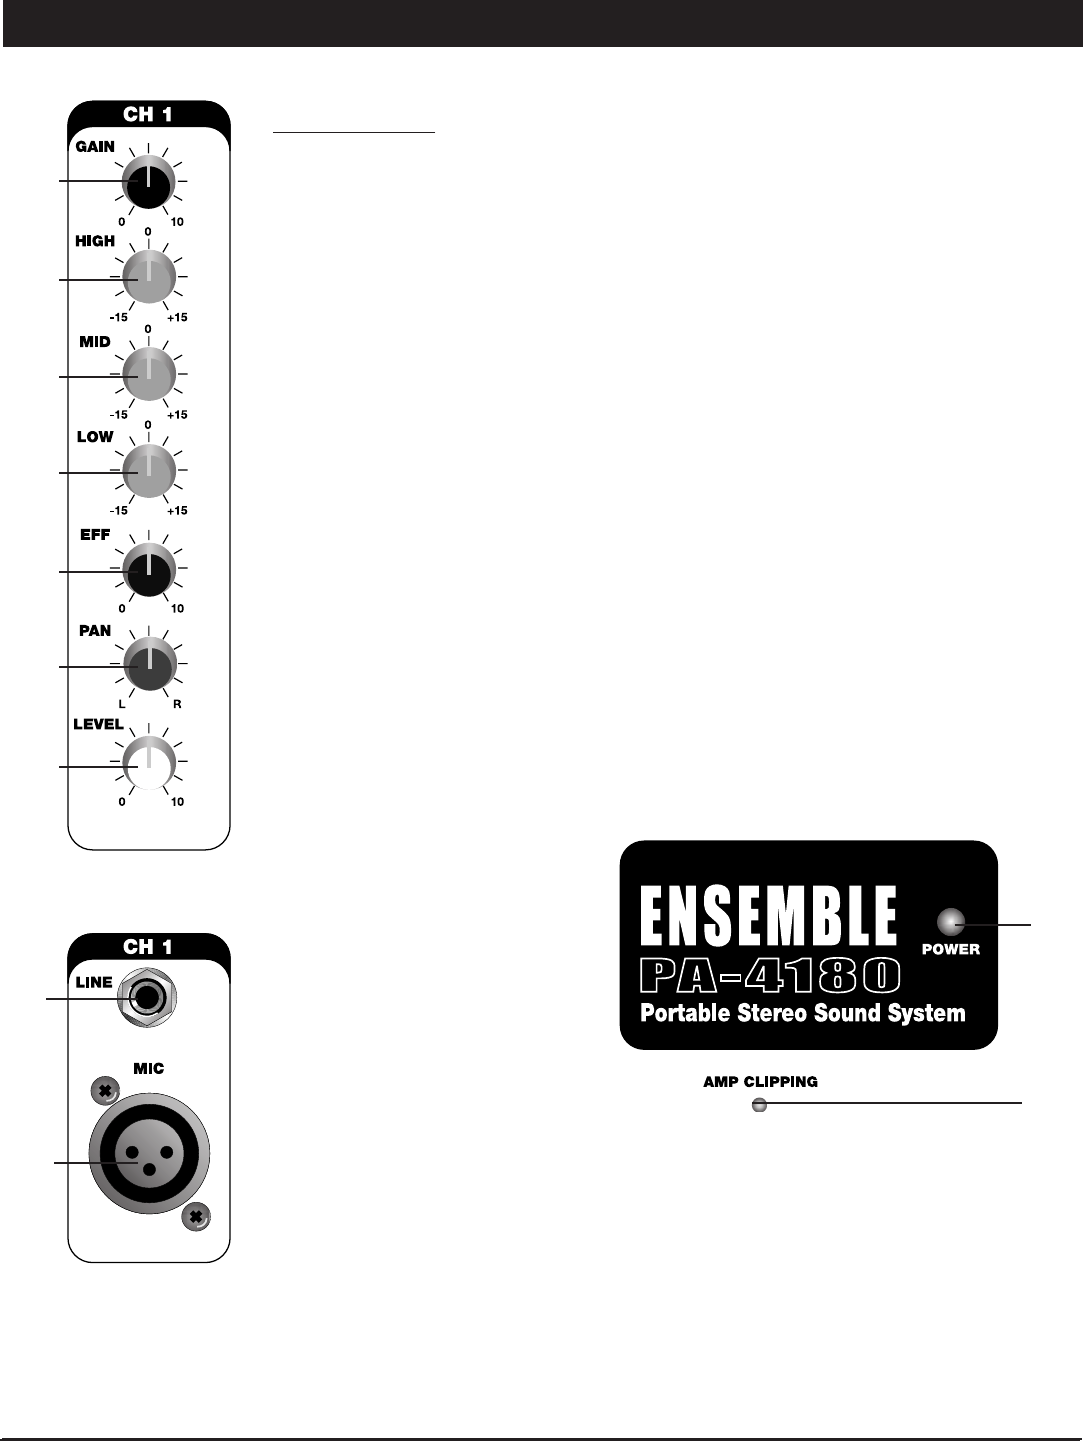
Note: 1 through 9 below are
referenced to Channel 1.
The other 3 Channels are
identical.
(1) GAIN CONTROL
The channel gain controls
determine the signal level
input to each channel.
(2) HIGH EQ
Turn this control to the right
to boost high frequencies on
the channel, adding
crispness to percussion from
drum machines, cymbals
and synths. Turn to the left to
cut these frequencies,
reducing sibilance, hiss, or
high frequency feedback.
The control has a shelving
response giving 15dB of
boost or cut at 12kHz.
(3) MID EQ
Turn this control to the right
to define the midrange or
bring out the vocals on the
channel. Turn to the
left to cut these frequencies
and reduce midrange
muddiness. The control has
a shelving response giving
15dB of boost or cut at
2.5kHz.
(4) LOW EQ
Add warmth to vocals or
extra punch to guitars,
drums and synths on the
channel by turning this
control to the right. Turn to
the left to reduce stage
rumble, hum or to improve a
mushy sound. The control
has a shelving response
giving 15dB of boost or cut
at 90Hz.
(5) EFFECTS CONTROL
The EFF control adjusts the signal level sent by each
channel to the internal DSP (Digital Sound Processor) and
also to the EFFECT LOOP SEND output (20).
(6) PAN CONTROL
The channel Pan positions the output of the channel in the
stereo field of the main mix. Its constant-power design
ensures there are no level discrepancies whether a signal
is hard-panned, center-stage, or somewhere in-between.
(7) LEVEL CONTROL
The Level Control determines the amount of the channel
signal sent to the main mix and Tape Output.
(8) LINE INPUT
The Line input is designed to accept balanced or
unbalanced line-level signals such as those from
keyboards, drum machines, or samplers. Use the GAIN
control (1) to adjust for the desired level. If a balanced
signal is to be connected to the line input, then a 1/4" TRS
(stereo) phone plug should be wired for: Tip = positive (+),
Ring = negative (-), Sleeve = ground.
(9) MIC INPUT
The Mic input is an electronically balanced XLR type
designed to accept signals from any balanced low
impedance (Low Z) microphone. It will be necessary to
adjust the channel gain with the input GAIN control (1) to
achieve a nominal operating level. The XLR jack is
configured for: Pin1 = ground, Pin2 = positive (+), Pin3 =
negative (-).
(Note: Only either the Mic or the Line input of a given
channel can be connected at one time. Do not connect
both simultaneously to the same channel.)
(1)
(2)
(3)
(4)
(5)
(6)
(7)
(8)
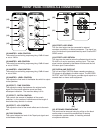
(10) POWER “ON” LED
The POWER LED will light red when you turn on the power
switch ON.
(11) AMPLIFIER CLIPPING LED
This LED turns red when the output signal is clipping. It is
acceptable if the red LED lights very occasionally. If the red
LED lights more than occasionally, you should turn down
the volume to avoid audible distortion and damage to the
speakers.
Note: Speakers damaged due to hard clipping are not
covered under warranty.
(10)
(11)
(9)


