Copyright 1995 - 1999. Nokia. All rights reserved. 2(5)
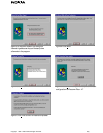
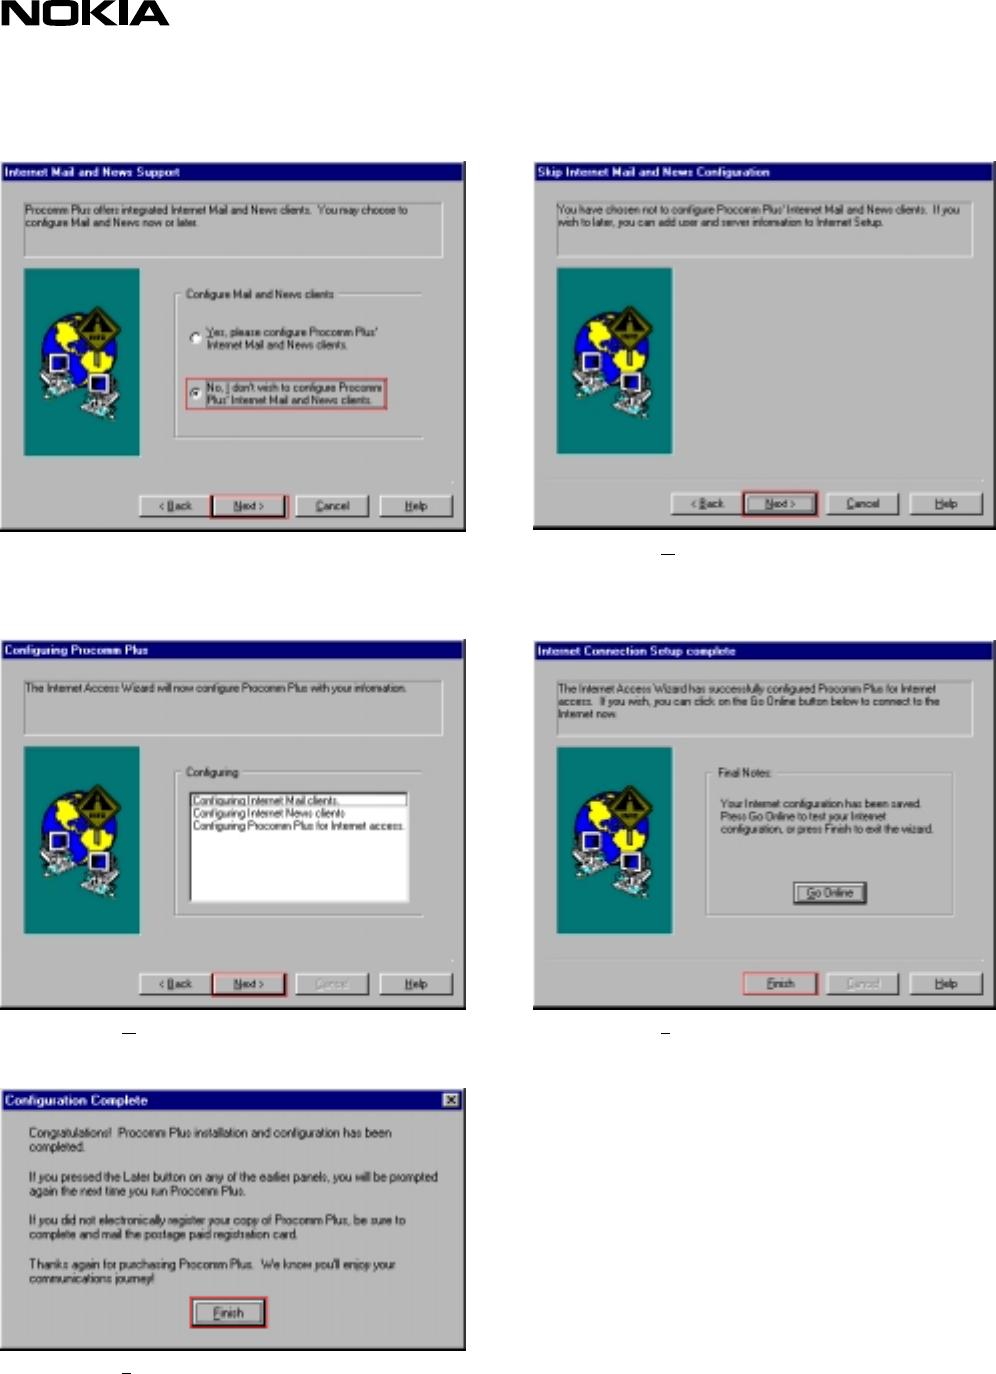
Figure 5: At this point we don't yet configure Figure 6: Click Next>
these settings because they can be easily done
afterwards in the program.
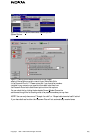
Figure 7: Click Next> Figure 8: Click F
inish. Now you have completed the basic
configuration for Procomm Plus v. 4.7.
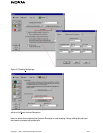
Figure 9: Click Finish to end the installation process


