


76
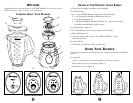
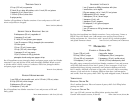
Place threaded bottom cap over blade and turn clockwise to tighten. (Figure 4)
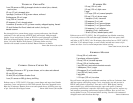
Wrap the power cord from the cord storage area on the base of the blender
until the cord is the length you desire. (Figure 5)
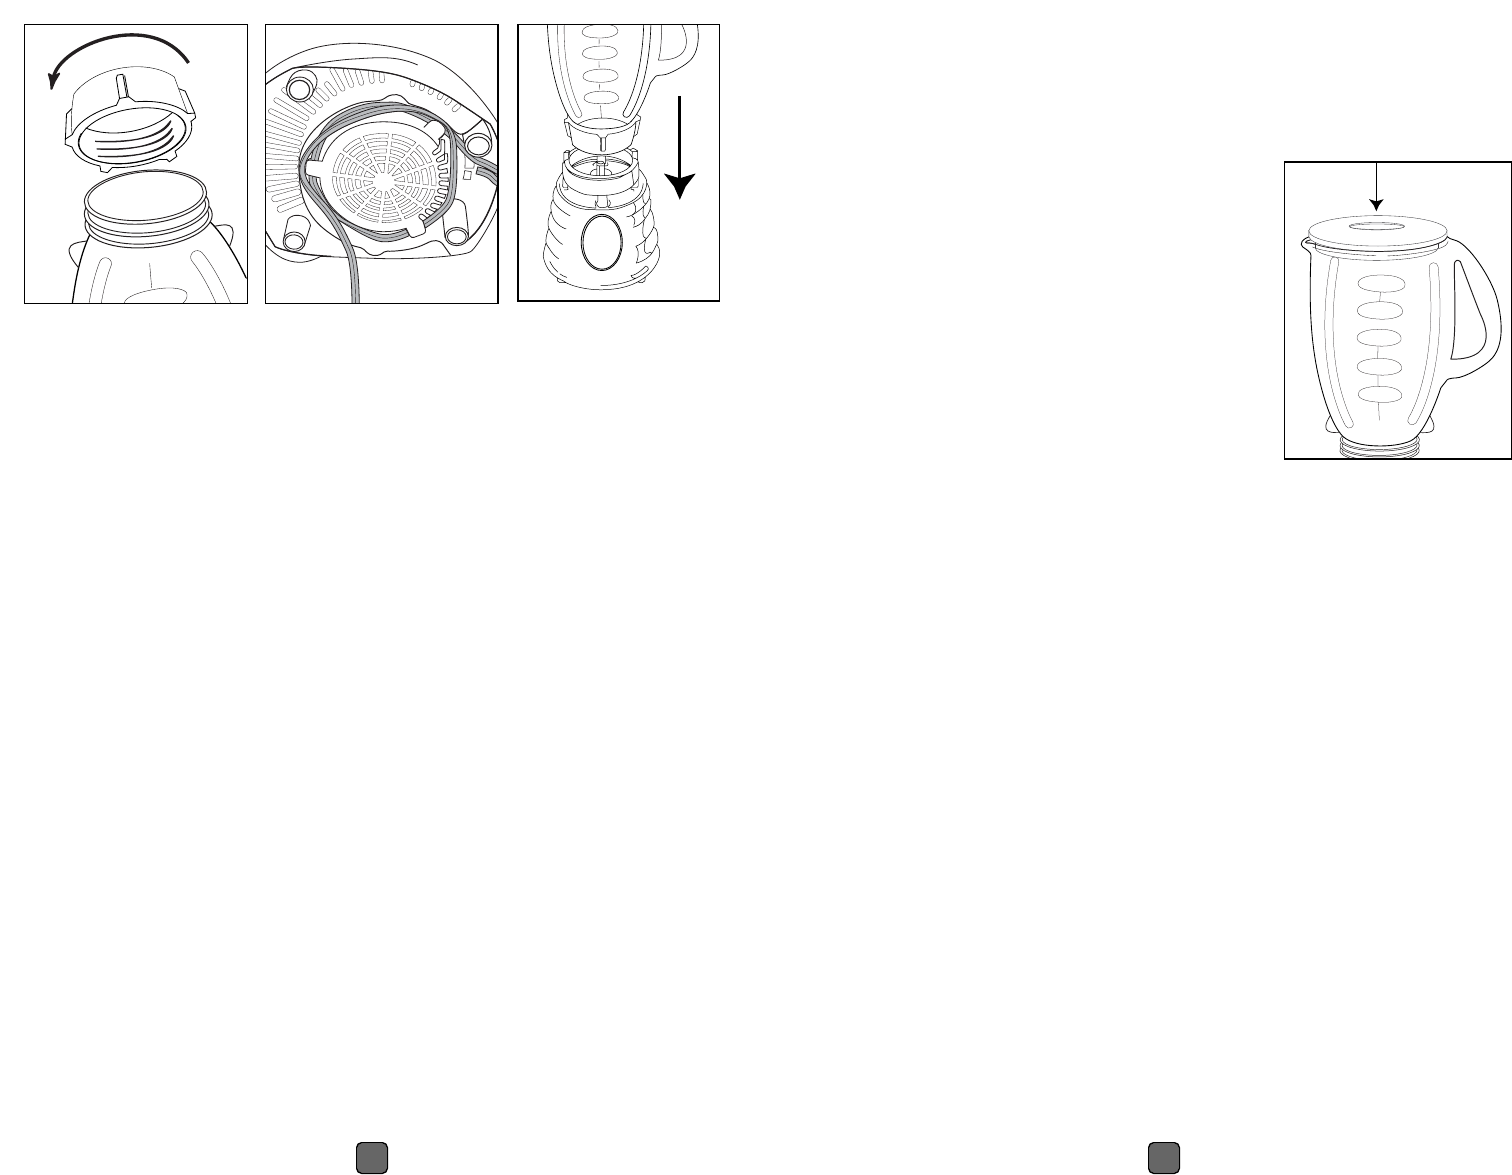
Place jar assembly onto base. (Figure 6)
Place ingredients into jar.
Place lid with feeder cap on jar.
Plug the power cord into a 120 Volt AC electrical outlet.
TOGGLE MODELS
Push switch up and blend ingredients to desired consistency.
Push switch to OFF to stop the blender and turn blender off.
To use PULSE, push switch down for desired length of time.
Release PULSE and allow blade to stop. Repeat cycle as desired.
DIAL MODELS
Turn dial to desired speed and blend ingredients to desired consistency.
Turn dial to OFF to stop the blender and turn blender off.
To use PULSE, turn dial to PULSE or speed I for desired length of time.
Turn dial back to OFF and allow blade to stop. Repeat cycle as desired.
BLENDING TIPS
• Put liquids in the jar first, unless a recipe says otherwise.
•Crushing ice: Crush 6 ice cubes or
approximately 2 cups of ice at a time.
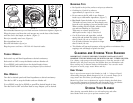
• Do not remove the lid while in use. Remove
feeder cap to add smaller ingredients. (Figure 7)
• Hot Foods: Open the feeder cap to vent steam.
Tilt feeder cap away from you. Keep hands away
from the cover opening to prevent possible burns.
When working with hot liquids, remove feeder
cap and start blending at a low speed.
Then move to a faster speed. Do not
add liquid over the 4 cup (1 Liter) level.
• Cut all firm fruits and vegetables, cooked
meats, fish and seafood into pieces no larger
than 3/4 inch (1.8 cm) to 1 inch (2.5 cm).
Cut all kinds of cheeses into pieces no larger
than 3/4 inch (1.8 cm).
• This blender will not mash potatoes, whip egg whites or substitute dairy
toppings, mix stiff dough or grind raw meat.
C
LEANING AND
S
TORING
Y
OUR
B
LENDER
IMPORTANT: UNPLUG BEFORE CLEANING BASE and DO NOT
IMMERSE THE BLENDER BASE IN WATER OR ANY OTHER LIQUIDS.
Use a damp, soft sponge with mild detergent to clean the outside of the
blender base. All parts except for the blender base are dishwasher safe.
Place sealing ring in bottom basket of dishwasher. You can also wash
the parts in warm, soapy water. Rinse and dry.
E
ASY
C
LEAN
Pour 3 cups of warm water in the blender jar. Add 1 – 2 drops of liquid
dishwashing detergent. Blend detergent for 10 –15 seconds. Empty jar of
soapy water into sink. Rinse jar thoroughly with clean water.
NOTE: Easy Clean is not a substitute for regular cleaning described above.
It is especially important to disassemble and thoroughly clean your blender
when processing milk, dairy products, meats, seafood and eggs.
STORING YOUR BLENDER
After cleaning, reassemble blade to jar with sealing ring and collar.
Store blender with cover ajar to prevent container odor.
FIGURE 4 FIGURE 5
FIGURE 6
FIGURE 7