www.oster.com
6
www.oster.com
7
Adding Water and Ground Coee
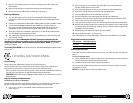
1 Lift and open the lter basket lid. For your convenience,
you can lift out the removable lter basket.
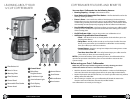
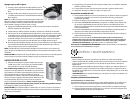
2 Place a 10–12 cup paper cone-style lter or a permanent
lter into the removable lter basket. (Figure 2)
NOTE: If using paper lters, it is important that the sides of
the lter t ush against the side of the lter basket. If lter
collapse occurs, dampen the lter before placing in the lter
basket and adding ground coee and water.
3 Add the desired amount of coee and gently shake to
level the coee. See the Suggested Coee Measurement Chart.
4 Be sure the lter is properly centered and all the way down in the lter basket.
5 Fill the decanter with cold, fresh water to the desired capacity
(1 cup equals 5 ounces). For easy and accurate lling, the water markings on the
glass decanter show the amount of water needed to make the corresponding
desired number of cups. The amount of coee brewed will always be slightly less
than the amount of water poured in the water reservoir. This is due to the minimum
absorption of water by the coee grounds.
6 Pour the water into the water reservoir. Do not ll past the “MAX line” or water will
ow out of the overll hole in the back of the water reservoir. Close the lid and place
the empty decanter onto the warming plate.
NOTE: Make sure the decanter is fully placed on the warming plate or the water and the
grounds will overow from the lter basket. An overow may cause personal injury or
damage to property.
CAUTION! To reduce the risk of damaging the decanter and/or the risk of personal injury,
do not add cold water to the decanter if the decanter is already hot. Allow the decanter to
cool before using.
BREWING COFFEE NOW
1 After completing the steps in the “Adding Water and
Coee” section and with the decanter and the lter basket
securely in place, turn the coeemaker on.
For Programmable models: Press the ON/OFF Button to begin
the brewing cycle. The red indicator light will turn on to signal
that the coeemaker is brewing. When the brewing cycle is
complete, the coeemaker switches over to the warming mode.
Your coeemaker will keep your coee hot for 2 hours, then
automatically shut o.While the coee is brewing, the Pause
’n Serve feature allows you to sneak a cup of coee from the
decanter. Replace the decanter on the warming plate within
30 seconds to prevent overow and possible injury.
To turn the coeemaker o, push the OFF button.
CAUTION! If the brew basket overows or fails to empty into the decanter, do not open the
brew basket. Turn o the coeemaker. Unplug the coeemaker and wait for the contents to
cool before handling.
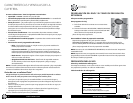
Figure 3
HOW TO
SETTING THE CLOCK AND DELAY BREW TIME
On programmable models only
To Set the Clock:
1 Plug the power cord into a standard electrical outlet.
2 Press the HOUR and MINUTE buttons until you reach the current time. The AM/PM
indicator will light on the left of the display.
The clock is now set!
To Set the Delay Brew Time:
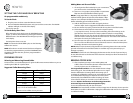
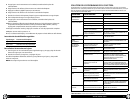
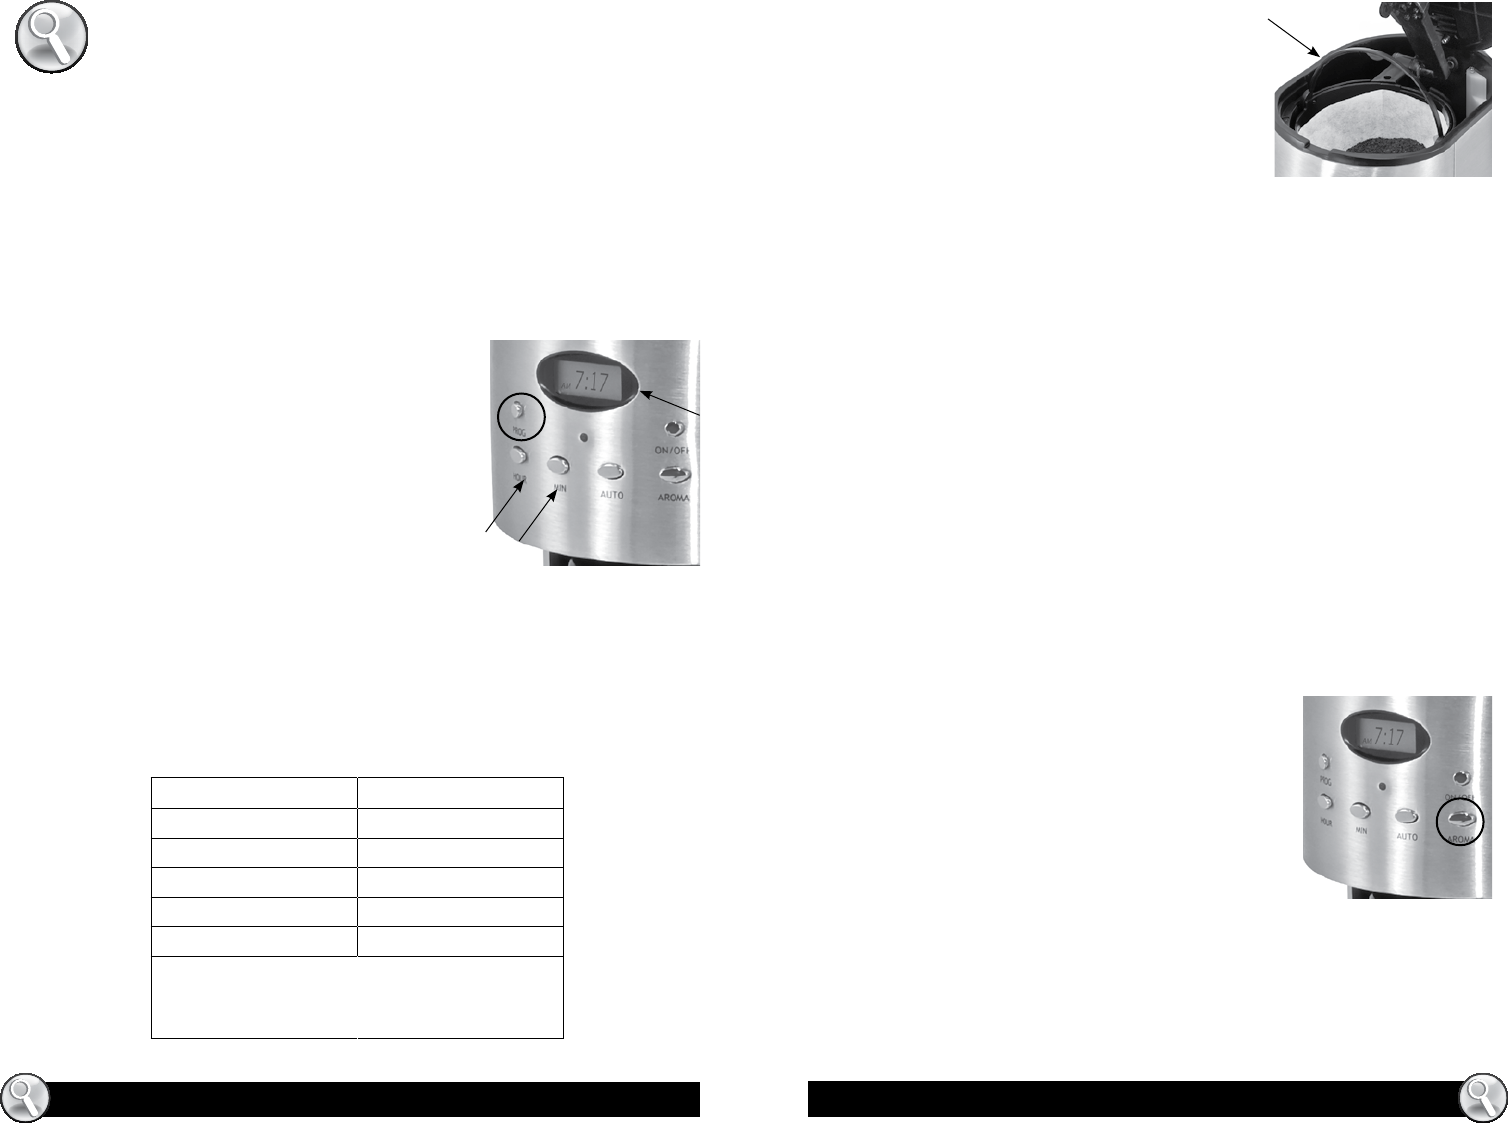
After setting the clock, simply press the PROGRAM button
(Figure 1), and set the brew time by pressing the HOUR and
MINUTE buttons. The AM/PM indicator will light up on the
clock display.
The Delay Brew Time is now set!
NOTE: To activate the DELAY BREW cycle, see the “Brewing
Coee Later” section.
NOTE: After about 3 seconds normal clock time will appear.
To check the programmed time, push the PROGRAM button.
The display will show the time you have programmed the
coee to brew.
PREPARING FOR USE
Selecting and Measuring Ground Coee
For best results, use a level tablespoon for ground coee measurement. Make sure you use
medium grind coee for a perfect brew.
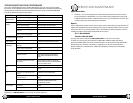
Suggested Coee Measuring Chart
To Brew Ground Coee
12 Cups 9 tbsp.
10 Cups 7.5 tbsp.
8 Cups 6.5 tbsp.
6 Cups 4.5 tbsp.
4 Cups 3 tbsp.
1 level tablespoon (tbsp) - 5 gr./0.17 oc/ 15ml
1 cup = 5 . oz. of brewed coee
Use more or less coeee to suit your taste
Figure 2
Figure 1


