Operating _17
02 OPERATING
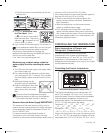
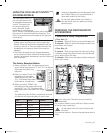
USING THE COOL SELECT PANTRY
PLUS
(ON SOME MODELS)
The Cool Select Pantry
PLUS
is a full-width drawer with
an adjustable temperature
control. This pantry can
be used for large party
trays, deli items, pizzas,
beverages or miscellaneous
items. There is a temperature sensor which adjusts
the amount of cold air allowed into the pantry. The
Pantry's control buttons are located on the right side
of the pantry.
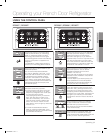
• The Pantry has three modes: The Fresh mode,
Chilled mode, and Deli mode. Fresh mode is the
default. Press the Temp button repeatedly until the
mode you want is lit. Once you select a mode, the
temperature will change to match the mode you
selected.
• The Pantry temperature may change depending
on the number of items inside and where they are
located, the ambient temperature, and how often the
door is opened.
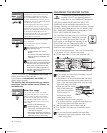
The Pantry Selection Button
1. When you select “Deli”, the temperature of the
pantry will be kept around 41°F (or 5°C). This feature
helps keep food fresh for a
long time.
2. When you select “Fresh”, the
temperature of the pantry
will be kept around 38°F (or
3°C). This feature helps keep
food fresh for a longer time.
3. When you select “Chilled”, the
temperature of the pantry will be kept
around 34°F (or 1°C). This feature also
helps keep meat or fish fresh for a longer
time.
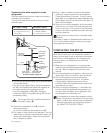
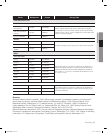
The table below lists the Pantry modes and the kinds
of foods that can be stored safely for each mode.
Deli Fresh Chilled
• pineapples • cucumbers • steaks
• lemons • apples • hard cheeses
• avocados • oranges • cold cuts
• potatoes • grapes • bacon
• zucchinis • hot dogs
• corn
Fruits and vegetables may be damaged under
the “Chilled” setting. Do not store lettuce or
other leafy produce in the Pantry.
Do not store glass bottles in the Pantry. If
they are frozen, they can break and cause
personal injury.
REMOVING THE REFRIGERATOR
ACCESSORIES
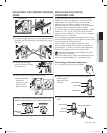
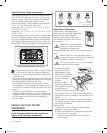
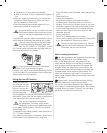
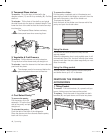
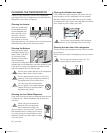
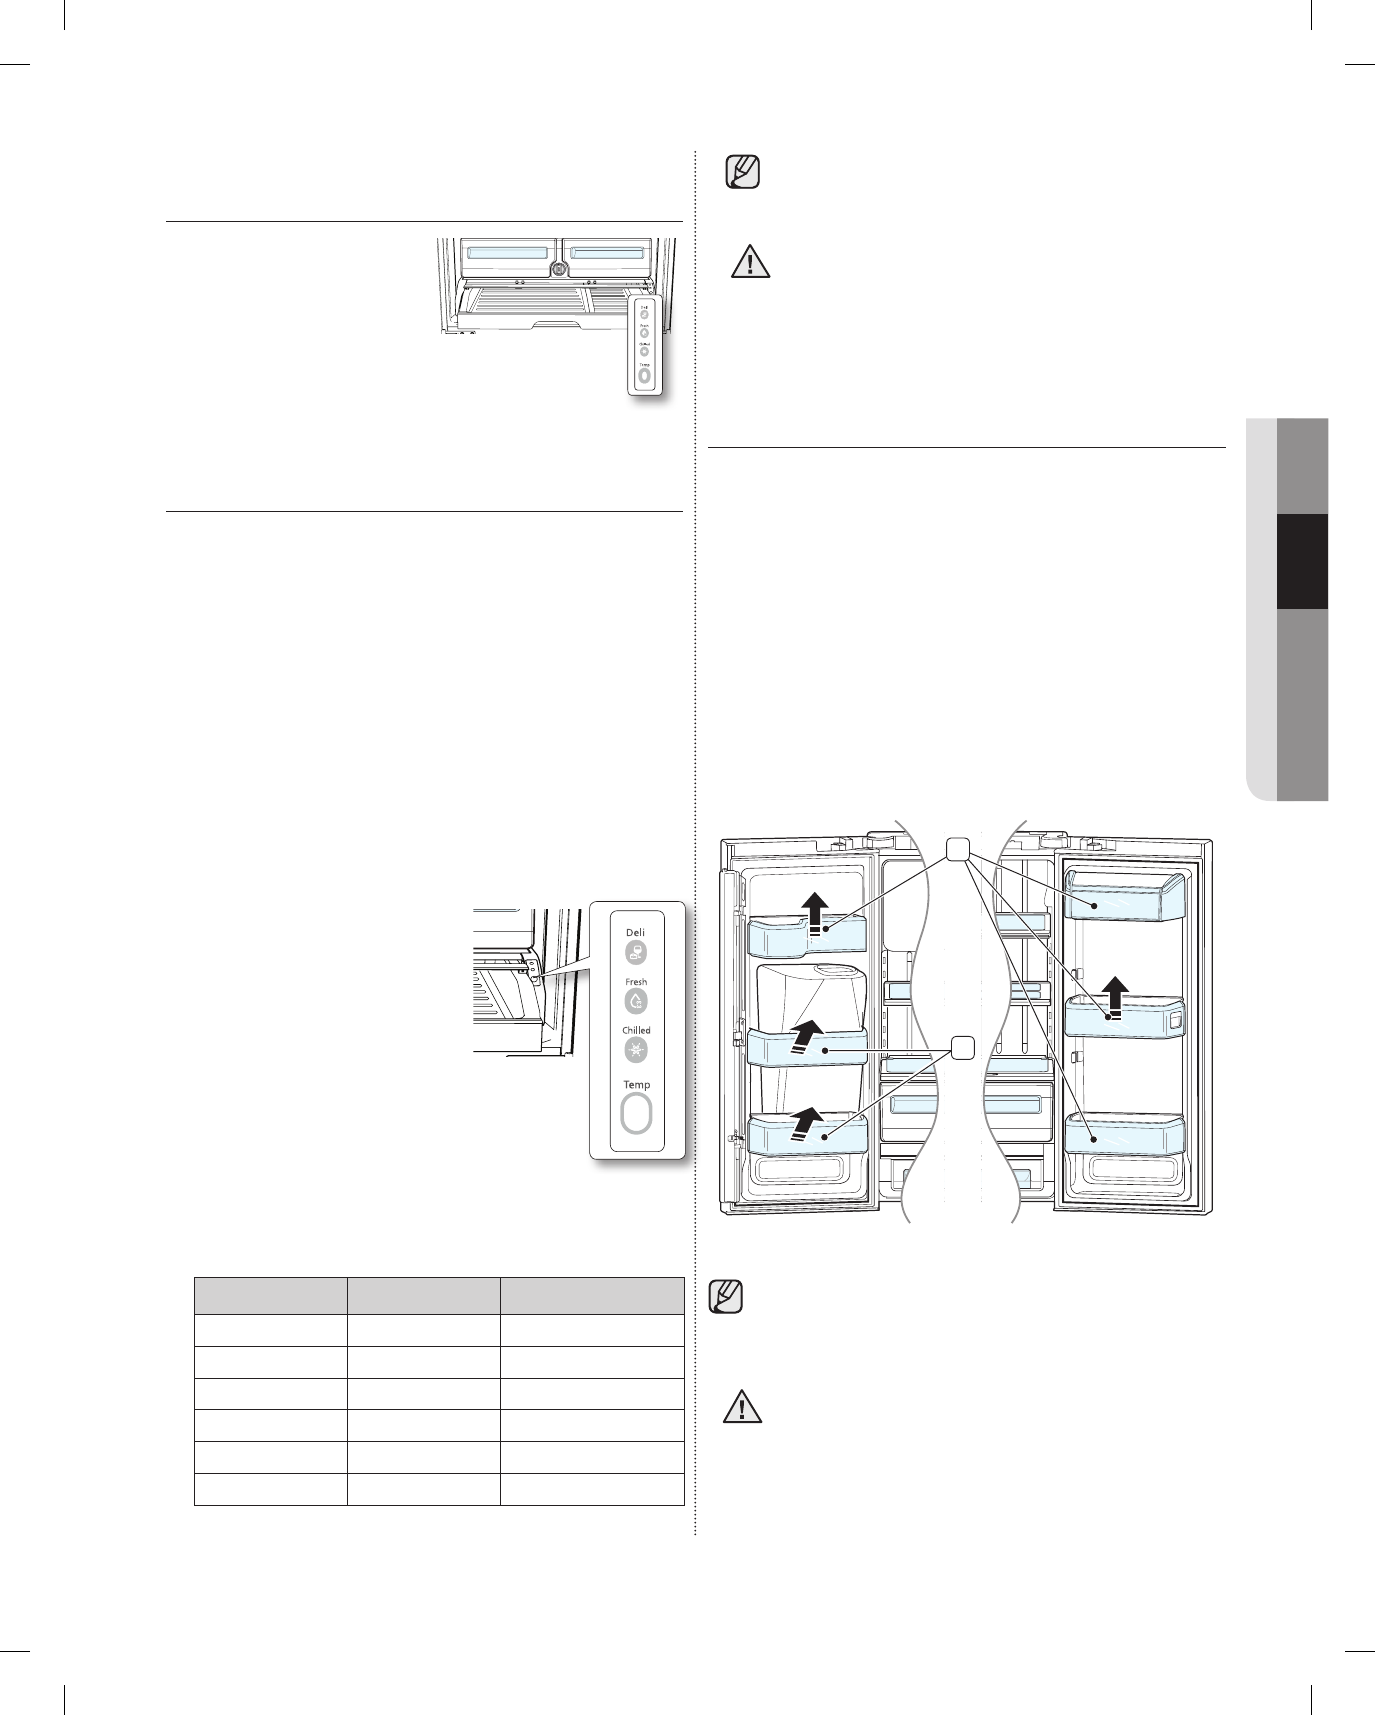
1. Door Bins & Dairy Compartment
• Door Bins (1)
To remove - Simply lift the bin up and pull straight out.
To relocate - Slide it in above the desires location and
push down until it stops.
• Door Bins (2)
To remove - Take the right side of the bin out by lifting
it obliquely along the guide and then, take the left side
out by pulling it from the door.
To relocate - Slide it into the original location and push
down until it sticks.
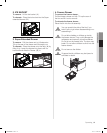
Injury may occur if the door bins are not firmly
assembled.
Do not allow children to play with bins. Sharp corners
of the bins may cause injury.
Do not adjust a bin full of food. Remove the
food first.
Dust removal method - Remove the guard and wash in
water.
CAUTION
CAUTION
1
2
DA68-02488A-11.indb 17 14. 5. 14. �� 11:45


