Coupling Connection Instructions
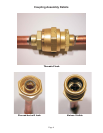
1. Remove the protector caps and plugs. Wipe the seats and threaded surfaces with a
clean cloth to remove any possible foreign matter.
2. Thoroughly lubricate the threads, o-rings, diaphragms and all internal coupling
surfaces with polyolester refrigerant oil. Failure to lubricate could cause a false
sense of tightness and a leak will result from the incomplete assembly.
Note: Scotsman line sets include lubricant packets.
3. Position the fittings on the correct connections on the condenser and ice machine.
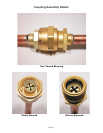
4a. Begin to tighten the couplings together by hand. Continue to turn the swivel nuts
by hand until it is certain that the threads are properly engaged.
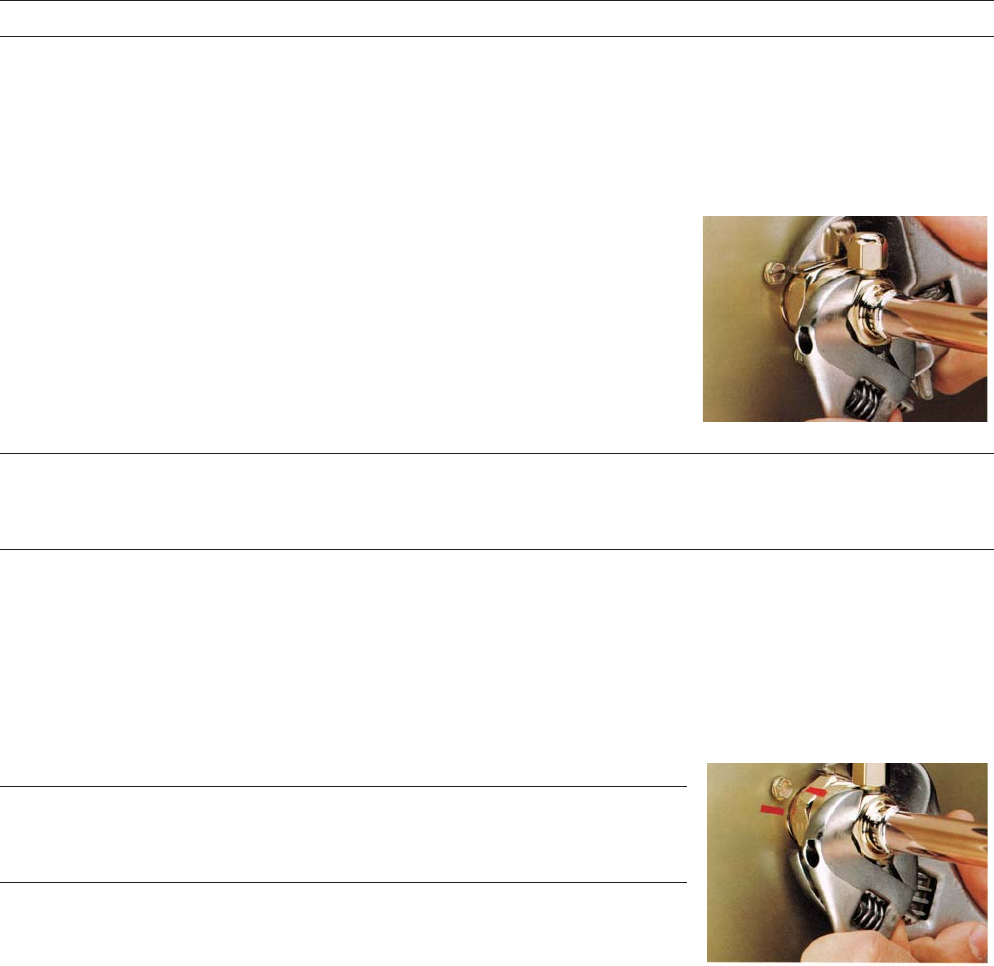
4b. Using two wrenches, one to rotate the swivel nut and
one to hold the tubing in place, tighten each coupling.
It is CRITICAL that ONLY the NUT on the pre-charged tube
be turned, or the diaphragms will be torn by the piercing
knives and become loose in the refrigeration system
causing severe operational problems.
Note: As the coupling is tightened, the diaphragms in the quick connect couplings will
begin to be pierced. As that happens, there will be increased resistance to tightening
the swivel nut.
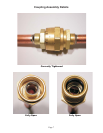
4c. Continue tightening the swivel nut until it bottoms out or a very definite increase in
resistance is felt (no threads should be showing). Do NOT overtighten.
5. Use a marker or pen to mark a line on the coupling nut and unit panel. Then tighten
the coupling nut an additional one-quarter turn. The line will show the amount that the
nut turns.
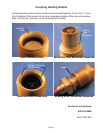
Note: The final 1/4 turn forces two shoulders on the swivel
nut end into the beveled surface of the male end, resulting
in a sealed brass-to-brass connection.
6. After all connections have been made check the
couplings for leaks.
Page 2
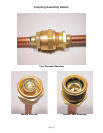
Coupling Assembly Details


