USING YOUR CANISTER SET WITH A
SEAL-A-MEAL
®
VACUUM FOOD SEALER (CONT.)
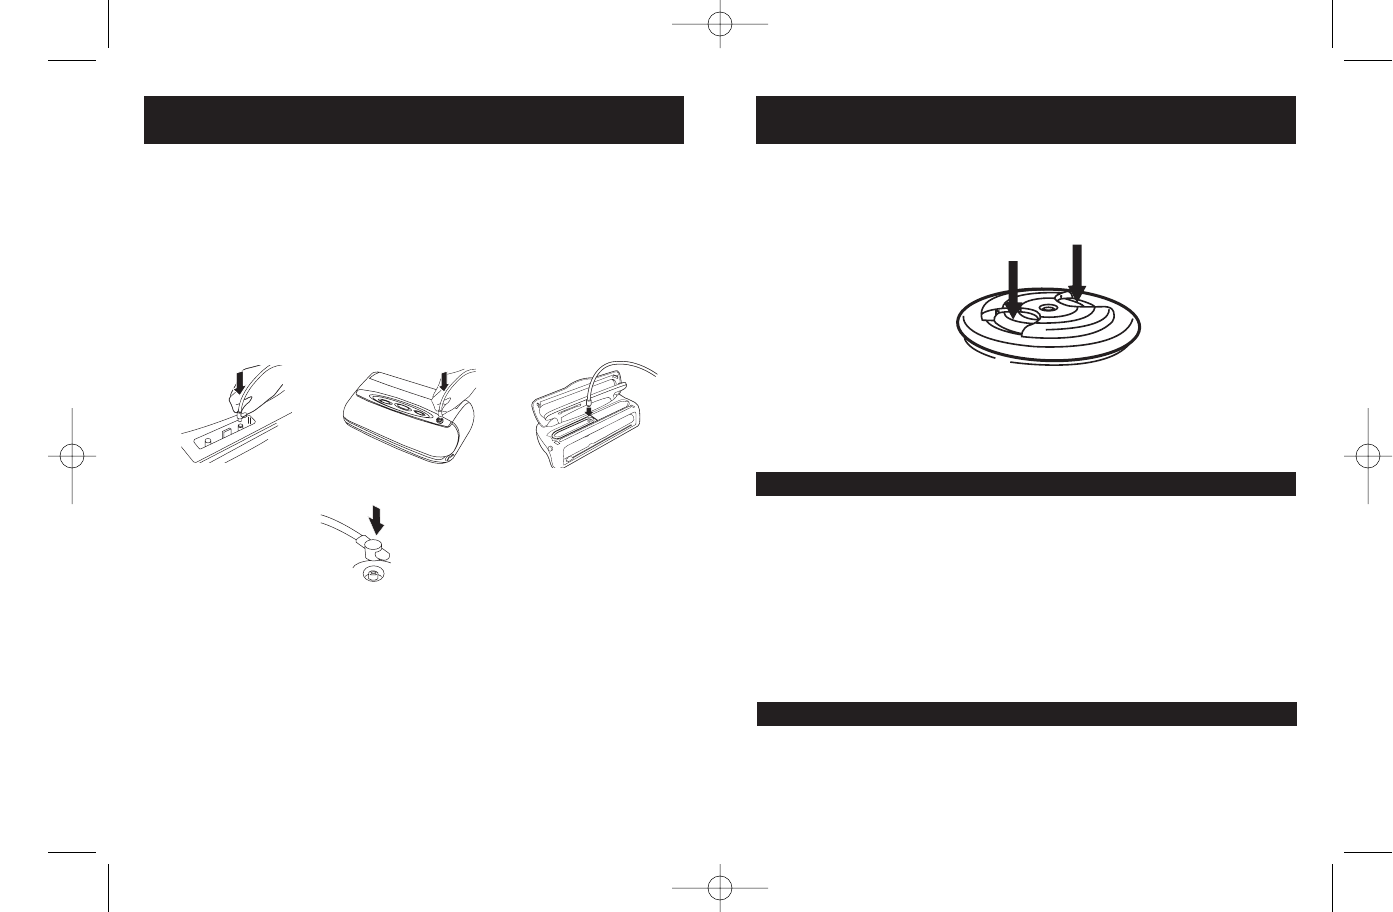
5. Remove Accessory Hose from Canister Lid. The Canister is now ready
to be stored.
To release vacuum in Canister, simply press either of the Vacuum
Release Buttons.
Easily heat foods in your Seal-a-Meal
®
Canisters, simply remove the Lid
and place the Canister Base only in your microwave.
NOTE: Canister Lid is NOT microwave safe.
-4-
HELPFUL HINTS & TIPS
• Canisters are great for vacuum sealing delicate foods (cookies, muffins),
soups, sauces and more.
•
Make sure there are no crumbs or food debris on the Canister Lid, as
any gaps will prevent it from vacuum sealing.
•
Do not over fill the Canister with food or liquid.
•
Store vacuum sealed Canisters in an upright position.
Refer to your Seal-a-Meal
®
Vacuum Food Storage System Reference Guide
for more details on how to Vacuum Seal with Seal-a-Meal
®
Accessories.
CLEANING YOUR CANISTER SET
•
Hand wash Canister with warm soapy water, rinse well, and dry
thoroughly. Canister Base (NOT the Lid) is dishwasher safe.
-5-
USING YOUR CANISTER SET WITH
A SEAL-A-MEAL
®
VACUUM FOOD SEALER
The space saving, stackable design of the Seal-a-Meal
®
Canister Set is great
for storing food or other items on the countertop or in your refrigerator or
pantry.
Make sure your Seal-a-Meal
®
Vacuum Food Sealer is sitting on a flat, dry
surface and follow the instructions below. Plug in the unit.
1. Place the item you wish to seal inside the Canister Base leaving at
least one inch between the contents and the rim of the Canister.
2. Place the Lid on the Canister. Attach the Accessory Hose into the
Accessory Port on your Seal-a-Meal
®
Vacuum Food Sealer.
3. Attach other end of the Accessory Hose to the Accessory Port on the
Canister Lid.
4. Press the Vacuum Button. Vacuum Indicator Light will turn on. Once
all the air is removed from the Canister, the Sealer and Indicator
Light will automatically turn off.
(VS125 Series) (VS105/VS120 Series) (VS100/VS110 Series)
VSA3-R/9100060000218 V.qxd 1/19/05 11:00 Page 5


