


- 3 -
• This appliance is not intended for use by individuals
(including children) with restricted physical, physio-
logical or intellectual abilities or deficiences in
experience and/or knowledge unless they are
supervised by a person responsible for their safety
or receive from this person instruction in how the
appliance is to be used.
• Children should be supervised to ensure that they
do not play with the appliance.
Description of appliance /
attachments
1 Switch (I) (normal speed)
2 Turbo-switch (II) (faster speed)
3 Motor unit
4 Hand blender
5 Bowl lid
6 Blade
7 Bowl (with combined lid/base)
8 Whisk holder
9 Whisk
0 Measuring beaker (with combined lid/base)
q Wall bracket, incl. screws & plugs
Utilisation
Note: With the measuring cup 0 you can mea-
sure amounts of fluids up to 700 ml. For food
processing, fill it to a maximun of 300 ml, other-
wise fluids could overflow from the measuring
cup 0.
Should you wish to keep liquids/foods in the
measuring beaker 0, you can remove the base
of the measuring beaker 0 and use it as a lid.
Ensure that the spout of the measuring beaker 0
is also closed.
• With the hand blender 4 you can prepare dips,
sauces, soups or baby food.
Warning:
Do not use the hand blender 4 for the preparation
of solid foods. This would lead to irreparable damage
to the appliance!
• With the whisk 9 you can make mayonnaise,
beat egg whites and cream or mix desserts.
• Using the chopper, comprising the blade 6 and
the bowl 7, you can also chop semi-solid food-
stuffs.
Warning:
Do not use the chopper to process liquids. This would
lead to irreparable damage to the appliance!
Assembly
Risk of Injuries:
Insert the plug into the power socket only after you
have completely assembled the appliance for use.
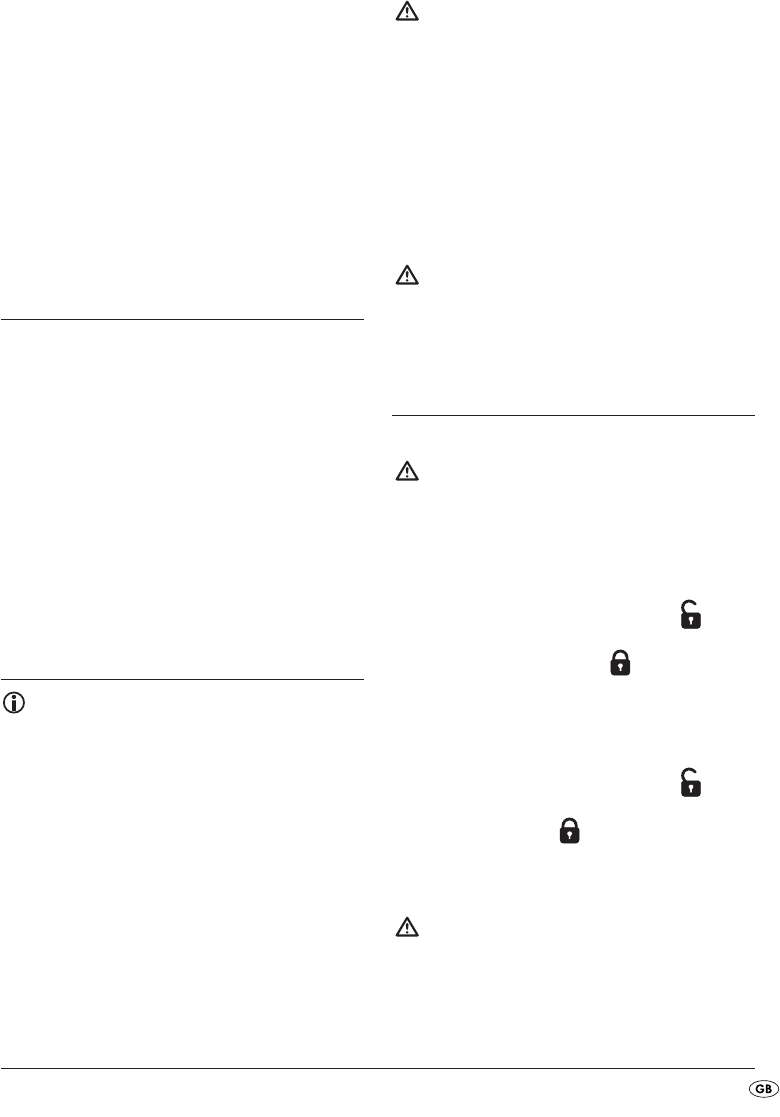
To assemble the hand blender
➩ Place the hand blender 4 on the motor unit 3
so that the arrow points to the symbol . Turn
the hand blender 4 until the arrow on the motor
unit 3 points to the symbol .
Assembling the wire whisk
➩ Insert the whisk 9 into the whisk holder 8.
➩ Place the assembled whisk on the motor unit 3
so that the arrow points to the symbol . Turn
the whisk until the arrow on the motor unit 3
points to the symbol .
Assembling the liquidiser
Warning:
The blade is very sharp! Handle it with great care.
Injury hazard!
➩ Carefully place the blade 6 onto its retainer in
the bowl 7.
IB_56612_SSMS600A1_LB6.qxd 26.08.2010 14:02 Uhr Seite 3