21
HOW TO USE THE MEAT & FISH BOX
The appliance is equipped with a separate box for optimum storage of Meat and Fish.
The temperature inside the box is approximately 3-5°C lower than in other parts of the refrigerator
compartment.
This enables prolonged storage of fresh food (meat and fish) without the need to freeze. Furthermore,
food retains its original freshness and nutritional properties.
Do not store fruit or vegetables in this box, since the temperature may drop below 0°C, causing water
contained in the food to freeze.
Temperature indicator
•
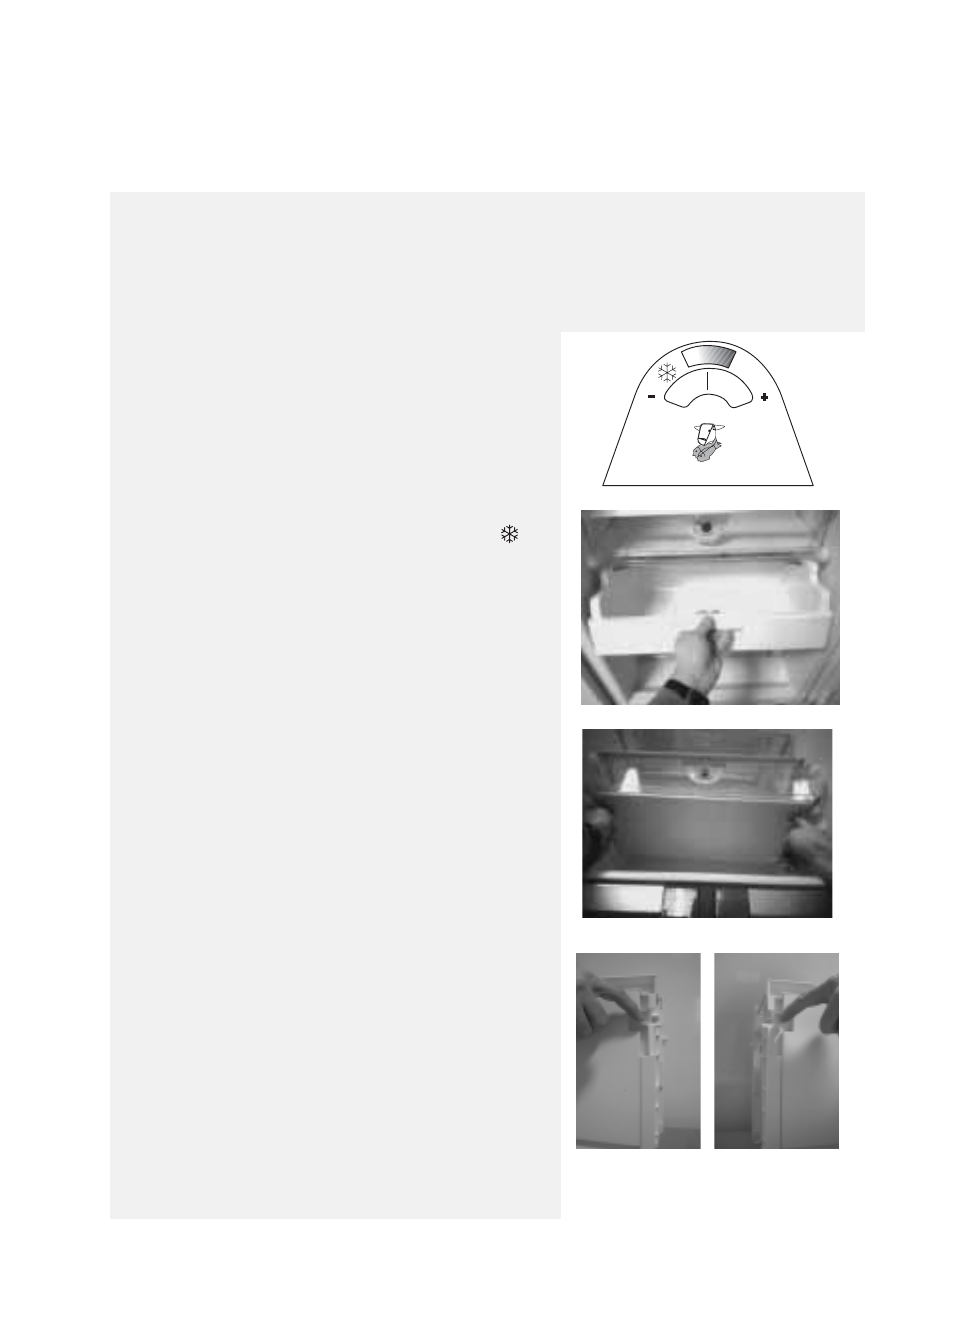
The temperature inside the box is displayed on an
indicator on the box door (Fig. 1).
•
The coloured section indicates the ideal temperature
range for storage of meat and fish.
•
The temperature inside the box requires approximately
one hour to stabilize after storing food.
Attention:
The temperature inside the Meat & Fish box is dependent on
the refrigerator compartment temperature. Therefore, if the
temperature indicated for the box falls within section
press button (8) to increase the refrigerator temperature.
Similarly, press button (9) to lower the refrigerator
temperature if the indicator falls within section “°C”.
The temperature inside the Meat & Fish box will correct
itself.
For regulatory reasons, the stated energy consumption is
based on the appliance with the Meat & Fish box deactivated.
When the function is deactivated the compartment
components
(except the shelf above the crispers)
must be
removed
.
Deactivating and removing the Meat & Fish box
The Meat & Fish box may be removed to obtain increased
storage space in the refrigerator.
In this case proceed as follows:
1.
Remove the Meat & Fish box (Fig. 2).
2.
Remove the lid of the Meat & Fish box by releasing the
side locks on the bottom of the lid (Fig. 3, 3A and 3B).
3.
Press the button (15); The yellow light (14) switches off.
To reinstate the Meat & Fish box, proceed as follows:
1.
Position the Meat & Fish box lid by closing the side locks
on the bottom of the lid
2.
Refit the Meat & Fish box
3.
Press the button (15); The yellow light (14) switches on.
°C
Fig. 1
Fig. 2
Fig. 3
Fig. 3A
Fig. 3B
60802020aGB.fm Page 21 Wednesday, July 26, 2006 5:21 PM


