Get to know your appliance
Warning
Below information about accessories are
supplied only for reference. Below accessories
may not be exactly same as the accessories
of your appliance.
Prior to startup
Before you start operating your appliance, the
following points should be re-checked for
safety:
• Is the appliance, standing level on the floor?
• Is there sufficient space for good air
circulation?
• Is the interior clean? (Also see the section
“Cleaning and care”)
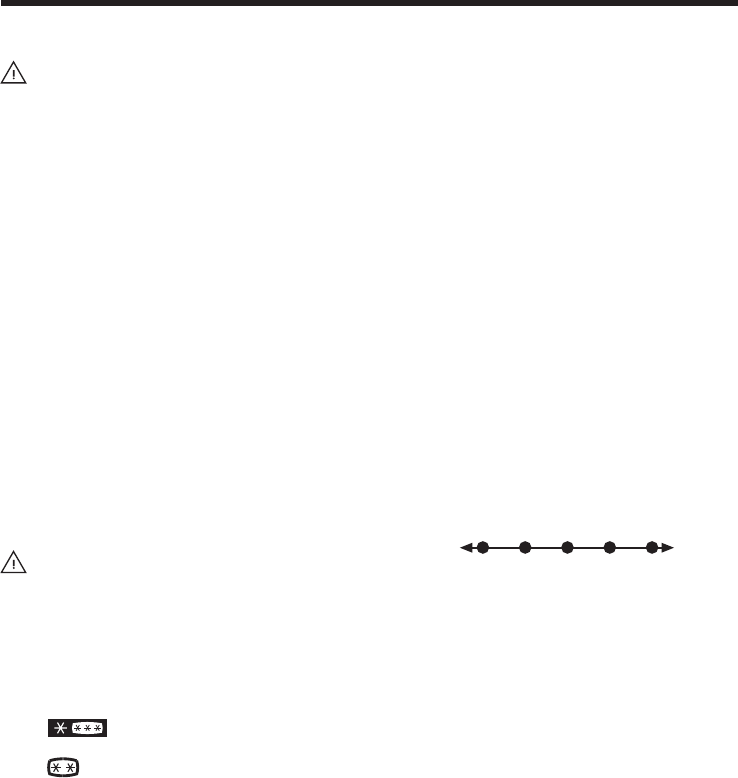
• Set the thermostat knob half way between
1 and 5 or Min. and Max.
• Now connect the appliance to the mains.
• The compressor is turned on; the interior
light comes on when the door is opened.
Do not place foodstuff into the refrigerator until
the temperature has reached the desired level.
Do not place hot objects or any appliance
that generates heat on the top trim
otherwise the top trim may be damaged.
3
1 = Lowest cooling setting (Warmest setting)
5 = Highest cooling setting (Coldest setting)
(Or)
Min. = Lowest cooling setting
(Warmest setting)
Max. = Highest cooling setting
(Coldest setting)
The average temperature inside the fridge
should be around +5°C.
Please choose the setting according to the
desired temperature.
You can stop operation of your appliance by
turning the thermostat knob to “0” position.
Please note that there will be different
temperatures in the cooling area.
The coldest region is immediately above the
vegetable compartment.
The interior temperature also depends on
ambient temperature, the frequency with which
Setting the operating
temperature
(Fig. 4)
The operating temperature is regulated by the
temperature control.
Warm Cold
1 2 3 4 5
(Or) Min. Max.
Electrical connections
Warning
This appliance must be grounded.
• Check whether the power type and voltage
your region corresponds to the one stated on
the rating label inside the appliance.
• The electrical safety of the appliance is only
assured when the grounding system in the
house is installed in accordance with
regulations.
• When placing the appliance, do not let the
power cable get stuck under it; otherwise the
cable will be damaged.
• Ensure that the plug remains readily
accessible. Do not use a multiple adapter bar
or an extension cable.
• The electrical specifications of your appliance
is given on the rating label located inside the
appliance.
• Route power cable to allow easy connection
and disconnection after installation.
• A contact separator should be used if the
power cable is not accessible. (for built-in
models)
en en
Fig. 1
a.) Freezing compartment & ice tray (for
models)
b.) Frozen food compartment & ice tray (for
models)
Interior light & Thermostat knob
Movable shelves
Defrost water collection channel - Drain tube
Crisper cover
Crisper
Adjustable front feet
Dairy compartment
Door shelves
Egg tray
Bottle shelf
Bottle gripper
Top trim
1.
2.
3.
4.
5.
6.
7.
8.
9.
10.
11.
12.
13.


