


Instructions for the Installer
13
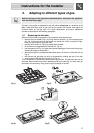
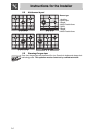
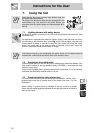
5.4 Adjusting the primary air flow
Refers to the gap “X” in mm.
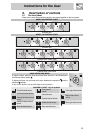
BURNER
NG – 1.0 kPa ULPG – 2.75kPa
Auxiliary 4.0 10.0
Semi rapid 4.0 10.0
Rapid (3) 4.0 10.0
Rapid (6) 4.0 10.0
Rapid (7) 4.0 10.0
Internal 5.0 8.0
WOK double flame
(4-8)
External 10.0 13.0
WOK 5.0 12.0
5.5 Reassembling the hob skin
Reverse the procedure described in point “5.1 Removing the hob skin ”.
When replacing the burner rings, bear in mind that they must be fully tightened using
the spanner provided.
Put the pan stands back in place, fitting first those at the side and then the central one.
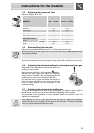
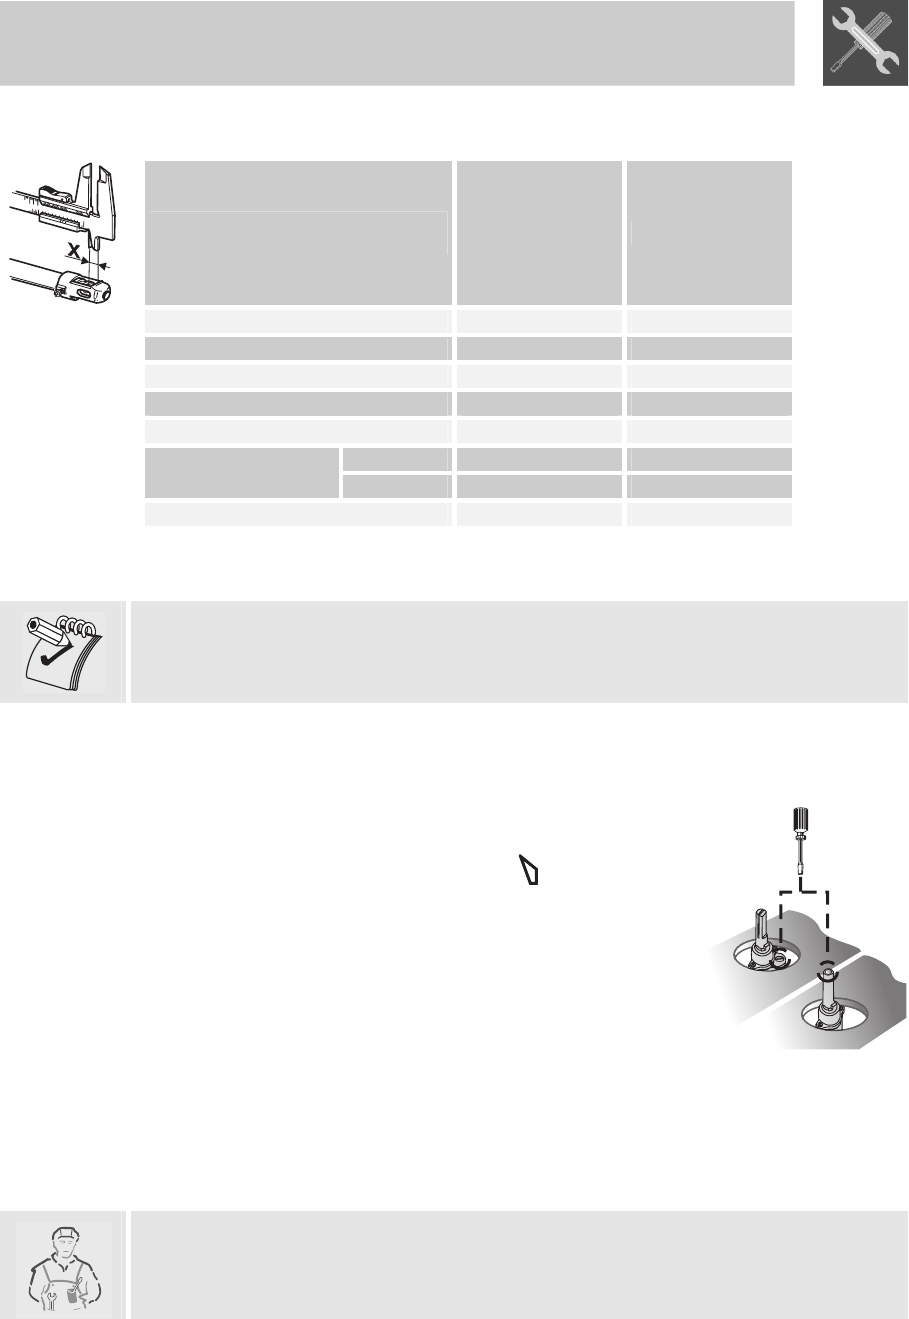
5.6 Adjusting the minimum setting for natural gas and town gas
Reassemble the components on the burner and fit the
knobs onto the tap rods.
Light the burner and turn it to the minimum
setting .
Remove the knob again and adjust the regulator
screw inside or beside the tap rod (depending on the
model) until an even minimum flame is obtained.
Put the knob back in place and check the stability of
the burner flame (the flame must not go out when the
knob is turned quickly from the maximum to the
minimum setting).
5.7 Adjusting the minimum for bottled gas
To adjust the minimum level when using bottled gas, the adjuster screw inside or
beside the tap rod must be turned fully clockwise (depending on the models).
The diameters of the bypasses for each individual burner are stated in point “5.2
Adjusting for bottled gas".
After adjusting for use of a gas other than the gas used for testing the appliance,
replace the label on the casing with the label for the new gas. The label is available
from your nearest Authorised Service Centre.