


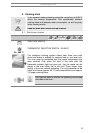
Preliminary instructions
6
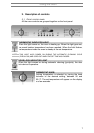
DURING USE THE APPLIANCE BECOMES VERY HOT. TAKE CARE NOT TO
TOUCH THE HEATING ELEMENTS INSIDE THE OVEN. TO AVOID BURNS AND
SCALDS CHILDREN SHOULD BE KEPT AWAY
NEVER ALLOW THE OVEN TO BE USED BY CHILDREN OR INFIRM PERSONS
WITHOUT ADULT SUPERVISION.
DURING THE AUTOMATIC CLEANING CYCLE (PYROLYSIS) THE OUTER DOOR
WINDOW COULD BECOME HOTTER THAN NORMAL. KEEP CHILDREN AT A
DISTANCE.
NEVER PUT INFLAMMABLE OBJECTS IN THE OVEN. IF THIS WERE
ACCIDENTALLY LIT IT COULD CAUSE A FIRE.
1.1 DISPOSING OF PACKAGING
Always dispose of packaging in a proper manner. The best thing is to
get rid of it through a pre-sorted waste collection centre.
1.2 DISPOSING OF OLD APPLIANCES
Before throwing away an old appliance, make sure this is rendered
harmless and dispose of it through a pre-sorted waste collection centre.
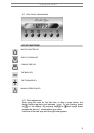
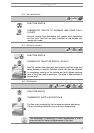
1.3 INSTALLING THE OVEN
If a fixed connection is being used fit cable with an omnipolar circuit
breaker with a contact opening gap equal to or greater than 3 mm in an
easily accessible position near to the oven.
If a plug and socket connection is being used make sure that the plug
and socket are compatible. Avoid use of adapters and shunts as these
could cause overheating and risk of burns.
The power cable must be changed by the manufacturer or by an
authorised service centre to prevent any risks. The new cable must be
FG40R3G type (3 x 1.5 mm
2
).
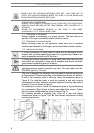
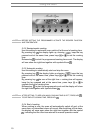
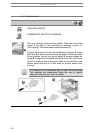
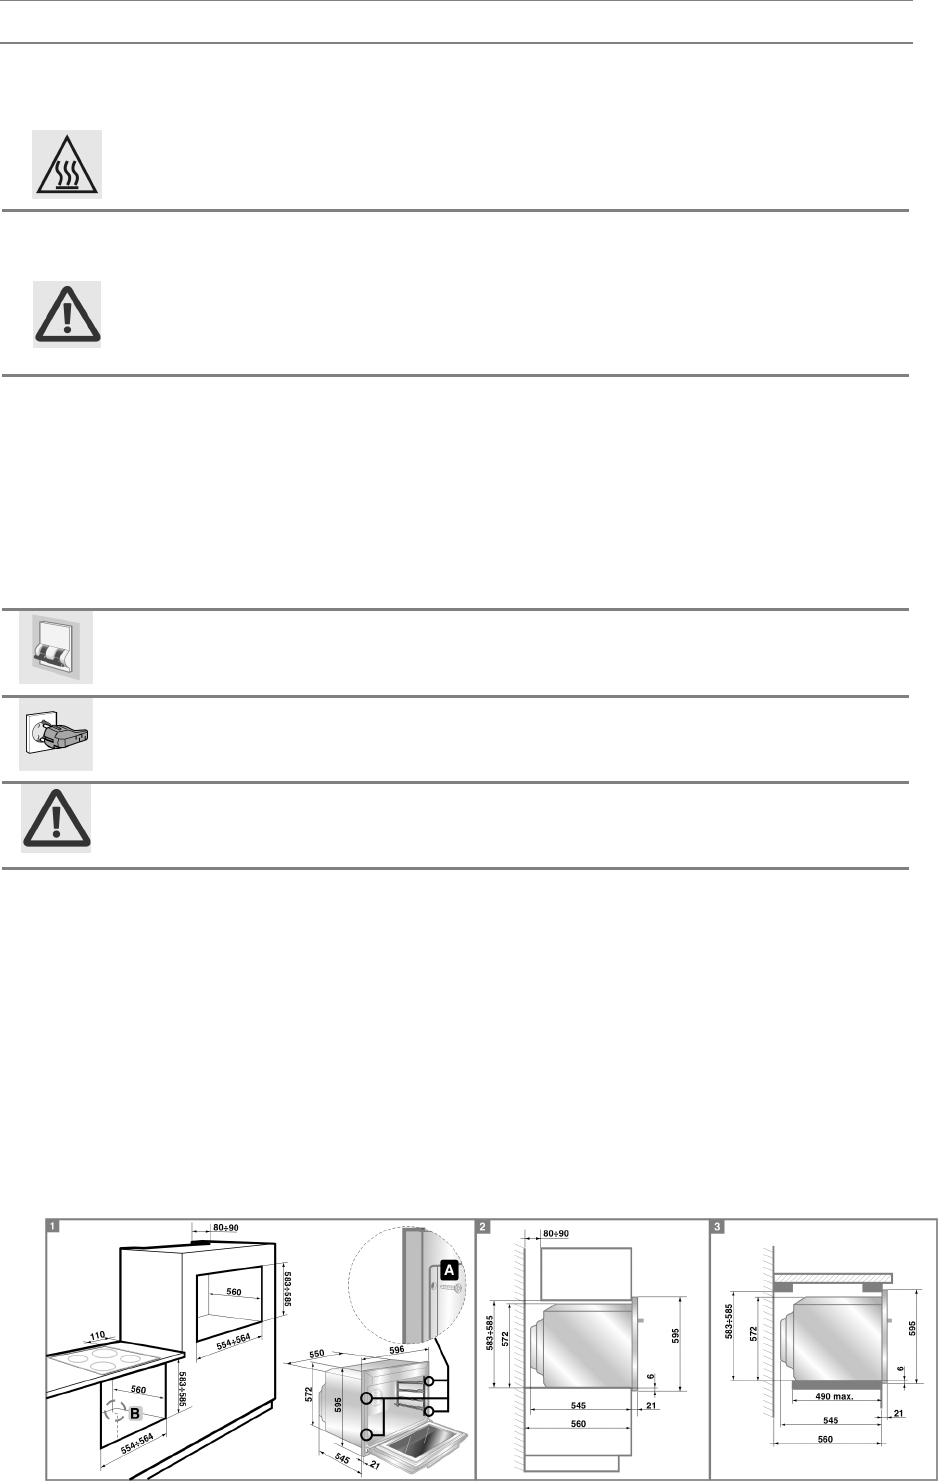
The oven is designed for installation into any piece of furniture as long as it
is heat-resistant. Proceed according to the dimensions shown in Figures 1,
2 and 3. For installing under a work top, follow the dimensions given in
Figure 3. For installing under a work top beneath a hob with controls
connected to the oven, ensure a minimum clearance from any side walls of
at least 110 mm as shown in Figure 1.
For installing in a column, follow the dimensions given in Figure 2 allowing
for a clearance of 80 to 90 mm at the top and sides of the column. Tighten
the four screws (ref.A) inside the frame to secure (Fig. 1).
For installing beneath a separate hob, allow for a rear and bottom
clearance as shown in Figure 1 (ref. B). See relevant instructions for fitting
and securing the hob.