


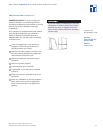
Dimensions in parentheses are in
millimeters unless otherwise specified.10
SUB-ZERO MODELS 315I AND 315IP INSTALLATION
INSTALLATION
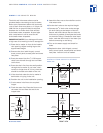
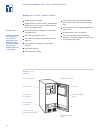
SIDE PANELS
W
ith Model 315I(P), you must securely fasten
the side panels to the adjacent cabinets and
floor.
Panels should be fastened to the floor and
walls using ’L’ brackets (hardware not
provided). To help you move the unit into
place, rout out an area in the floor so the ‘L’
bracket will sit flush with the floor level.
Brackets and screws are provided for
mounting the unit to adjoining cabinets and
side panels.
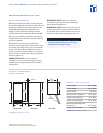
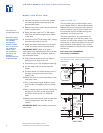
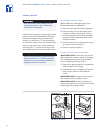
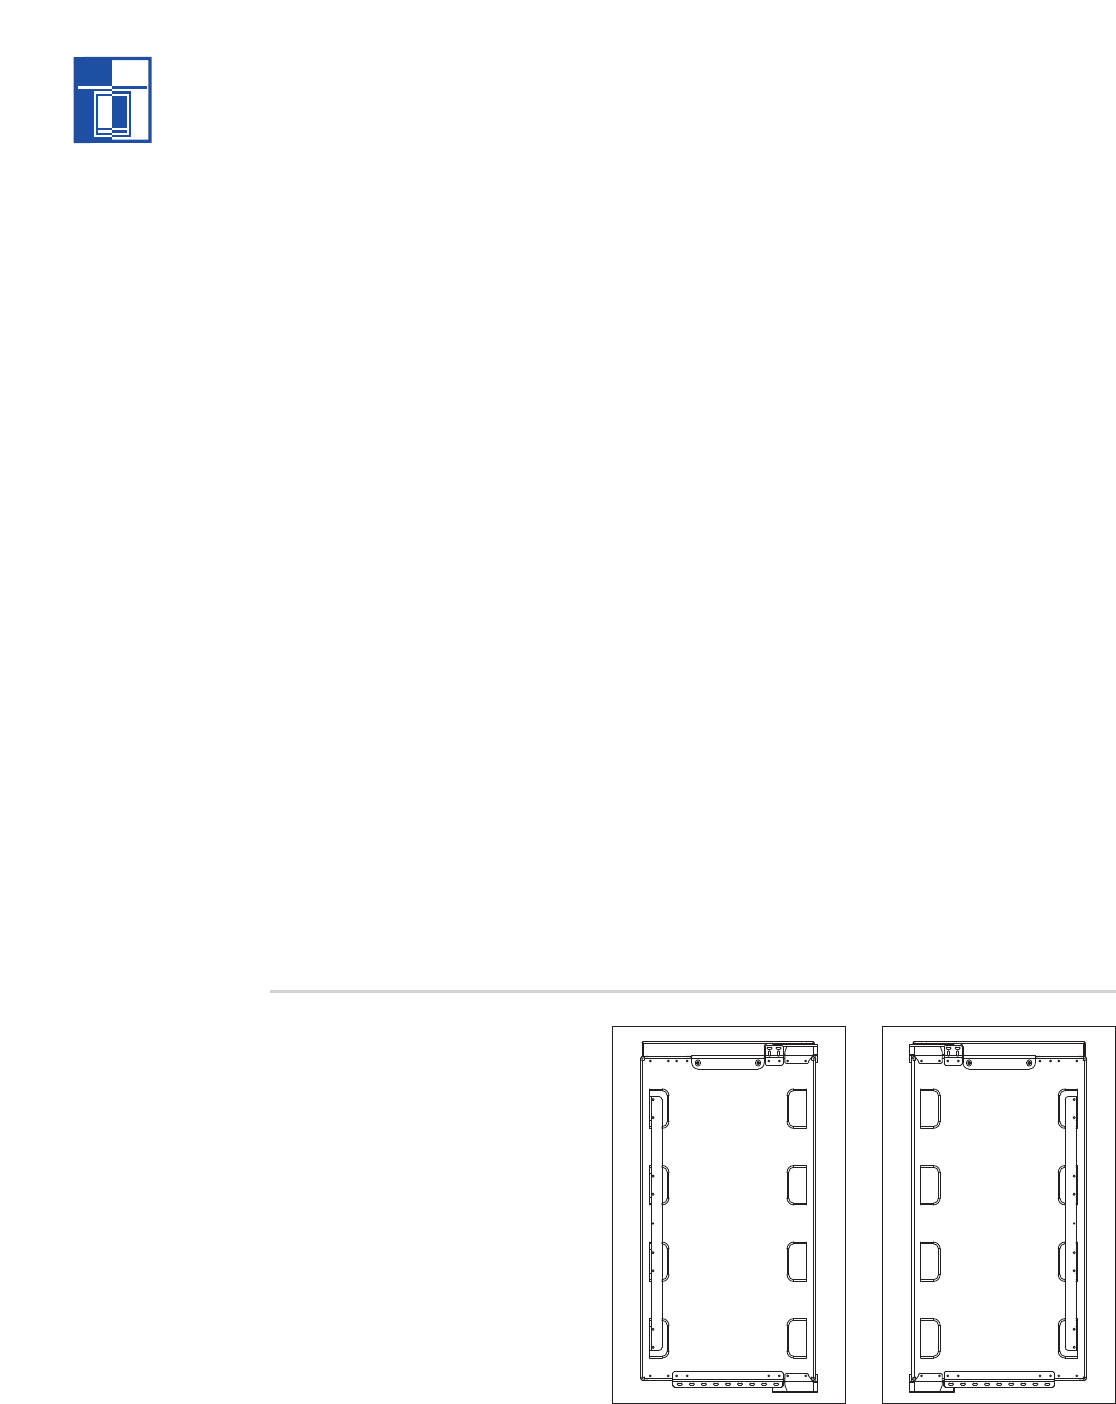
REVERSE THE DOOR SWING
The hinged side of the door may be reversed
to the other side if desired.
The Model 315I(P) is shipped with the door
hinged at the right. The door and hinges are
designed for placing the hinges on either the
right or the left side of the unit. Moving the
hinges to the left in the pre-drilled holes,
allows the door to pivot from the left side.
Refer to the illustrations below.
IMPORTANT NOTE:
The plastic molding
which covers the top area of the door,
packaged with the ice maker, is required for
this procedure.
1)
Remove the hinge cover.
2)
Remove the door by removing the four
screws that secure the door to the door
h
inges.
3)
Remove the door hinges by removing the
four screws that secure them to the unit.
4)
Remove the four screws from the opposite
hinge side (or left-hand hinge mounting
holes) and reposition into the right-hand
hinge mounting holes.
5)
Install the hinges using the left-hand
cabinet mounting holes.
6)
Install the door using the left-hand door
mounting holes.
7)
Remove the two screws which secure the
upper door panel mounting bracket.
8)
Install the upper door panel mounting
bracket using the left-hand mounting holes.
9)
Install the left-hand door hinge cover with
the original screws.
10)
Check the operation of the door by opening
and closing it.
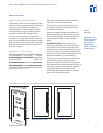
Right-hand door swing
Left-hand door swing