•
INSTALLATION
INSTRUCTIONS
~~'I."
I
'7'111"
=-
co
=L
t
17'/a"
..
L
..
..
-
~
wP"
Figure
24
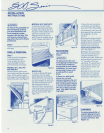
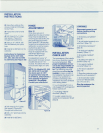
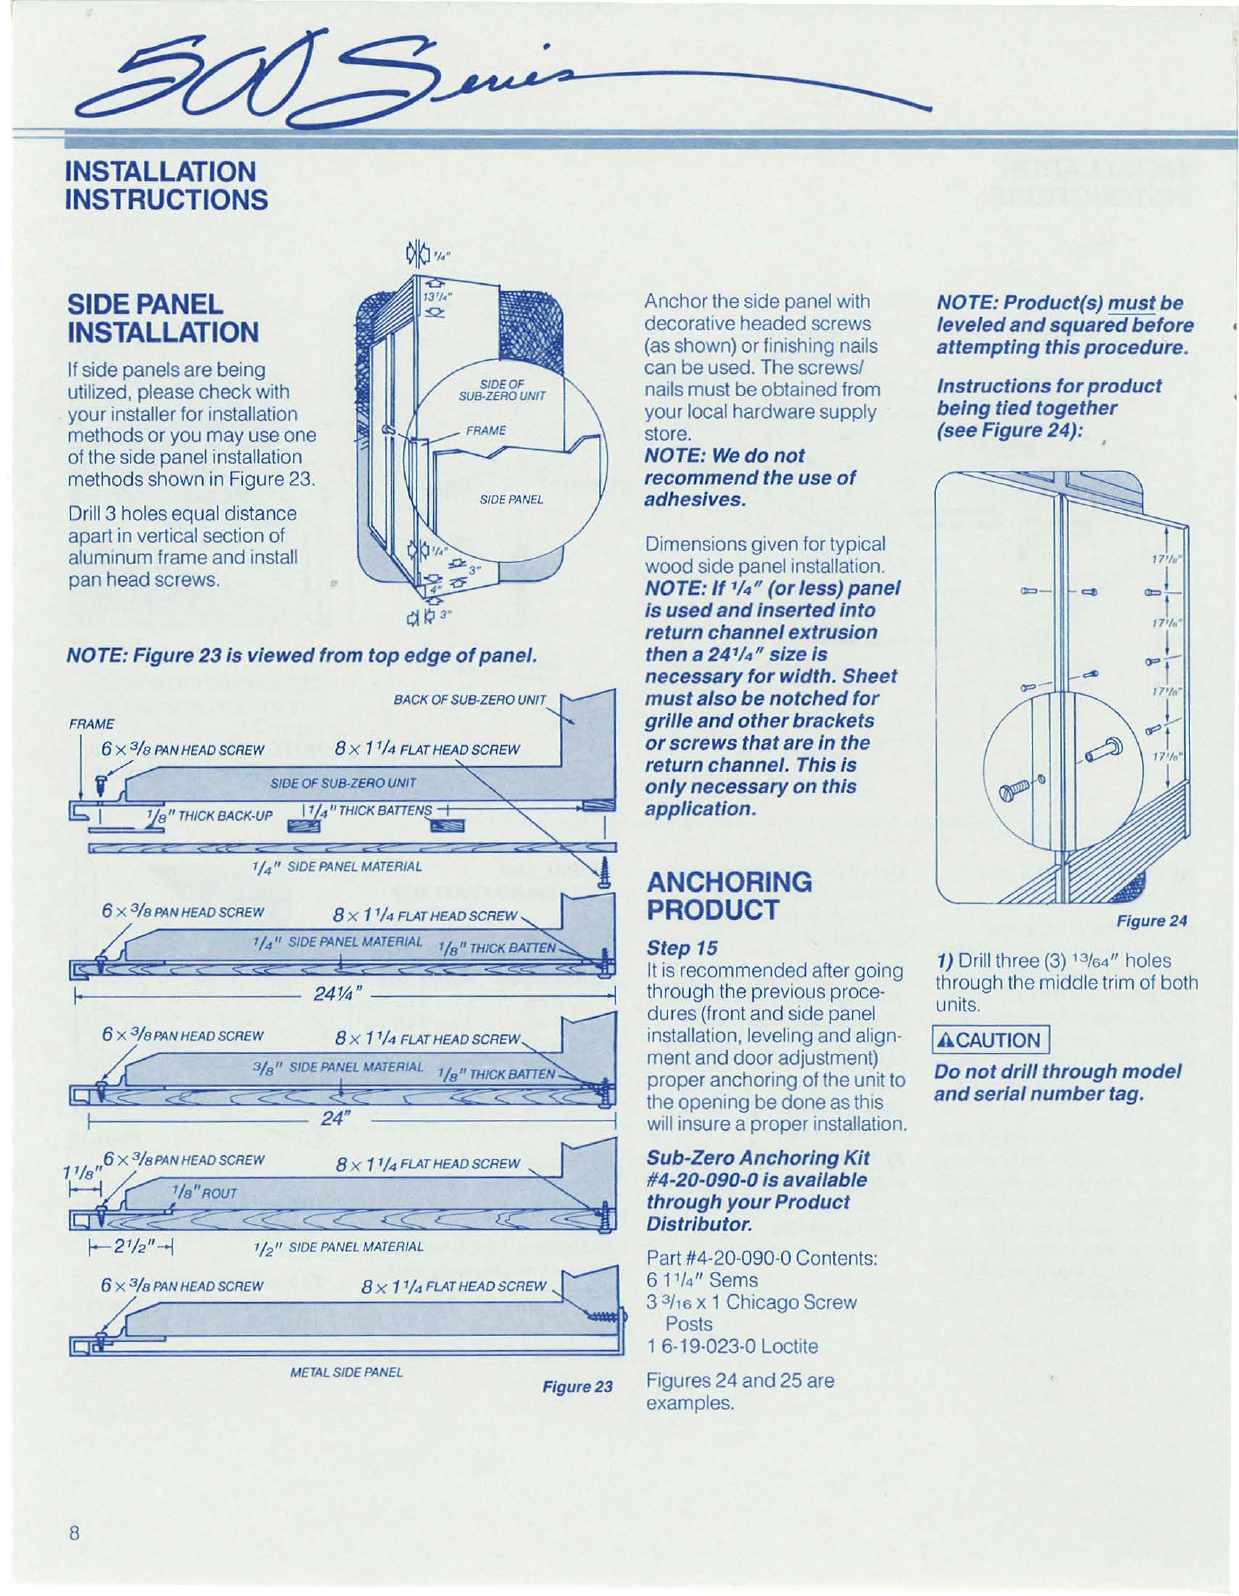
1) Drill three (3)
13
/60"
holes
through the middle trim of both
units.
NOTE: Product(s)
must
be
leveled
and
squared
before
attempting
this
procedure.
Instructions
for
product
being
tied
together
(see Figure 24): ,
IACAUTION I
Do
not
drill
through
model
and
serial
number
tag.
Dimensions given for typical
wood
side panel installation.
NOTE:
If
'/0"
(or
less)
panel
is
used
and
inserted
into
return
channel
extrusion
then a
24'!4"
size
is
necessary
for
width. Sheet
must
also
be
notched
for
grille
and
other
brackets
or
screws
that
are in the
return channel. This
is
only
necessary
on
this
application.
Step 15
It
is
recommended
aller
going
through the previous proce·
dures (front
and
side panel
installation, leveling
and
align·
ment
and
door
adjustment)
proper
anchoring
of the unit to
the
opening
be
done
as this
will insure a
proper
installation.
Sub-Zero
Anchoring
Kit
#4-20-090-0
is
available
through
your
Product
Distributor.
Part #4·20·090·0 Contents:
61
'/0" Sems
3
3
11
6 x 1 Chicago Screw
Posts
1 6·19·023·0 Loctite
Figures 24
and
25
are
examples.
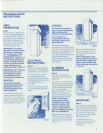
ANCHORING
PRODUCT
Anchor
the side panel with
decorative
headed
screws
(as shown) or finishing nails
can
be
used. The screwsl
nails must
be
obtained from
your local hardware supply
store.
NOTE:
We
do
not
recommend
the use
of
adhesives.
Figure
23
8 X
11/4FLATHEADSCREW
8 X 1'/4FLAT
HEAD
SCREW
BACK
OF
SUB·ZERO
UNIT
8 X 1
'
/4
FLAT
HEAD
SCREW
8 X 1
1
/4
FLATHEAD
SCREW
8 x 1J
/4
FLATHEADSCREW
2401"
----------1
METAL
SIDE
PANEL
SIDE
OF
SUB-ZERO
UNIT
'12
11
SIDE
PANEL
MATERIAL
6 X
3/
0
PAN
HEAD SCREW
6 X
3/
8
PAN
HEAD SCREW
6 X
3/
8
PAN
HEAD
SCREW
FRAME
6 X
3/
8
PAN
HEAD SCREW
,/
L
:I!!."THICKBACK-UP
~4/1THICKBATTENS
'/4
11
SIDEPANELMATERJAL '/SIITHICKBATTEN
'/
4
11
SIDE
PANEL
MATERIAL
3/
8
" SIDE
PANEL
MATERIAL
'/
S
"
THICK
BATTEN
f--------
24'
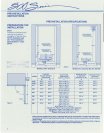
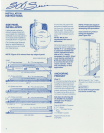
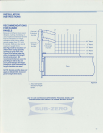
If side panels are
being
utilized, please
check
with
your installer for installation
methods or you
may
use
one
of the side panel installation
methods shown in Figure 23.
Drill 3 holes equal distance
apart in vertical section of
aluminum frame
and
install
pan head screws.
SIDE PANEL
INSTALLATION
~
i:'
,"
NOTE: Figure
23
is
viewed
from
top
edge
of
panel.
1
'18,,6
X
3/
s
PANHEADSCREW
H
'/
S
"ROUT
8


