5
C. Installation of Free-Standing Models
1. Counter top Models 3B22D, 3A81D, 3A20D, 3A21D , 3B82D AND 3B84D.
a. Countertop models are shipped with a set of four 4”(102mm) adjustable legs or an
optional set of 4 casters (see Accessories Chart on previous page) can be ordered.
Screw the legs or casters into the threaded holes in the corners of the unit bottom.
b. Hot food servers with legs can be set on the oor or on the counter. Units with
casters can only be set on the oor. Do not set the hot food server with casters
on a counter top.
c. Level unit with legs by turning the hexagonal adjustment feet located at the bottom
of the legs.
2. Floor Models 3C8XD, 3C84D AND 3D8XD are usually installed as oor models due to their
size. One of the available leg or caster accessory kits must be used in the installation.
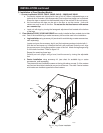
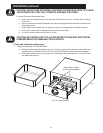
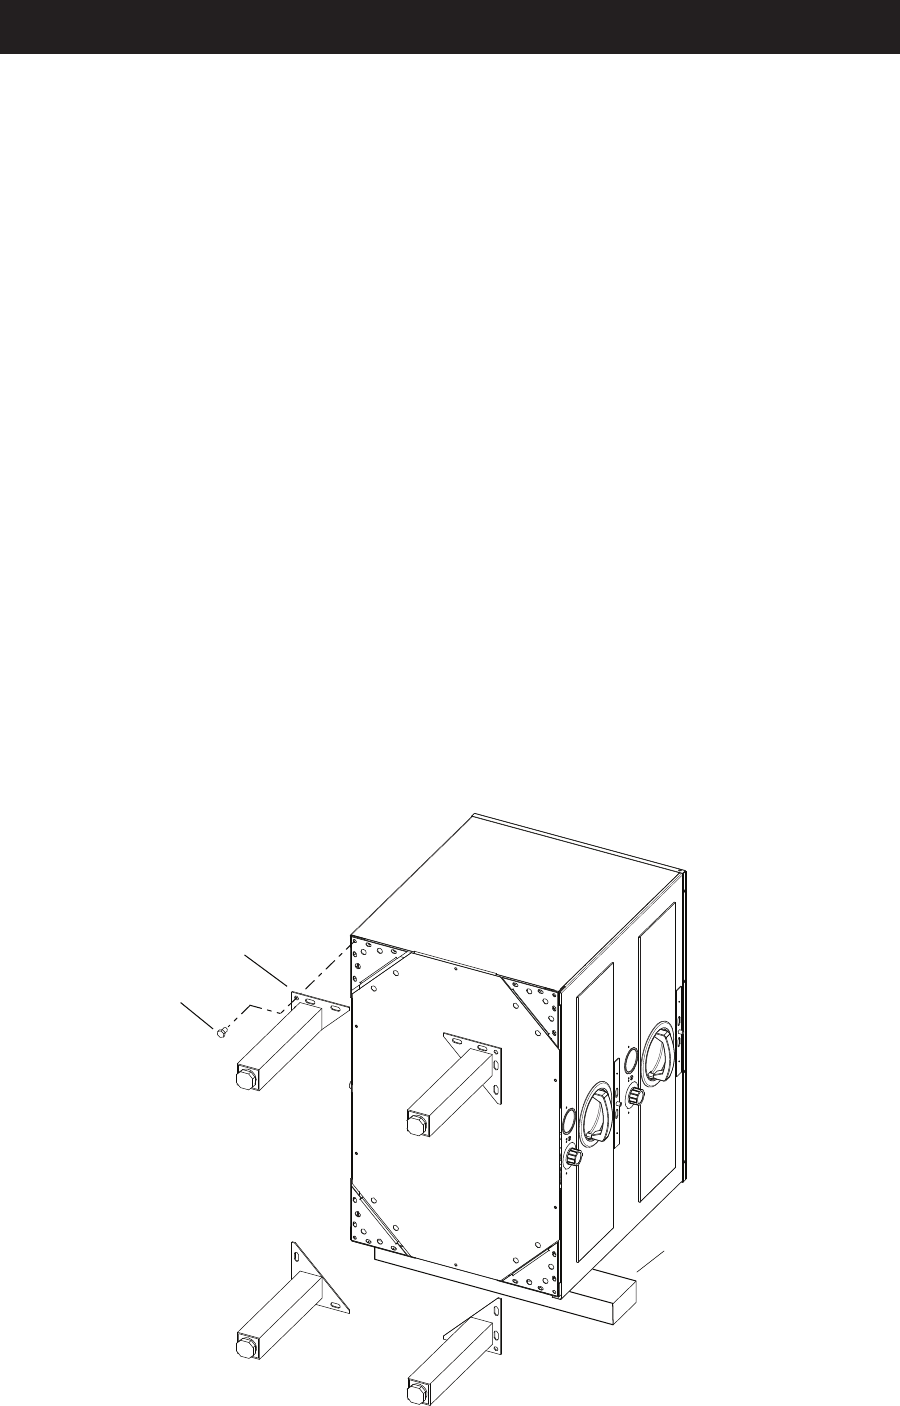
a. Leg Installation using accessory kit (see chart for available leg or caster accessories,
sold separately)
Locate and open the accessory leg kit and the hardware package included with it.
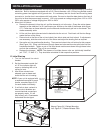
With the
hot food server on it side and the 2x4’s still positioned under the unit, align
the square corner of a leg ange with a corner of the unit. Attach the leg ange using
5 of the bolts furnished. Refer to gure 2-2.
Repeat for remaining three legs.
Carefully set unit upright, using a level, level the server by turning the adjustable
feet.
b. Caster Installation using accessory kit (see chart for available leg or caster
accessories, sold separately)
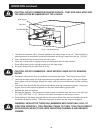
The casters kits are installed the same as the leg kits above, except 2 of the casters
are xed and should be installed at one end or at the rear. The other 2 swivel casters
with brakes are installed opposite the xed casters.
LEG
2” x 4”
BOLT
IL2094
Fig. 2-1, Leg / Caster Installation
INSTALLATION continued


