UTILISATION DU JUICEMAN
®
JM419SSCAN
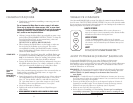
METTRE LA CENTRIFUGEUSE® JM419SSCAN SOUS TENSION (ON) :
•Assurez-vous que la centrifugeuse est assemblée
correctement. Consultez les INSTRUCTIONS
D’ASSEMBLAGE.
• Branchez le cordon d’alimentation dans une prise
de 120 volts c.a.
• Prenez le poussoir dans la goulotte.
• Insérez des aliments dans la goulotte.
• Pour insérer le poussoir dans la goulotte, il faut
aligner la nervure du poussoir avec la rainure
de la goulotte. La base rainurée du poussoir
conduit les aliments de la goulotte au panier
de centrifugation.
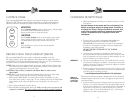
•Appuyez sur HIGH pour des aliments fermes.
•Appuyez sur LOW pour des aliments tendres.
•Quand vous centrifugez des aliments fermes,
comme des carottes, vous devriez utiliser la haute vitesse (HIGH). Quand vous
centrifugez des aliments tendres, comme des pommes, vous devriez utiliser la basse
vitesse (LOW). Vous n’avez pas à mettre l'appareil hors tension (OFF) pour changer
de vitesse. Appuyez simplement sur le bouton approprié selon le type d'aliment.
Conseil : Pour tirer le maximum de l'appareil, alterner les types d'aliments.
METTRE LA CENTRIFUGEUSE® JM419SSCAN HORS TENSION :
•Appuyez sur le bouton OFF. Débranchez l’appareil lorsqu’il ne sert pas.
7
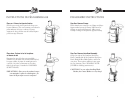
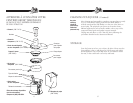
La nervure
sur le
poussoir
s’aligne avec
la rainure sur
la goulotte
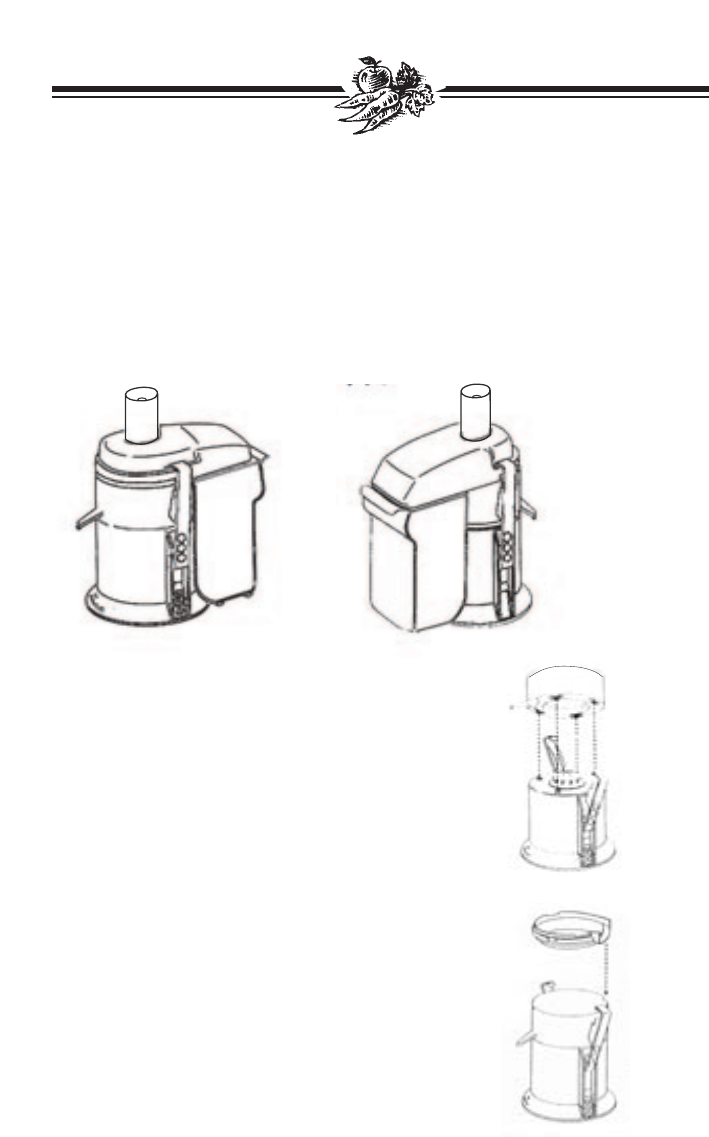
ASSEMBLY INSTRUCTIONS
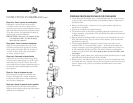
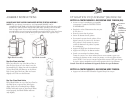
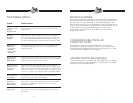
Step One: Place Juice Bowl
Place Juice Bowl on top of the Motor Base so
that the Juice Spout is to the front (over the
Juiceman® logo). Align four tabs on underside
of Juice Bowl with four Buttons on the Motor
Base. Lower Juice Bowl onto Base and rotate
slightly to fit Tabs over the Buttons.
ALWAYS MAKE SURE JUICER IS UNPLUGGED BEFORE STARTING ASSEMBLY.
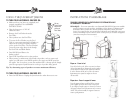
NOTE: For your juicing convenience, your Juiceman® JM419SS can be
assembled for right-hand or left-hand use. Right hand use allows the user to place
produce into the Feed Tube with the left hand while operating the Food Pusher
with the right hand. If you are left-handed, or feel the juicing operation is
uncomfortable, you can reverse the assembly instructions below so the Juice Spout
is to the rear of the unit (and all subsequent parts will face the opposite way).
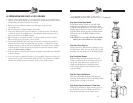
Step Two: Place Blade Holder
Place Blade Holder on top of the Juice Bowl so
the Pulp Spout is opposite the Juice Spout.
Align square tab on underside rim of Blade
Holder with bend in rim of Juice Bowl. When
seated properly, the Blade Holder will turn
only slightly.
Right Hand Assembly
Left Hand Assembly
9


