


5.4.
Toaster Use and Care Guide
Plasticizer Warning
CAUTION: To prevent Plasticizers from migrating from the finish of
the countertop or tabletop or other furniture, place NON-PLASTIC
coasters or placemats between the appliance and the finish of the
countertop or tabletop.
Failure to do so may cause the finish to darken, permanent blemishes
may occur or stains can appear.
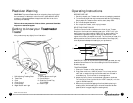
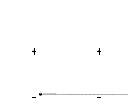
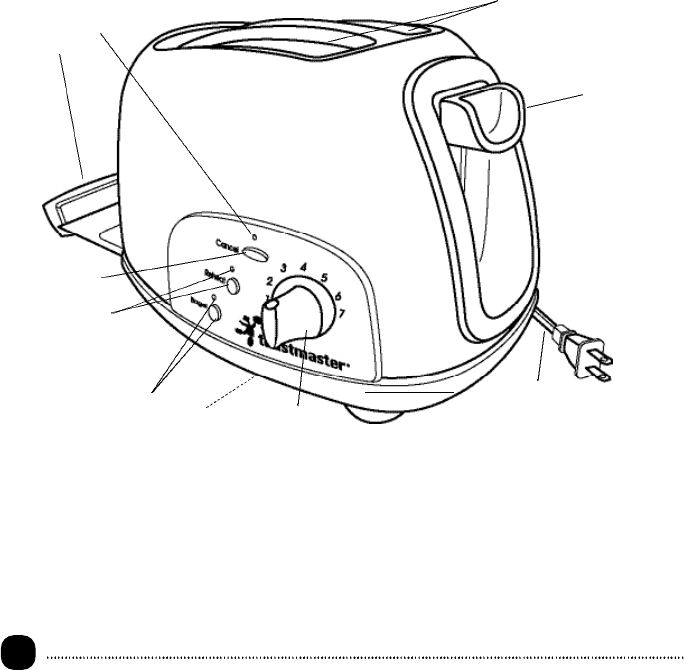
Getting to know your Toastmaster
Toaster
Your product may vary slightly from illustration.
8.
9.
10.
6.
7.
2.
4.
3.
5.
1.
1. Self-Adjusting Toasting Slots
2. Toast Lever
3. Cord
4. Color Control
5. Cord Storage
6. Bagel Button and Light
7. Reheat Button and Light
8. Cancel Button
9. Slide-Out Crumb Tray
(P/N 22228)
10. Power Light
Operating Instructions
BEFORE FIRST USE
1. Carefully unpack your Toaster and remove all packaging materials.
2. To remove any dust that may have accumulated during packaging,
Simply wipe the Toaster exterior with a clean, damp cloth.
3. Do not use abrasive cleansers.
4. Do not put the Toaster, cord or plug in water.
SELECTING TOAST COLOR
The Color Control knob is located on the front of your Toaster.
Simply turn the knob to the desired toast color: LIGHT (#1) is for
warming and very light toasting; DARK (#7) for dark toasting. The
numbers are a guide to help you select your desired color (the
higher the number, the darker the toast). The first time you toast, it is
best to position the Color Control at the middle of the range (#4);
then adjust each subsequent toasting to your preference.
6.
7.
8.
10.
4.
CANCEL BUTTON: At any time during the toasting process, you may
press the Cancel Button to end the toasting function and cause the
bread to pop up.
TOASTING BREAD
1. Place your Toaster on a flat, level surface.
2. Plug power cord into a 120V AC outlet. The unit may emit an
odor and/or smoke during the first few uses from oils used in
manufacturing. This is normal for a new appliance.
3. Adjust the Color Control to the desired lightness or darkness.
Turn the Color Control to the left for LIGHT toast (#1) or to the
right for DARK toast (#7).
4. Remove all protective wrappings from food before placing in
toasting slots. (Avoid toasting torn slices of bread and broken
pastries, which may get lodged in toasting slots.)