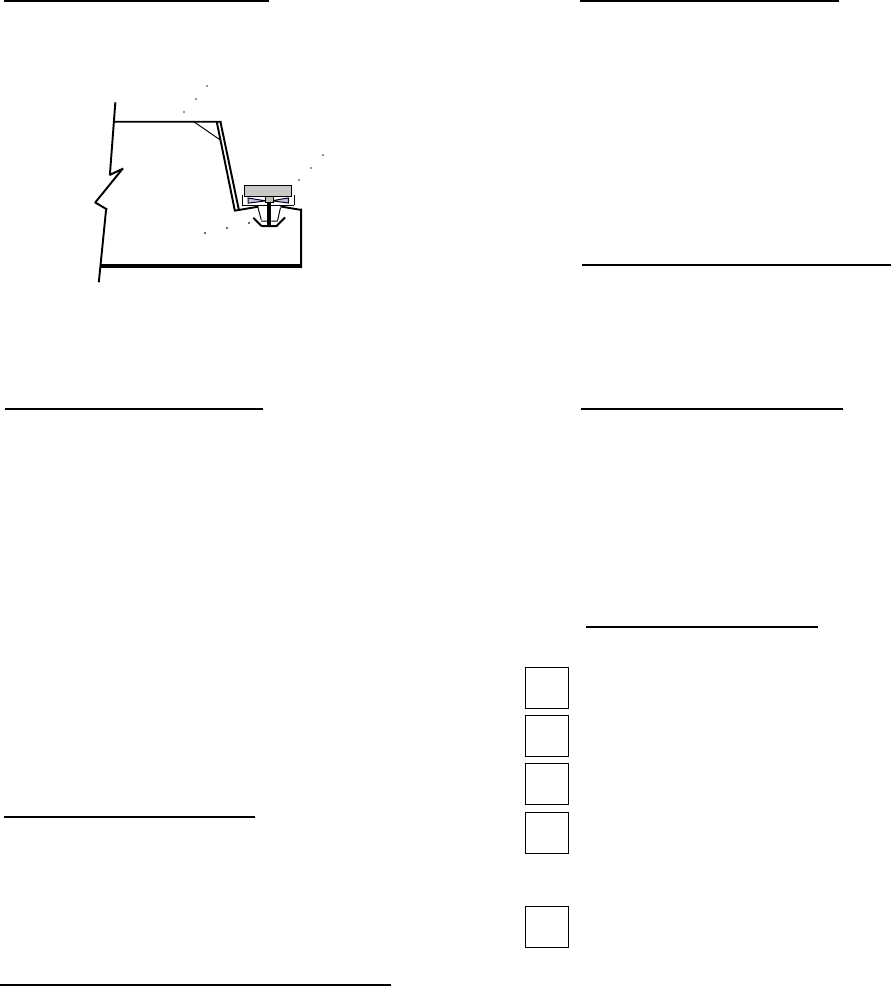
VI. c - REPLACING THE GASKETS (cont’d):
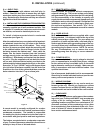
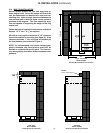
gently hitting with a mallet until the gasket is com-
pletely seated in place (see figure 9 for proper gasket
placement).
NOTE: The gasket may appear too large, but if it is
installed as indicated above it will slip into place.
VI. d - CLEANING THE EXTERIOR:
Exterior stainless steel should be cleaned with warm
water, mild soap and a soft cloth. Apply with a damp-
ened cloth and wipe in the direction of the metal grain.
Avoid the use of strong detergents and gritty, abra-
sive cleaners as they may tend to mar and scratch the
surface. Do NOT use cleansers containing chlorine,
this may promote corrosion of the stainless steel.
Care should also be taken to avoid splashing the unit
with water, containing chlorinated cleansers, when
mopping the floor around the unit.
For stubborn odor spills, use baking soda and water
(mixed to a 1 TBSP baking soda to 1 pint water ratio).
VI. e - CLEANING THE INTERIOR:
For cleaning both stainless steel and anodized alumi-
num interiors, the use of baking soda as described
above is recommended. Use on breaker strips and as
well as door gaskets. All interior fittings are remov-
able without tools to facilitate cleaning.
VI. f - REPLACING THE INTERIOR LIGHT BULB:
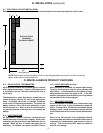
Turn the unit OFF (the ON/OFF switch is located be-
hind the top louver panel). Next, remove the light cover
by squeezing the sides together, which releases the
tabs from the holding slots. Replace the burned out
light bulb with a similar type appliance bulb.
To replace the light cover, squeeze the sides together
and reinsert tabs in to the holding slots and release to
lock in place.
-7-
VI. CARE & MAINTENANCE (cont’d)
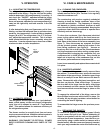
VII. a - ADJUSTING THE SHELVES:
For shelves mounted on pins, first select the desired
location and remove the white plastic covers in the
interior back and sides by rotating them counter-clock-
wise. Next, remove the existing shelf pins by rotating
them counter-clockwise. Install the pins in the desired
location and tighten by rotating clockwise. Make sure
the pin is securely tightened down, don’t over tighten.
Slide the shelf into its new position. Replace the white
plastic covers into the holes vacated by the shelf pins.
VII. b -
REMOVING THE DRAWER PANS:
For your convenience, each drawer contains two (2)
removable anodized aluminum pans. They can be re-
moved for cleaning simply by opening the drawer and
lifting them out.
VII. c - REMOVING THE DRAWERS:
Prior to removing the drawers, food and pans should
be removed. The drawer is heavy and care should be
taken to keep feet clear. To remove, pull the drawer
out as far as possible. Then, lift the drawer and con-
tinue to pull until the drawer is free of the unit. To
replace, simply reverse the process.
VII. MISC. OPERATIONS
VIII. OTHER
VIII. a - SERVICE INFORMATION:
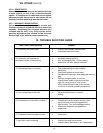
Before calling for service, please check the following:
Is the electrical cord plugged in?
Is the fuse OK or circuit breaker on?
Is the power switch “ON”?
If there is no air movement in the freezer unit, it
may be in defrost cycle. Wait 35 minutes to
see if the unit will restart.
Do the lights work?
If after checking the above items and the unit is still
not operating properly, please contact an authorized
Traulsen service agent. A complete list of authorized
service agents was provided along with your Traulsen
unit. If you cannot locate this, you may also obtain the
name of a service agent from the Tech Service page of
our website: www.traulsen.com.
If service is not satisfactory, please contact our in-
house service department at:
Traulsen & Co., Inc.
4401 Blue Mound Road
Fort Worth, TX 76106
(800) 825-8220
Traulsen & Co., Inc. reserves the right to change speci-
fications or discontinue models without notice.
Fig. 9
Inside Door Panel
Gasket Assembly
Vertical Gasket
Retainer


