


............ www.truemfg.com ............
True Food Service Equipment, Inc.
6 6
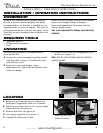
INSTALLATION / OPERATION INSTRUCTIONS
LEVELING
Step 4
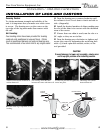
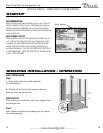
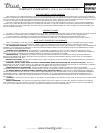
A. Set unit in its final location. Be sure there is
adequate ventilation in your room. Under extreme
heat conditions, (100°F+, 38°C+), you may want to
install an exhaust fan.
Warning
Warranty is void if ventilation is insufficient.
B. Proper leveling of your True heated cabinet is
critical to operating success. Refer to "Installation of
Legs and Castors" on page 5.
C. The cabinet should be leveled from the inside
front to back and side to side with a level.
D. Ensure that the drain hose or hoses are
positioned in the pan.
E. Free plug and cord from inside the lower rear of
the unit (do not plug in).
F. The unit should be placed close enough to the
electrical supply so that extension cords are never
used.
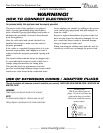
Warning
TRUE will not warranty any units that are connected to an
extension cord.
P
H
E
A
T
E
D
C
A
B
I
N
E
T
1
0
0
1
0
1
1
0
2
1
0
3
1
0
4
1
0
5
1
0
6
1
0
7
1
0
8
1
0
9
1
0
0
1
0
1
1
0
2
1
0
3
1
0
4
1
0
5
1
0
6
1
0
7
1
0
8
1
0
9
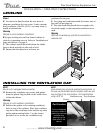
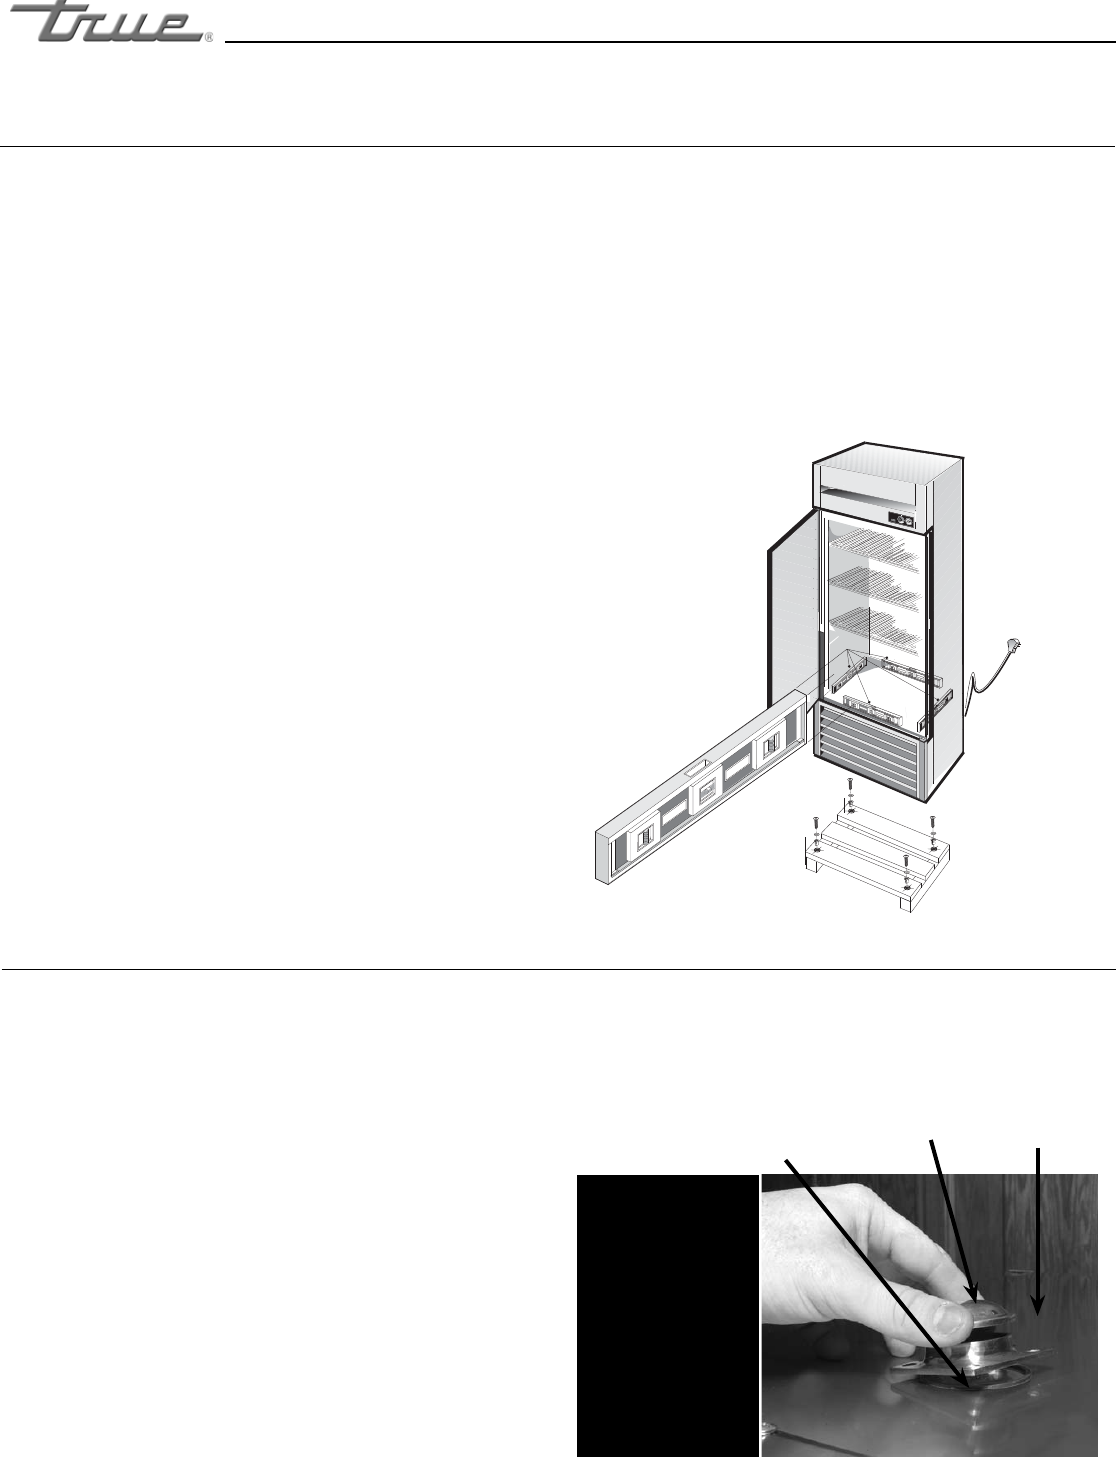
NOTE
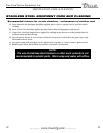
Be sure unit is unplugged before proceeding.
A. Remove the ventilator cap, screws and gasket
from the plastic bag located on the inside floor
of heated cabinet.
Warning
Warranty is void if ventilation is insufficient.
B. Position the gasket at the existing ventilation
hole on top of the cabinet. Place the ventilator
cap above the ventilation hole and line up with
gasket and mounting holes. Use the screws
provided (4) to secure the ventilation cap.
NOTE
Some cabinets may not include predrilled mounting holes. In
this case use the ventilator cap as a template, center over vent
hole and mark all four hole locations. Drill mounting holes
using a 3/32" bit.
INSTALLING THE VENTILATION CAP
Part Function
True has designed
this part to assist in
preventing overhead
moisture from
entering into the
food zone of the
cabinet.
Gasket
Ventilation cap Top of cabinet